Blog
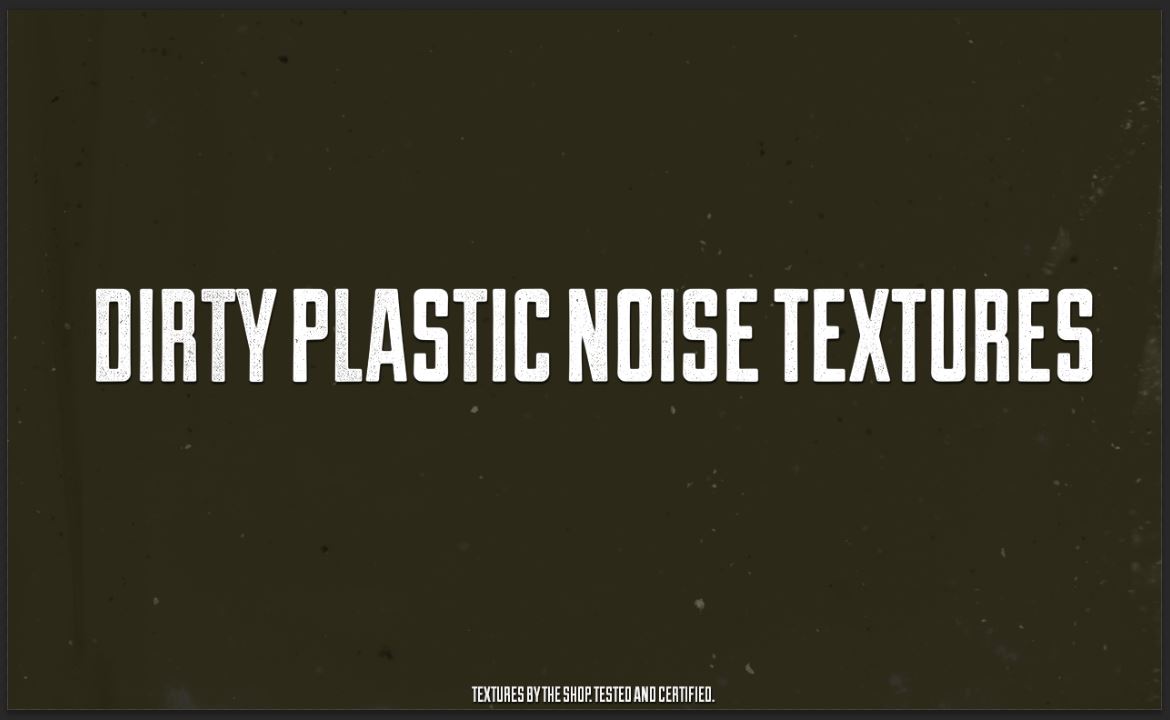
How to Apply a Noise Texture to Your Design with the Dirty Plastic Noise Texture Pack
Hello there!
Simon from The Shop on this end of the keyboard. I’m excited today, because one of my go-to personal texture packs is released on the Go Media Arsenal! Let me show you what the Dirty Plastic Noise Texture Pack can do for you.
Dirty Plastic Noise Texture Pack – $9

Where do the textures come from?
These noisy and dusty textures come from an unlikely place. You know these little plastic pockets in billfolds to hold extra credit and ID cards? Well, now you know.
I’ve had that leather billfold for a while. It’s old, and all worn out. It’s been at the bottom of countless pockets and bags. And it has accumulated a lot of dirt, dust, and other lint particles.
I pulled out these little plastic pockets, cut them down in flat “sheets,” and scanned them at very high resolution (on average 5250×7400 pixels @ 2400 dpi). These textures are the result of that scanning process.
Unlike my Photocopy Noise texture pack, these textures actually show little dust worms, smudges, and similar artifacts. They don’t look like glitch elements, but more like actual speckles of matter.
Technical data
The pack contains 4 variations of each textures:
- Black speckles on black (JPGs)
- Black speckles on transparent background (PNGs)
- White speckles on black (JPGs)
- Transparent speckles on black (PNGs)
- 5250 x 7400 pixels @ 2400 dpi
Dirty Plastic Noise Texture Pack – $9
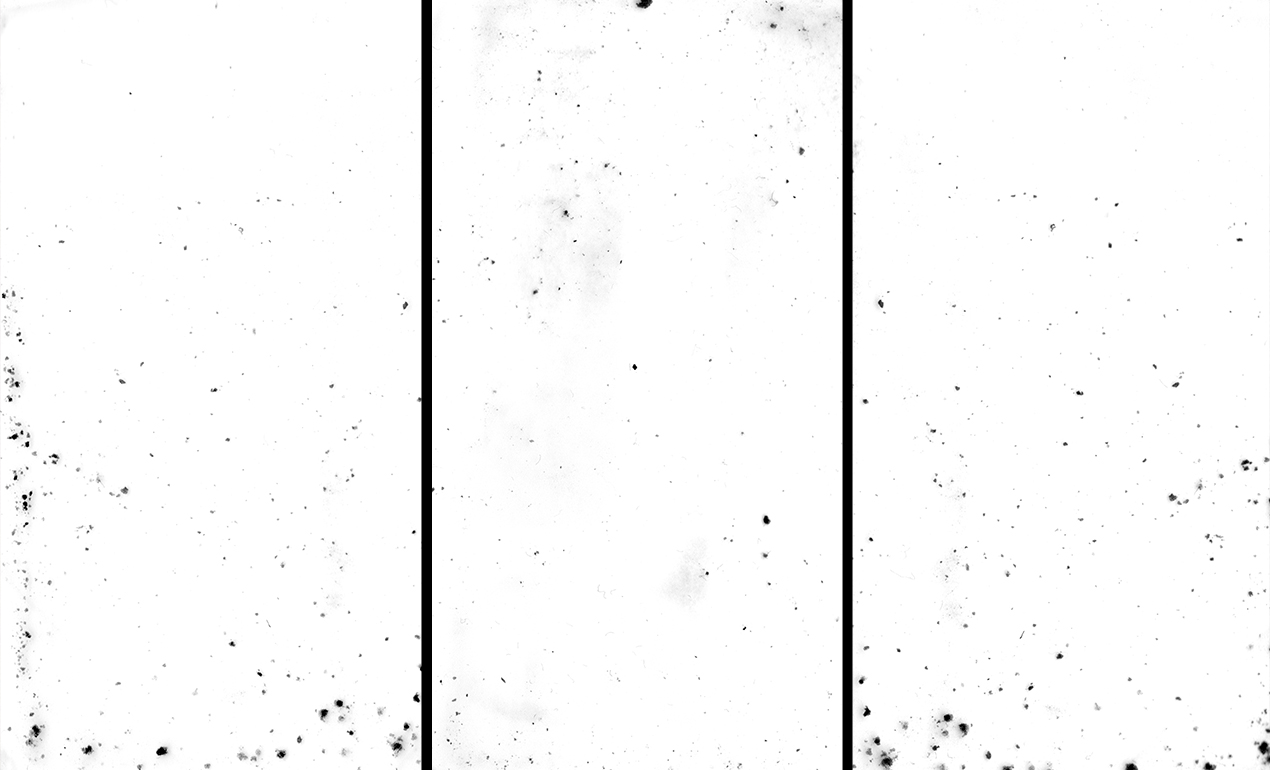
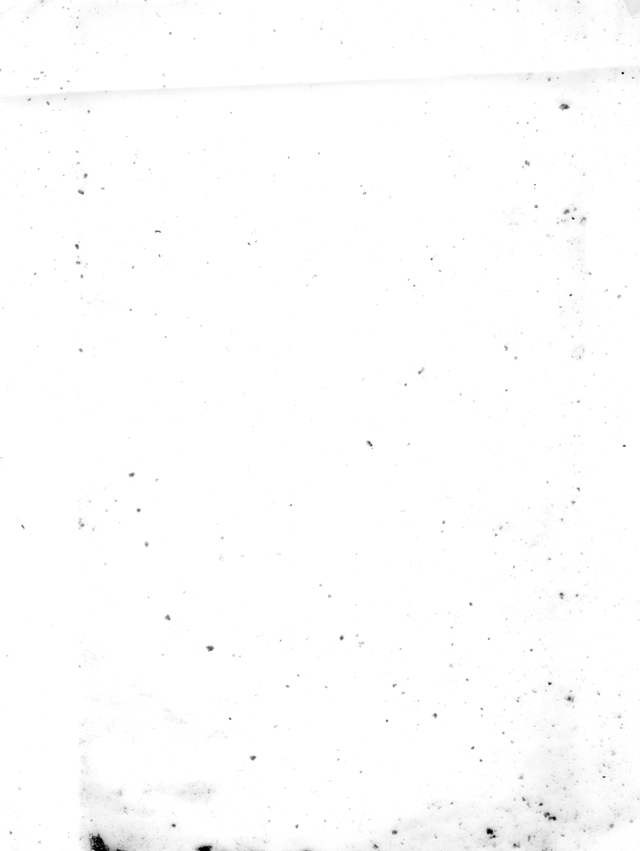
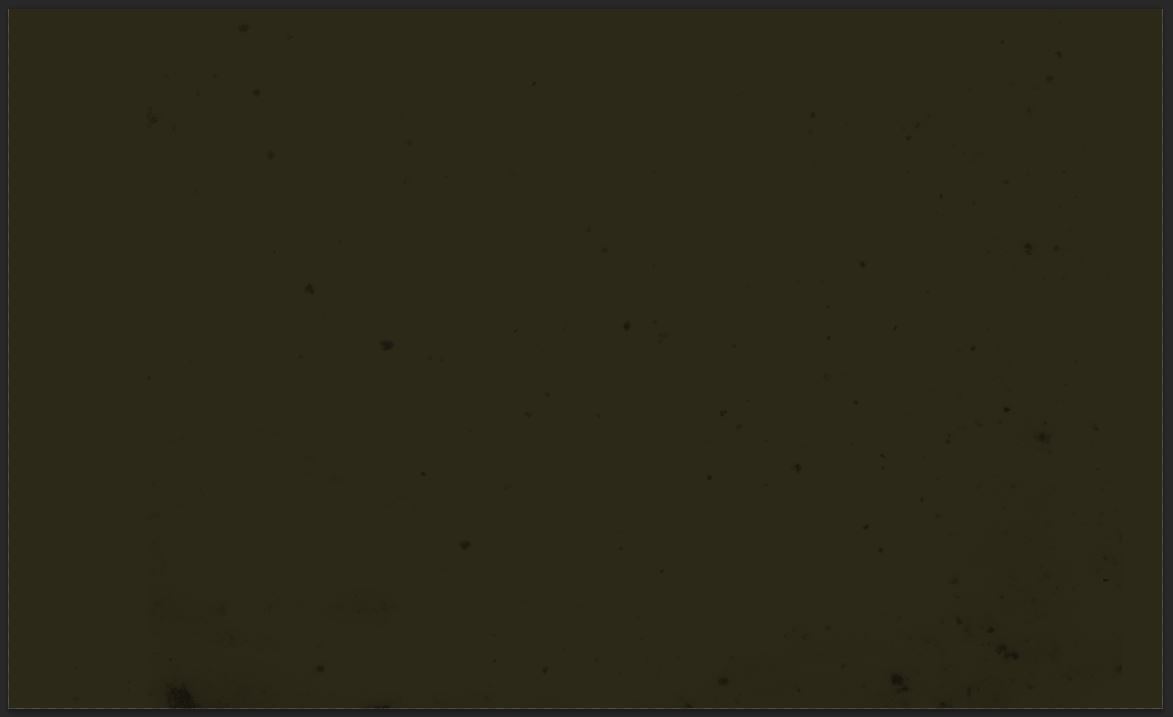
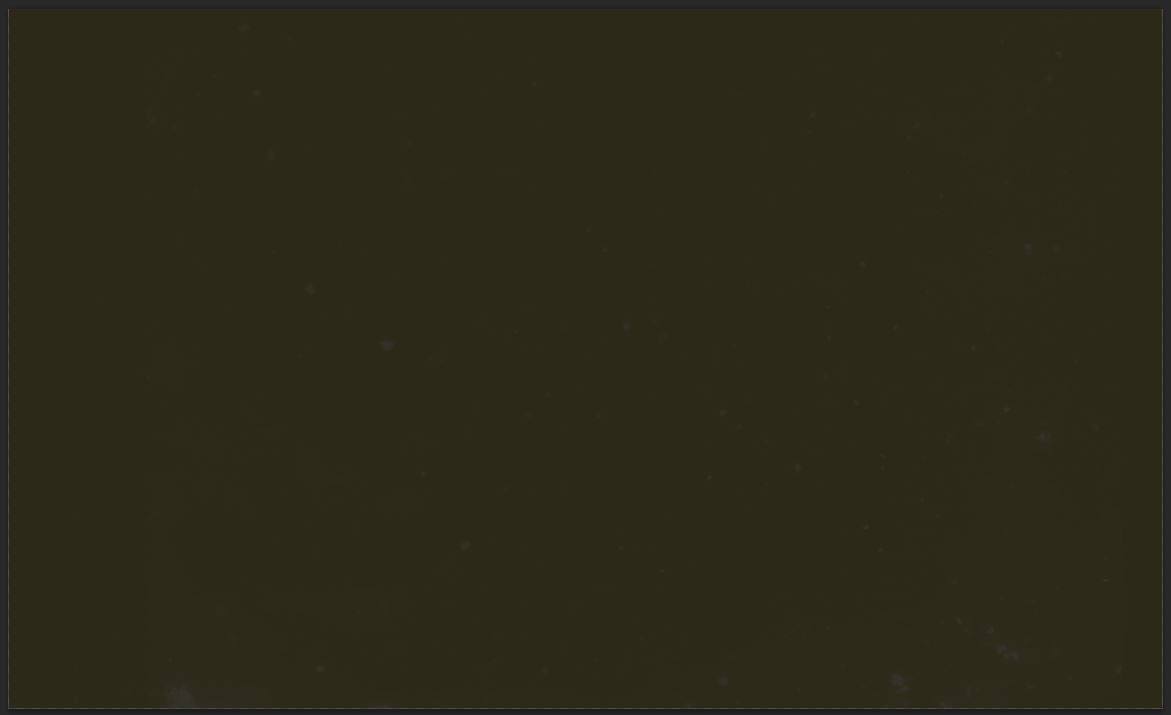
Previews

How to use the textures
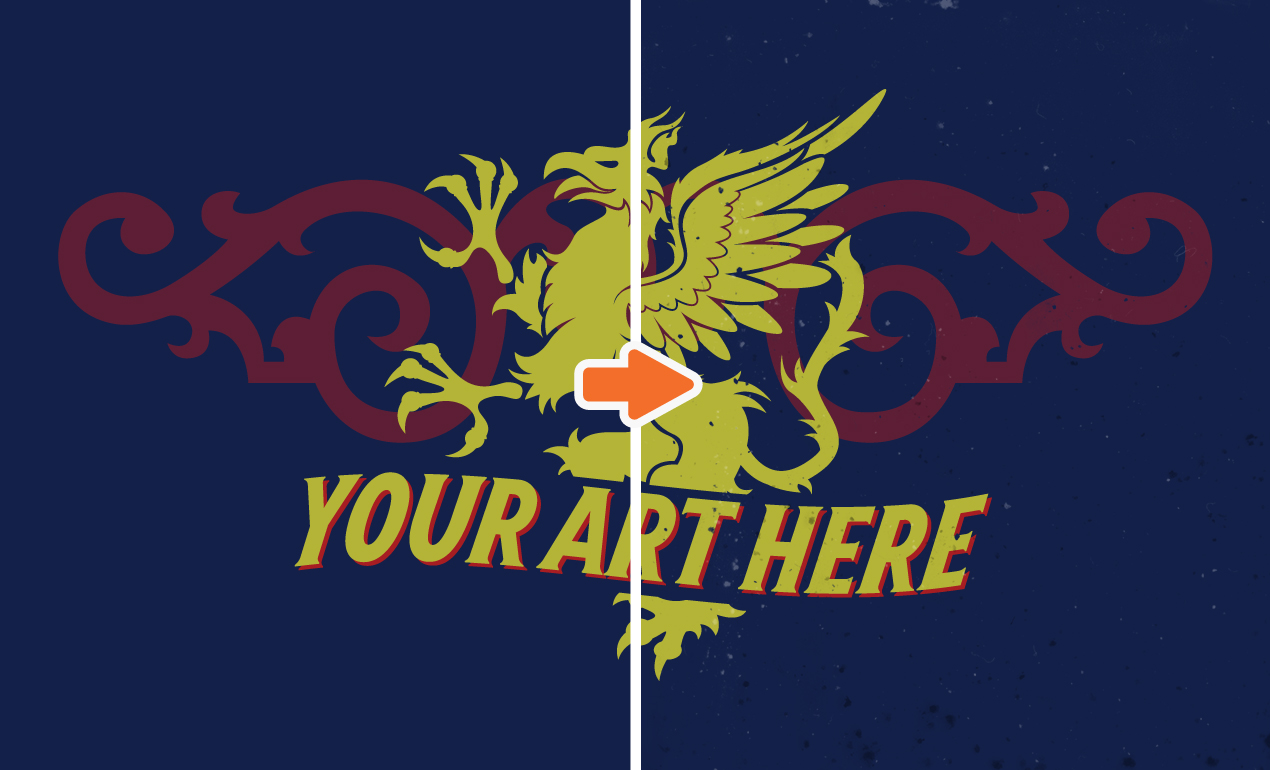
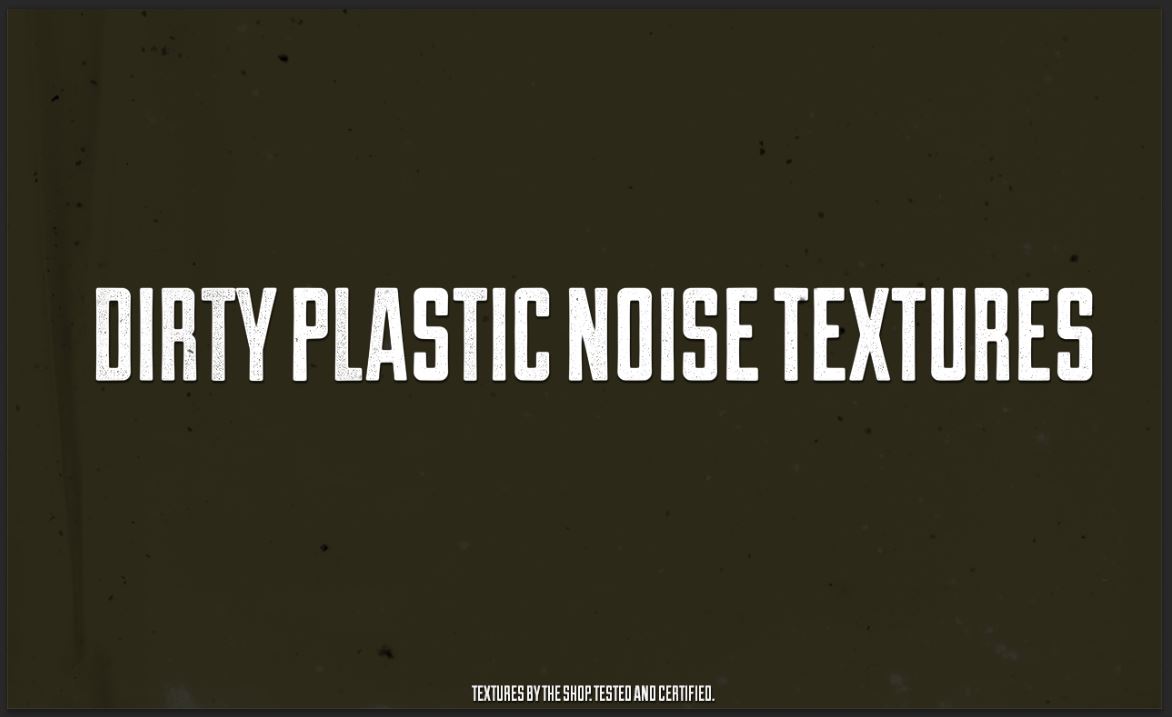
It’s actually quite simple: put them on Screen or Multiply, and noise things away. Add a specific color overlay, and add subtle speckles to your backgrounds. Paste them in your layer masks for subtle weathering. Let me walk you through some of the steps of the creation of the hero image to demonstrate.
Part 1: background building
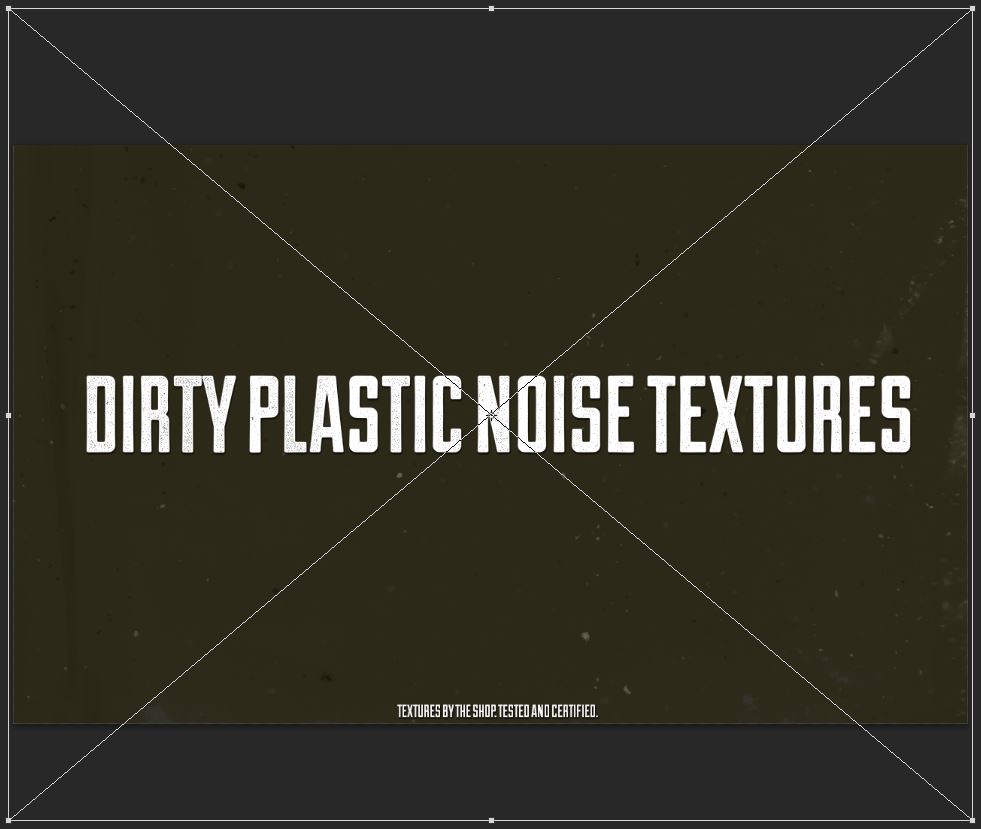
I’m using a 1270×770 pixels document in Photoshop.

I’ve filled my background with a dark, muted green (#2c2918).

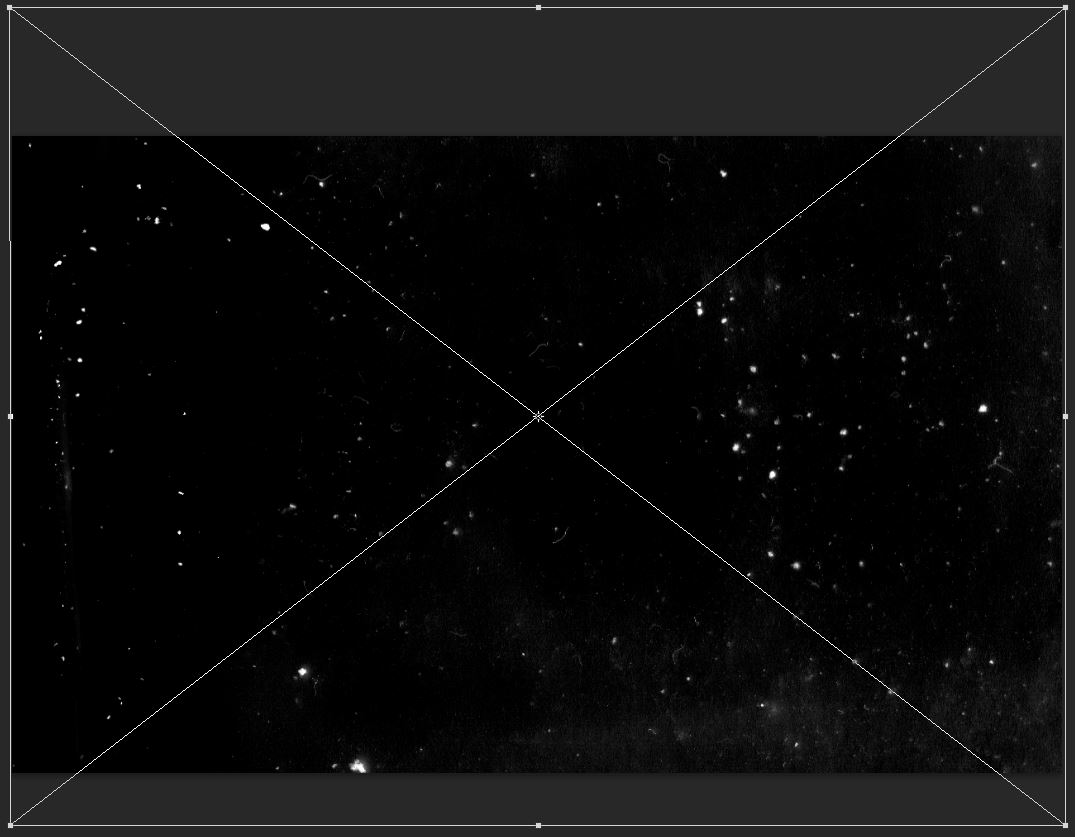
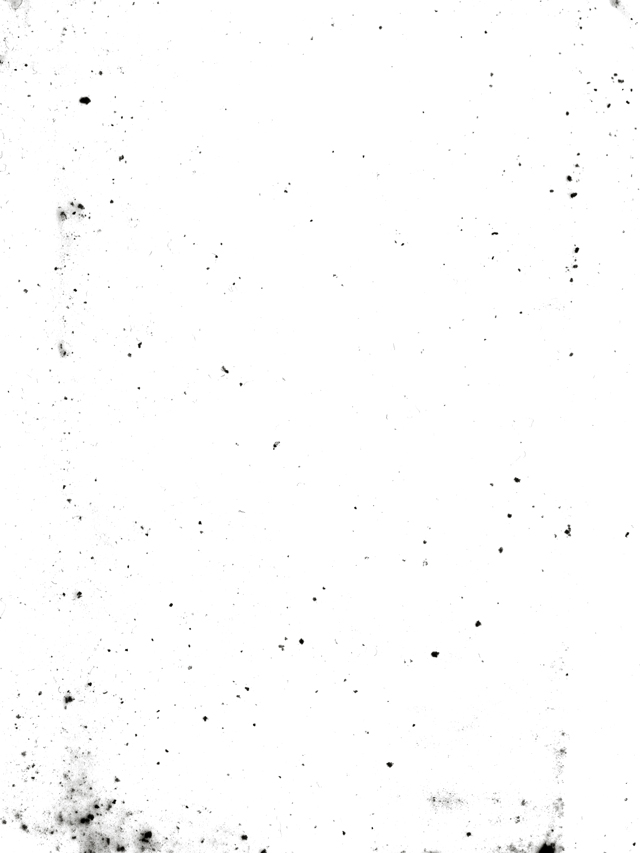
Insert 2014-05-16-plastic-card-holder-textures-black-on-white-sbh-007.png in your document. It’s important to use the transparent version for our effect to function later on.
Note: I like to place my documents (File > Place) rather than paste them in, as it allows me to have them as smart objects, which help to keep a non-destructive workflow.
Place your texture so it covers the whole canvas. In my case, I’ve kept the vertical orientation. Once you’re happy with your texture placement, validate the transformation, and reduce the layer’s opacity to 50%.

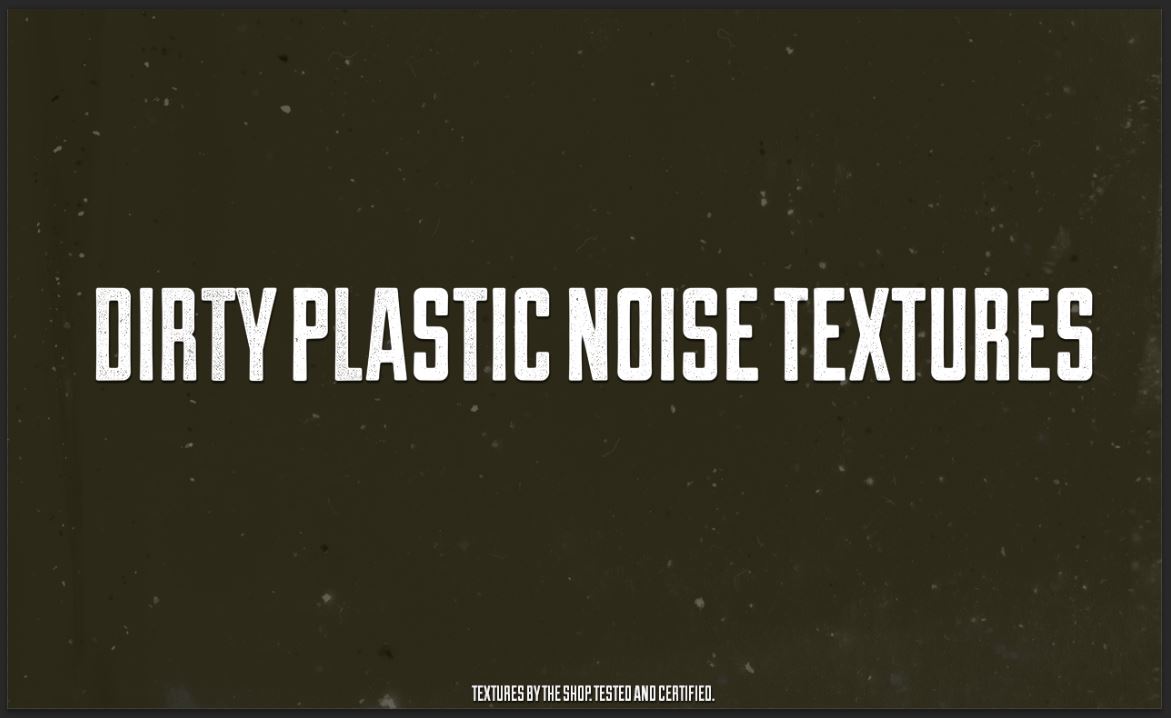
From there, it’s time to blend that texture a bit better with the background. In this specific case, we could use a blending mode, or we could use a color overlay. I chose the latter. Double click on the layer to bring up its blending options dialog box.

Head to color overlay, and pick #3e3f41as the color.

Validate, and admire the result. We added some subtle textures to our piece in three steps (place, size, color overlay).
Part 2: using blending modes and opacity levels
As I’ve said before, and due to the nature of the textures, the two best blending modes to use here are multiply (and its derivatives Color burn and Linear Burn), and screen. Note that nothing stops you from experimenting further!
After placing my type elements in my piece (they are set in Duke, from Lost Type Co-op), and adding a bit of texture to them, I felt like the piece could use some additional texture buildup.

I’ve selected 2014-05-16-plastic-card-holder-textures-black-on-white-sbh-006 as my next texture. I really like the bottom part of that texture the horizontal smudge).

In order to feature that in a significant manner in my design, I rotated the texture 90° clockwise.

Next, change its blending mode to multiply at 50% opacity. The result keeps that sweet part of the texture, but without being overbearing (thanks to the lowered opacity), and multiply knocks away the white pixels.

The next texture to place in the document is 2014-05-16-plastic-card-holder-textures-black-on-white-sbh-010.png. It’s simply placed in the document horizontally, and has its opacity lowered at 50%.
Next up is 2014-05-16-plastic-card-holder-textures-white-on-black-sbh-006.jpg. With this white on black texture, the goal is to add a lot of dust speckles using Screen.

The texture is placed horizontally in the canvas, and more or less vertically centered.
From there, change its blending mode to Screen @ 25% opacity.
The next texture I used is 2014-05-16-plastic-card-holder-textures-black-on-white-sbh-013.png.
Rotate it 90° clockwise when placing it, and then lower its opacity to 50%.


Lastly, I placed a paper texture to add just a little bit of grain to our image. I found the texture on Flickr, and it was shared by our very own Dustin Schmieding.
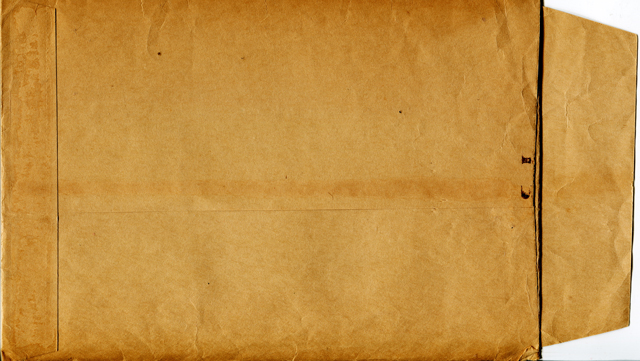
Place the texture in your piece so none of the paper seams are visible.

I’ve used the levels palette (CTRL/CMD+Ito increase dramatically the contrast of my texture. Desaturate the texture (CTRL/CMD+SHIFT+U), and then increase the dark tone value, lower the mid-tones towards the dark ones, and reduce the range of the highlights.

This results in the grain of the texture being exacerbated.

Finally, put the texture on Soft light @ 15%, and admire your hero image.

Wrap-up thoughts
This quick example is obviously just scratching the surface of what’s possible here. You could combine these in many more creative ways. And their high resolution will allow you to use them in projects ranging from screen to paper without significant quality loss.
I hope you liked following the quick demo as much as I liked putting it together. Until next time, cheers! And don’t forget to go buy the pack: