Blog
Texture Tutorial: Aged poster design with the Photocopy Noise Texture Pack
Texture Tutorial!
Hello there! Simon from Studio Ace of Spade here. Long time no see. I’m here to introduce you today to a texture pack I’ve created, called the photocopy noise texture pack. I’m delighted to announce that it’s finally on sale at the Arsenal!
What is the pack about?
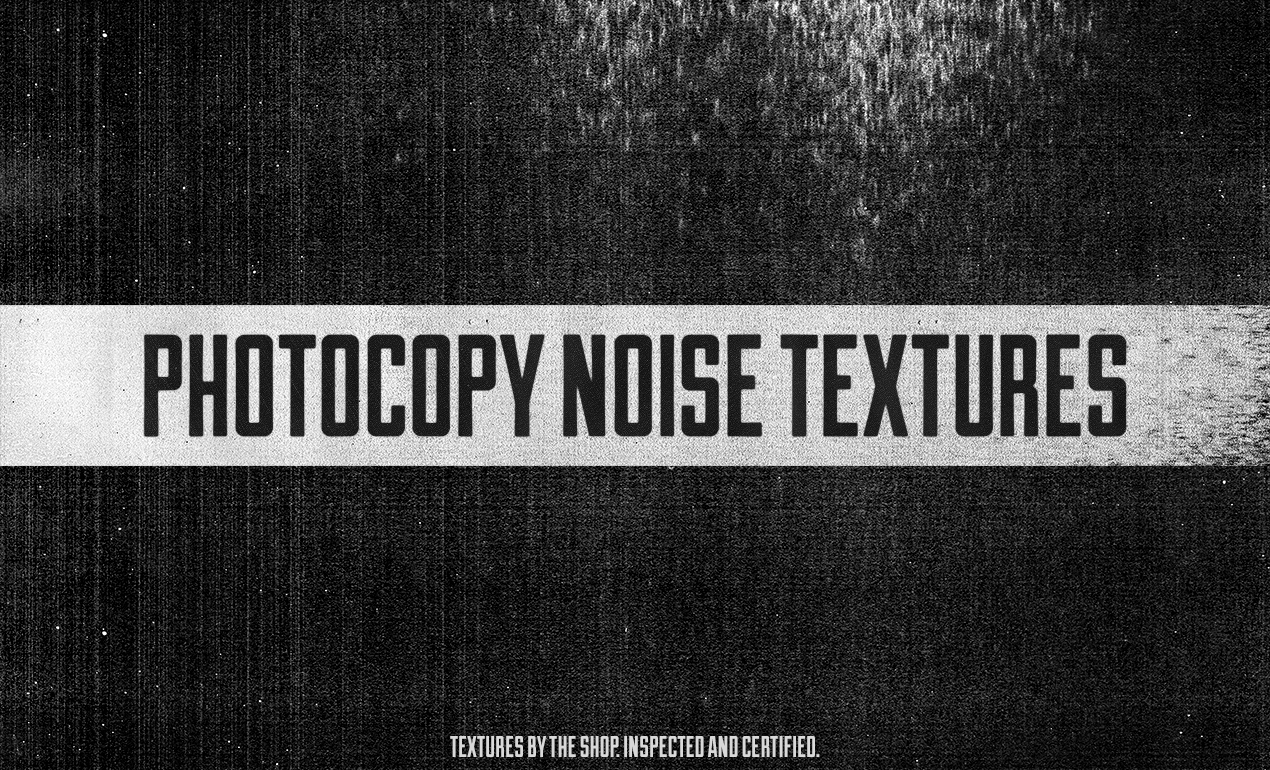
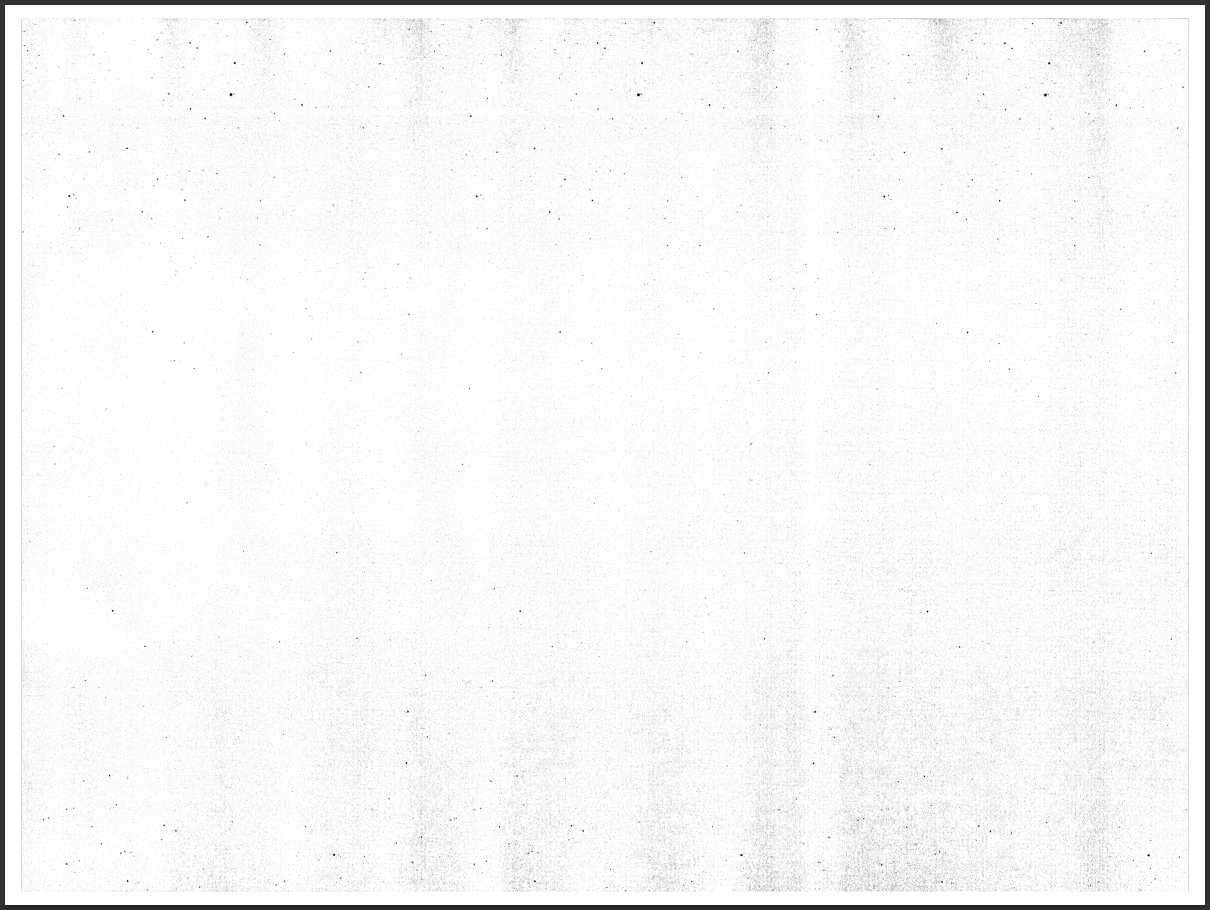
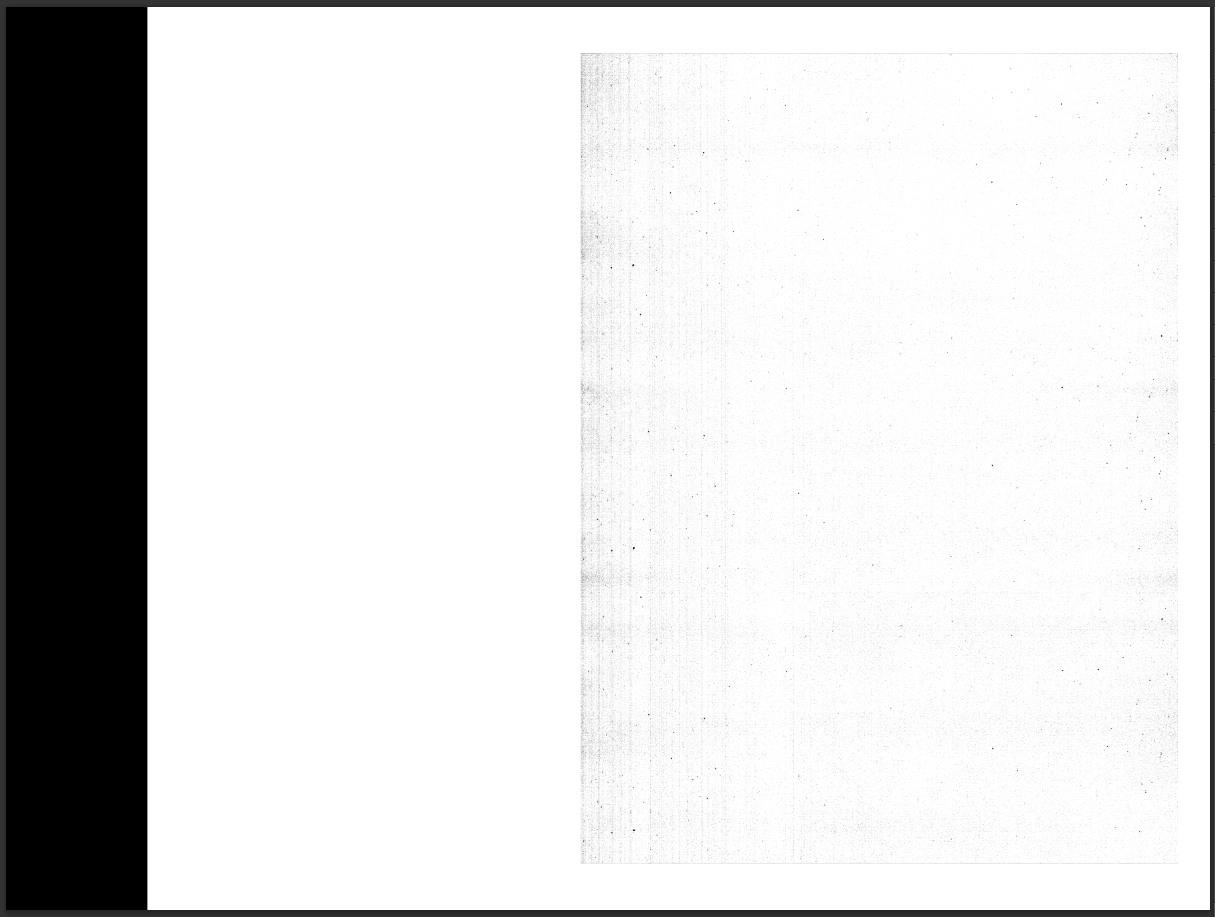
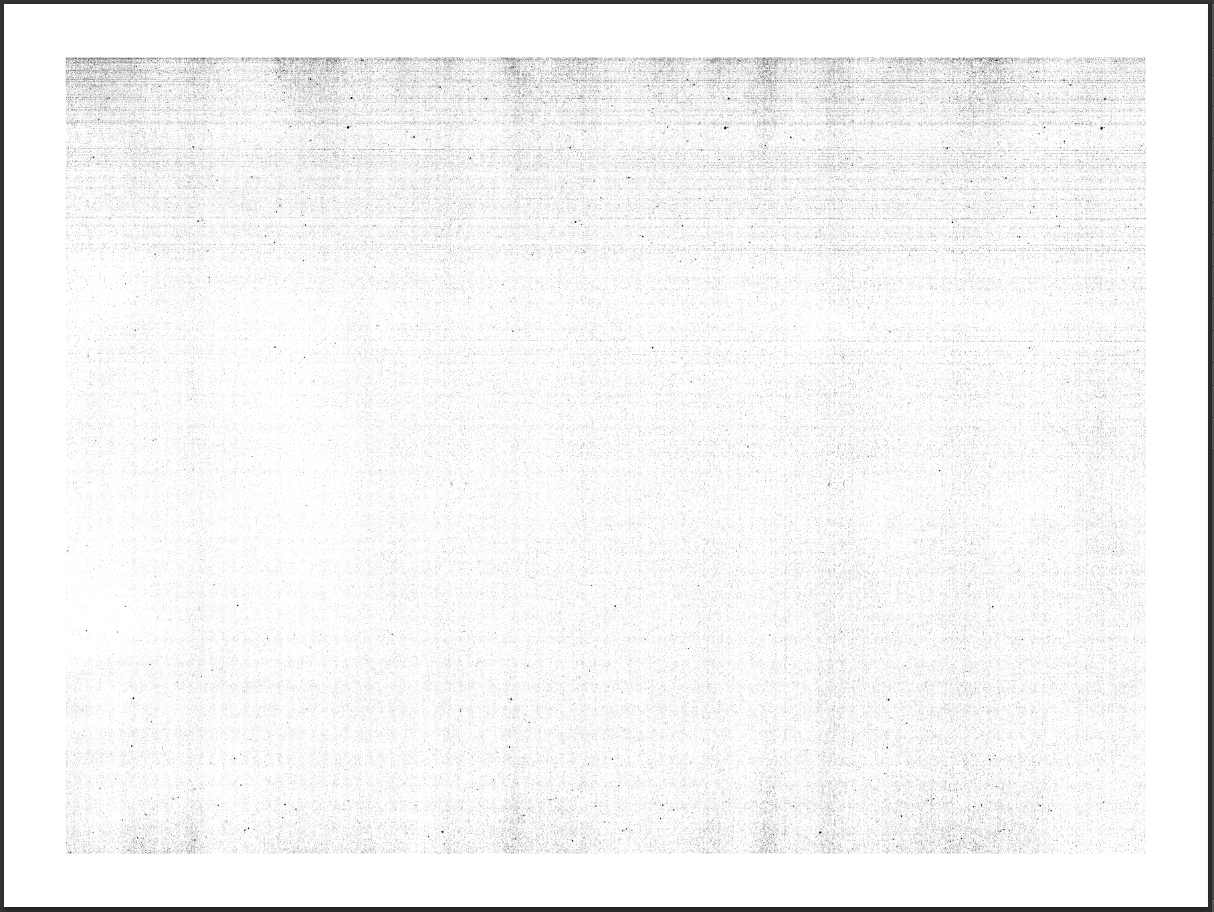
What’s so special about this texture pack? First of all, these are hand-made textures. They were made using an old photocopier that had a toner on its last leg. The result is a pack of six fantastic noise textures. The process was simple: I created a black document in Ai, and printed it as many times as I could before the toner gave up. Because it was almost ready to throw away, it wouldn’t print a perfectly black sheet. I got these black rectangles, speckled with white spots and stripes. Once scanned in, cleaned up, and inverted, these make up for perfect noise textures.
A closer look at the content
Some technical data: you get six textures, that are around 4760×6400 @ 600 dpi. Here are what they look like:


How can I use these?
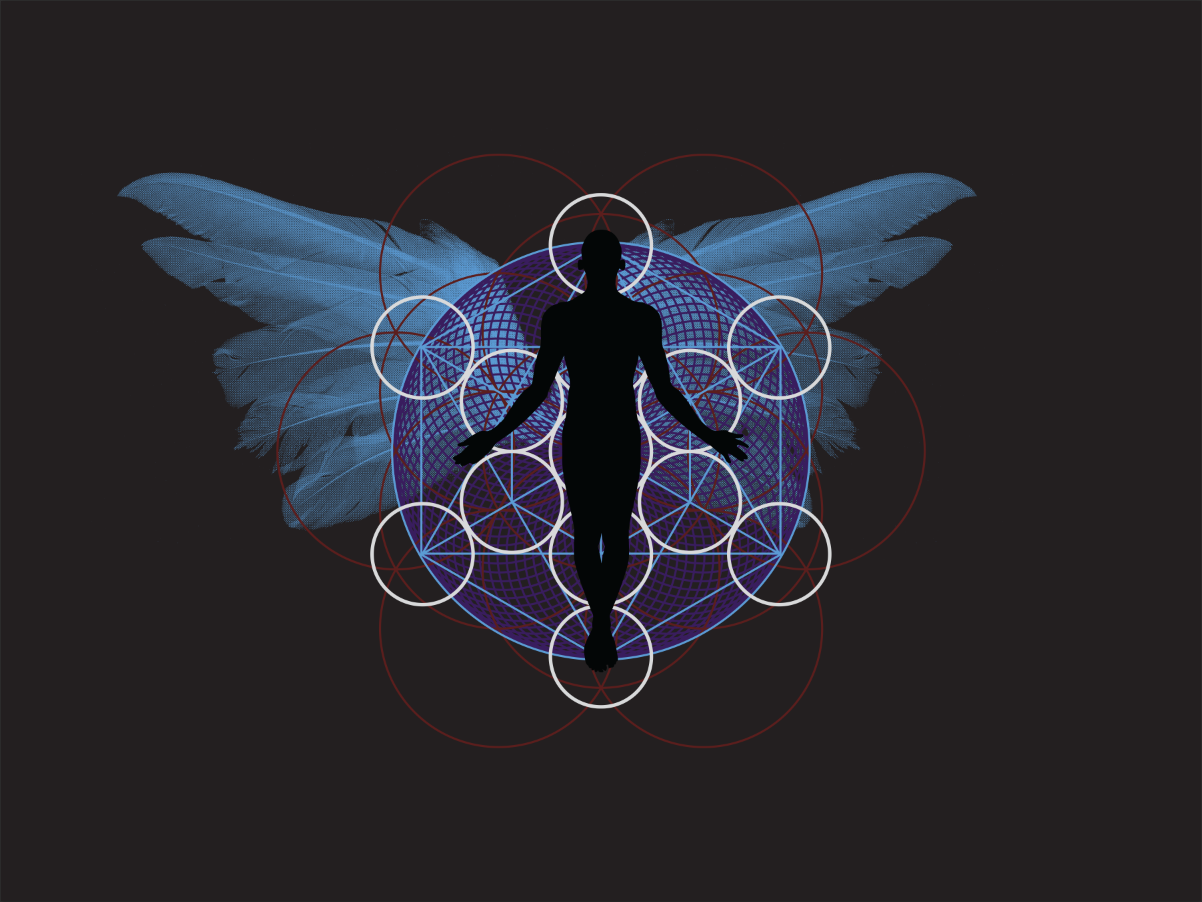
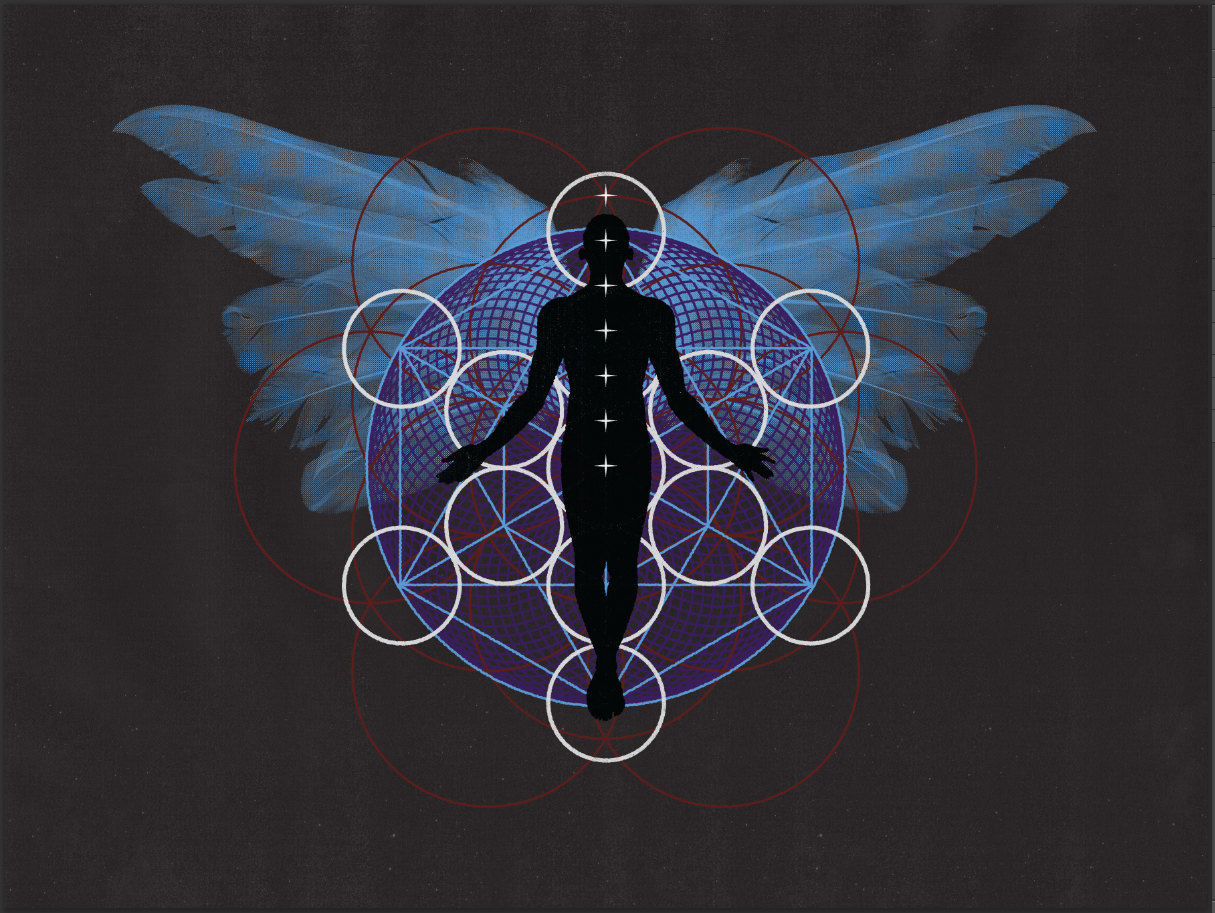
I thought you’d never ask! In order to demonstrate the possibilities of the textures, I’ve put a quick little tutorial/demo together, using Jeff’s Awakened t-shirt design pack as the base. We’ll use both Ai and Ps for this. Here’s a preview of what we’ll be doing:

Basically, we’ll use these to age Jeff’s design, along with a few other tricks here and there. Here’s a 100% crop, to get a better sense of what these textures are able to do:

Note that if you haven’t purchased the Awakened t-shirt pack, or have no idea of what I’m talking about, you should go read and watch more info: over here.
Let’s get started
Step 1: document setup
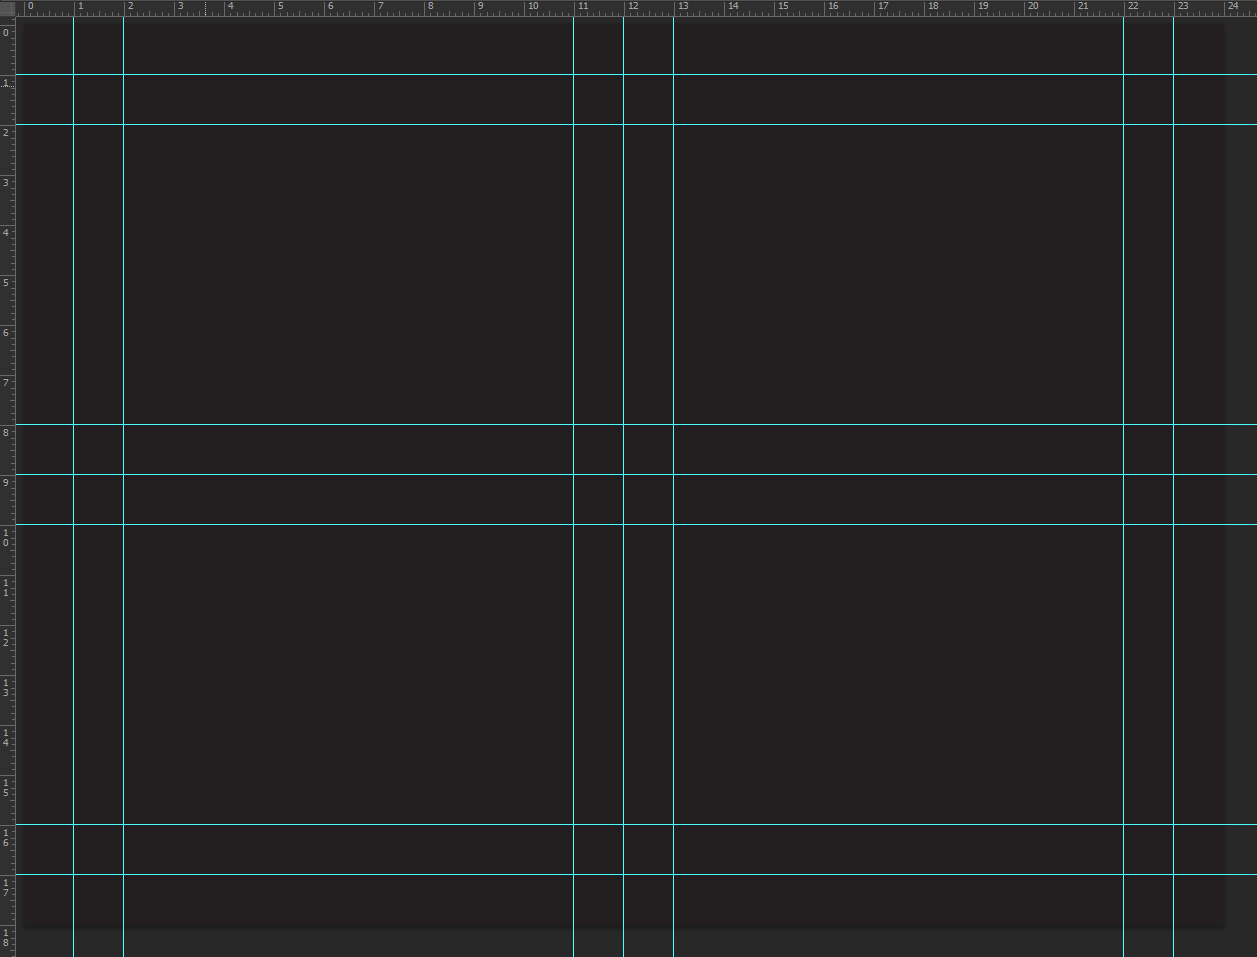
Jeff’s illustration is quite neat, and would look quite awesome on a print. So, let’s go ahead and create a new 24 inches wide by 18 inches tall Ps document @ 300 dpi.

Once you have that new document setup, fill its background with dark gray (#231f20), and setup guides for the center and margins. I might have gone a tad overboard with mine. My vertical guides are at the one, two, 11, 12, 13, 22, and 23 inch marks. My horizontal guides are at the one, two, eight, nine, 10, 16, and 17 inch marks.
Oh, and if you’ve read some of my other tutorials before, you’ll probably remember that I’m a stickler for proper layer naming and other Ps etiquette stuff. My background layer is named bg – #231f20, which gives me both its functionality and its color.
Step 2: importing the design
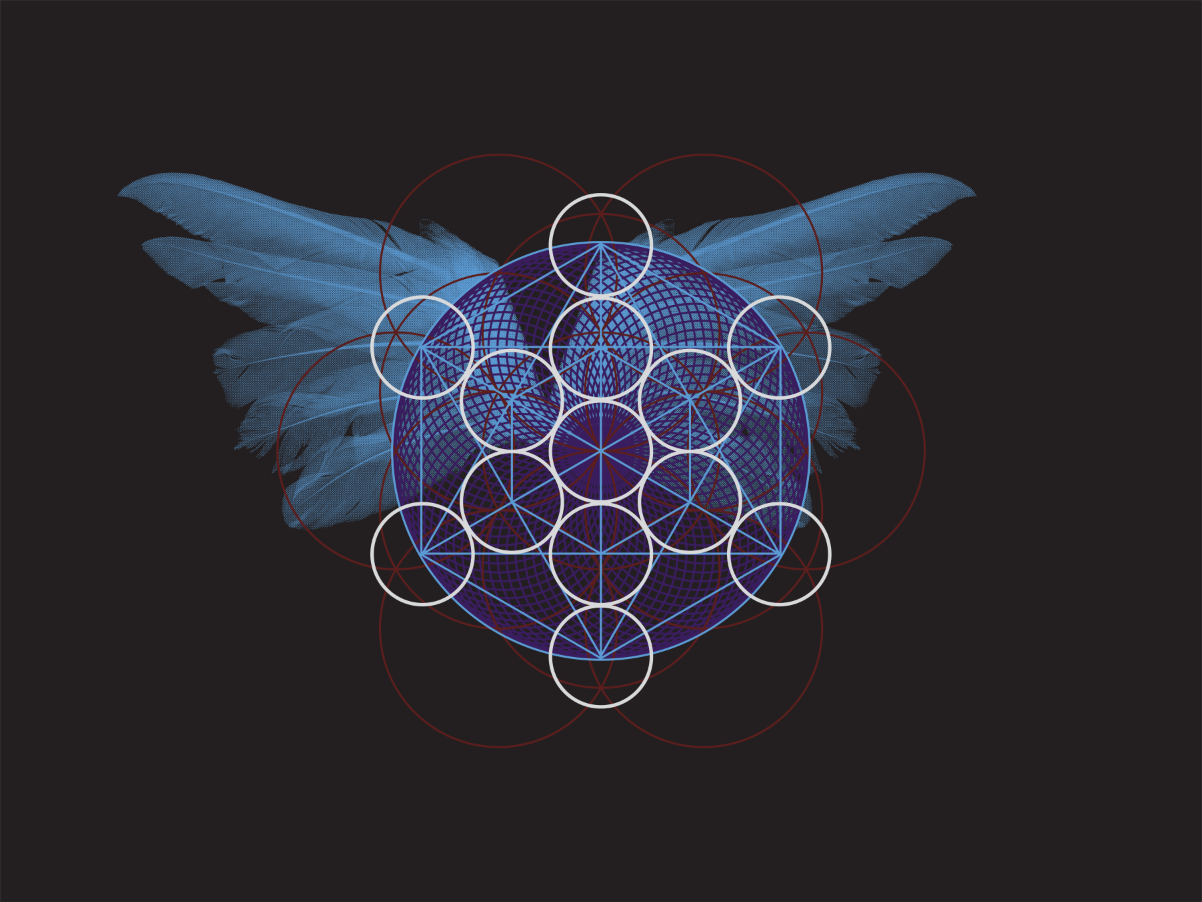
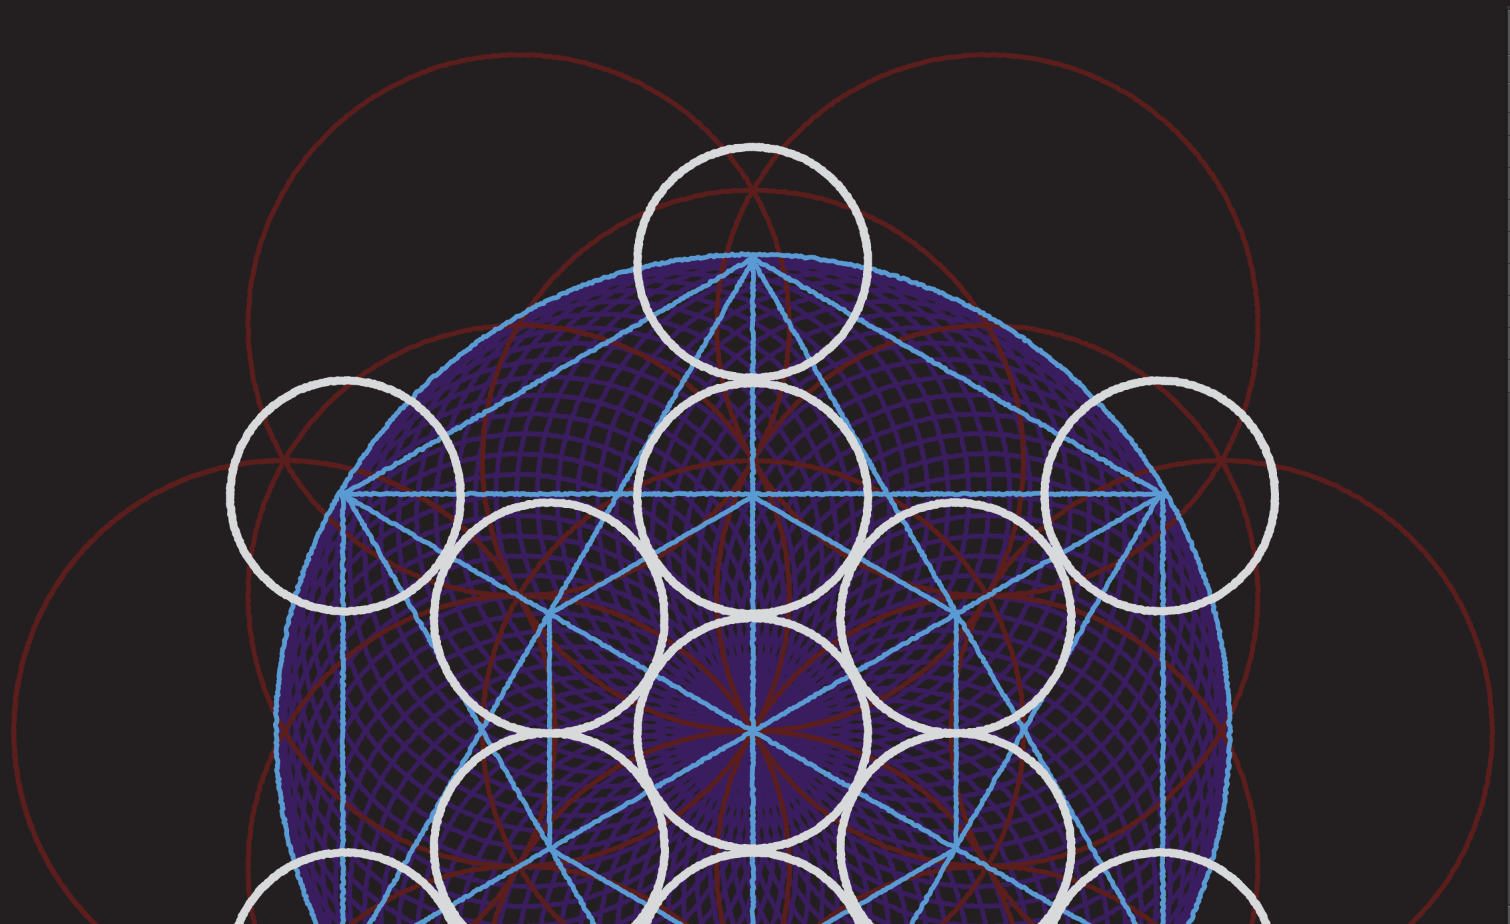
Let’s have a look at Jeff’s design:
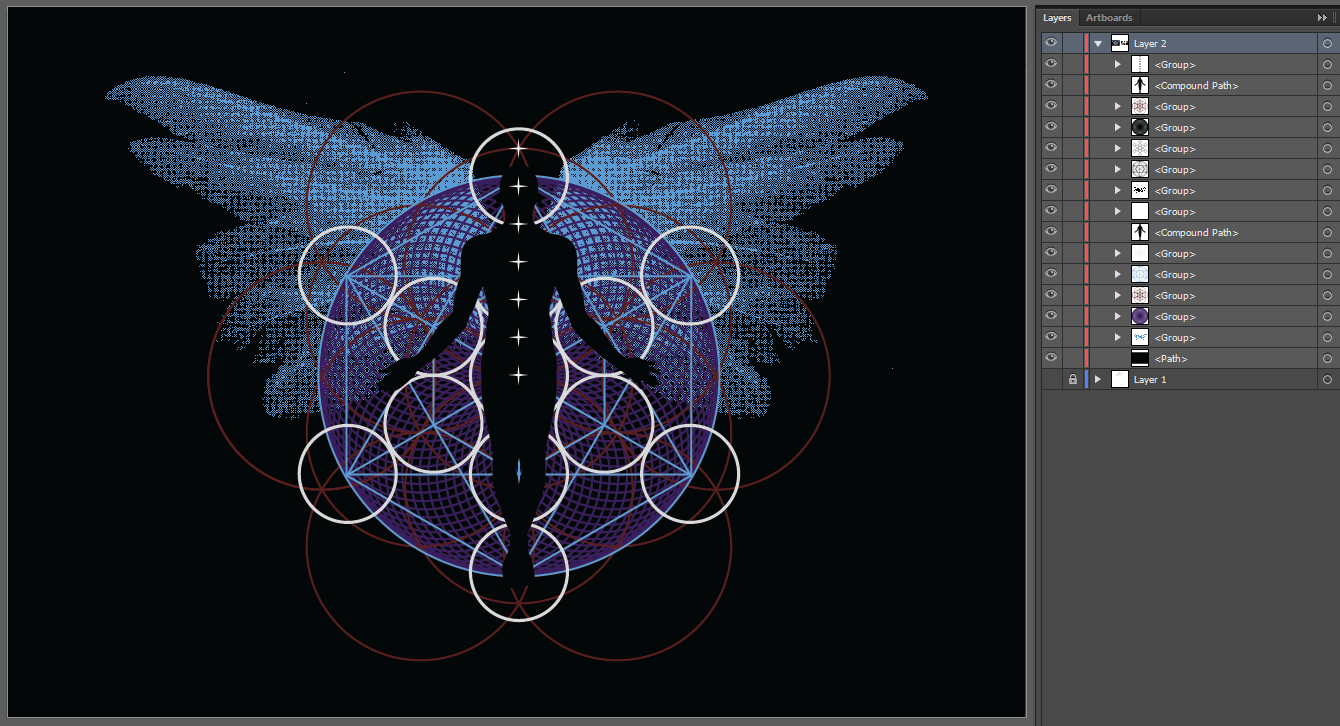
As you can see, there are quite a few elements that compose it (feathers, purple circular element, red circles, white circle, blue geometrical element, silhouette, and off white stars). I could simply select everything, and copy and paste it in Ps. The only issue with doing that is that it won’t allow us to individually texture the elements. Since I want to do something refined and individualized, I won’t go that route. We’re going to copy and paste each element one by one. It’ll be a bit long, but worth it in the end.
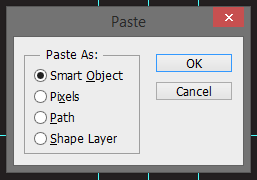
Use the main image as a reference point to position your elements, and make sure that they’re always sized at 100%. Also, don’t forget to paste the elements as smart objects, so they retain their vector characteristics. It’ll be crucial for later.


Note: you may have to center or nudge elements manually.
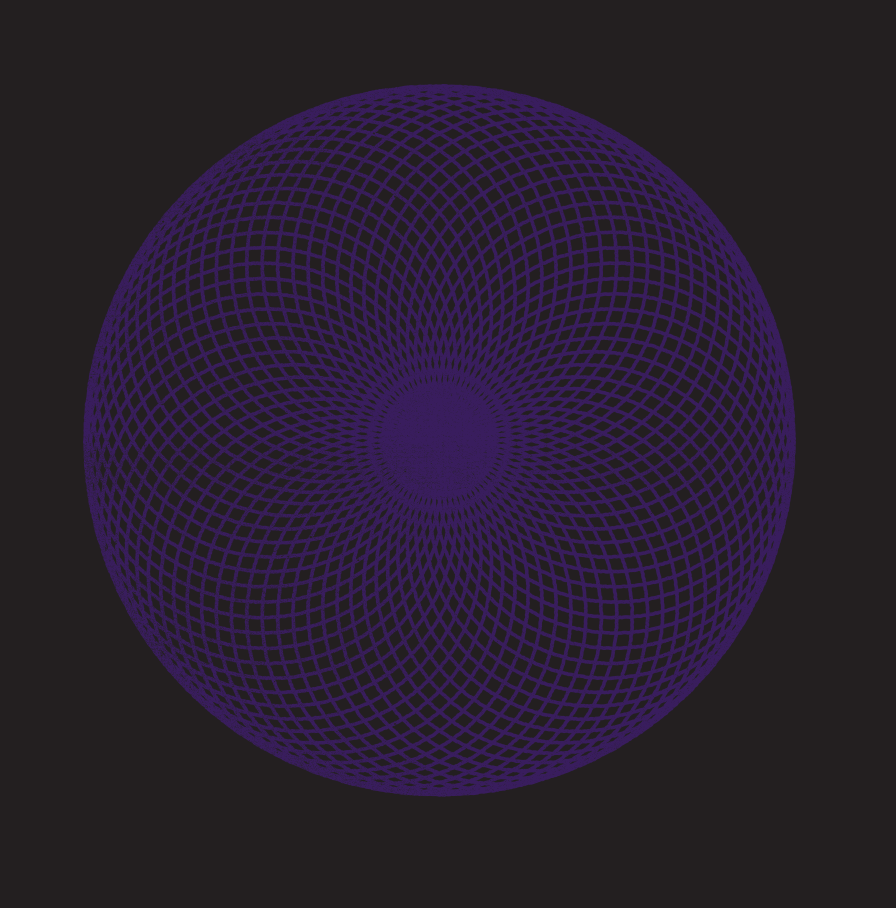
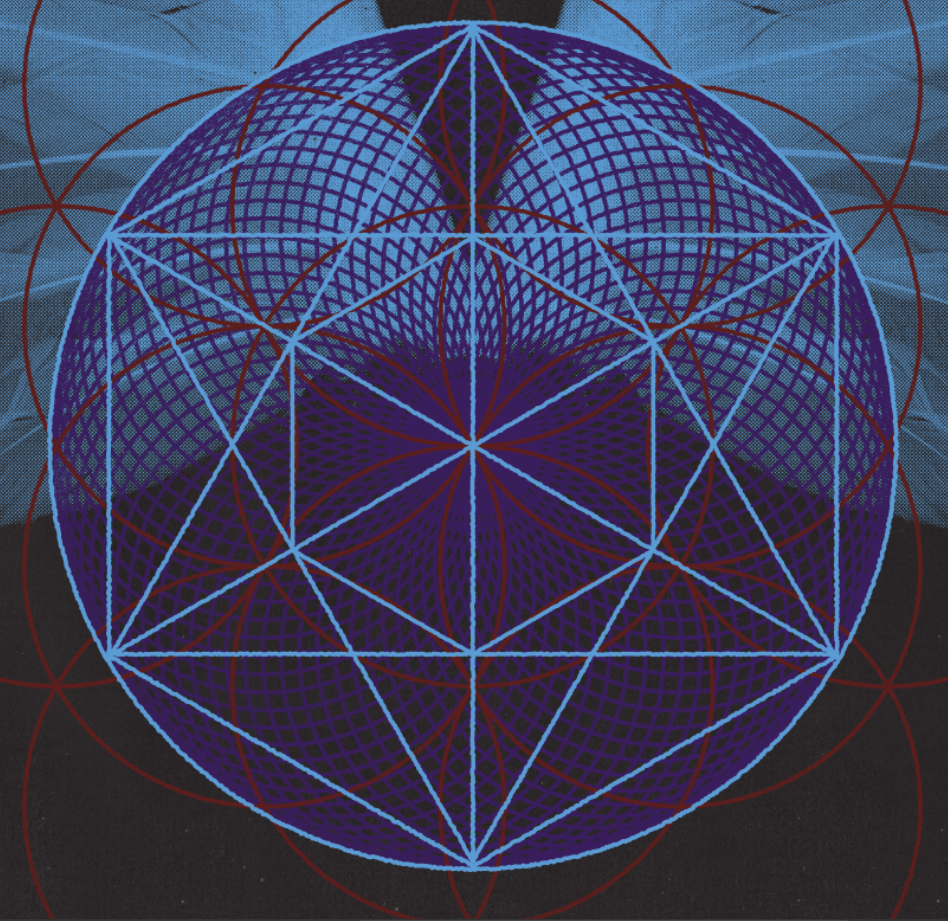
The purple circular pattern.

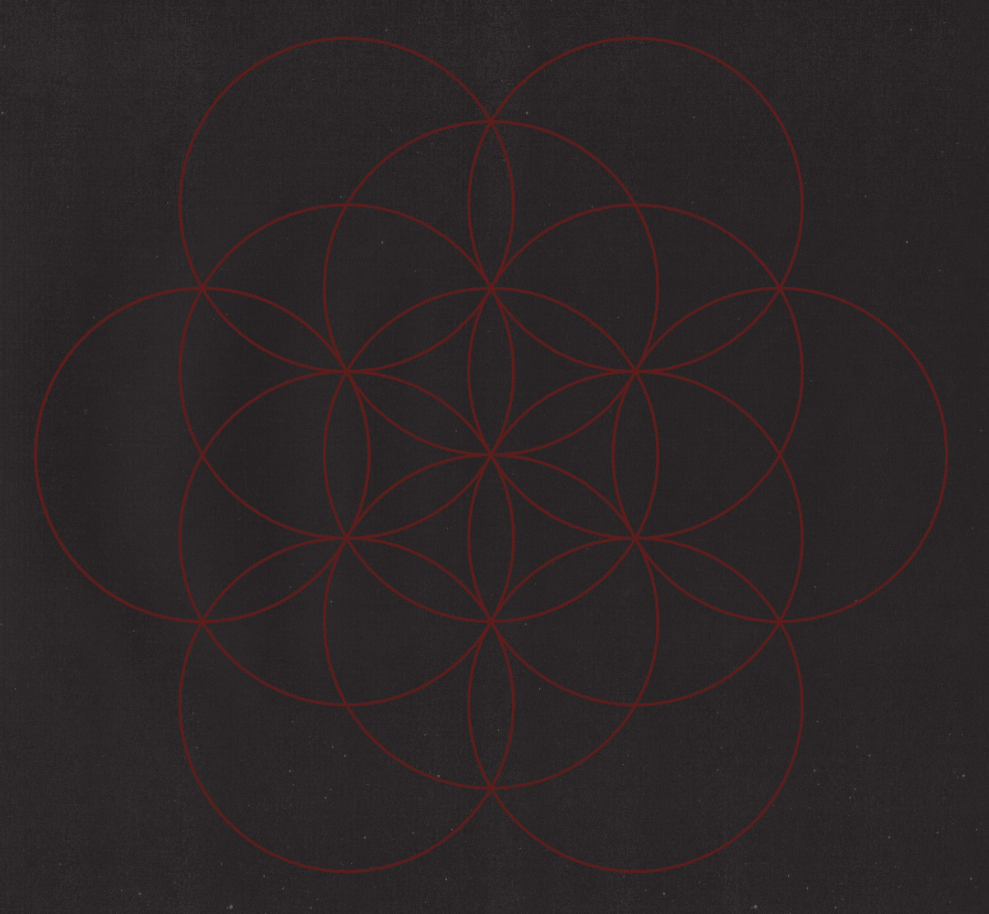
The red circles.

The blue geometrical element.

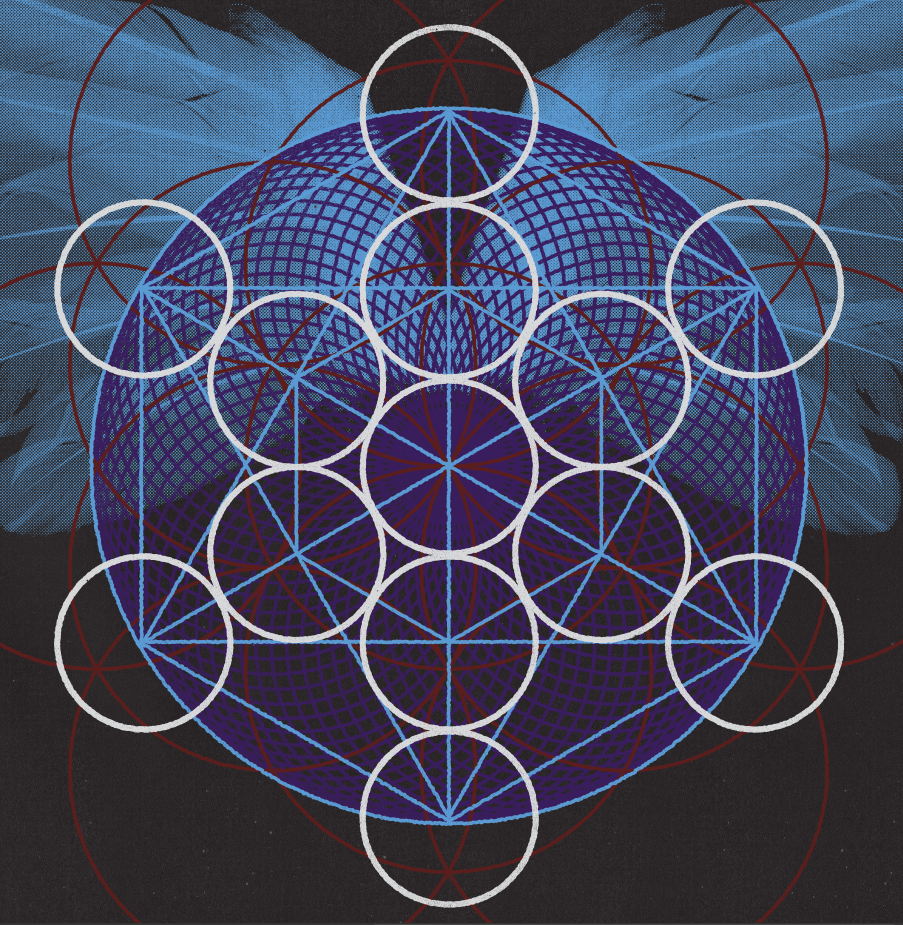
The white circles.
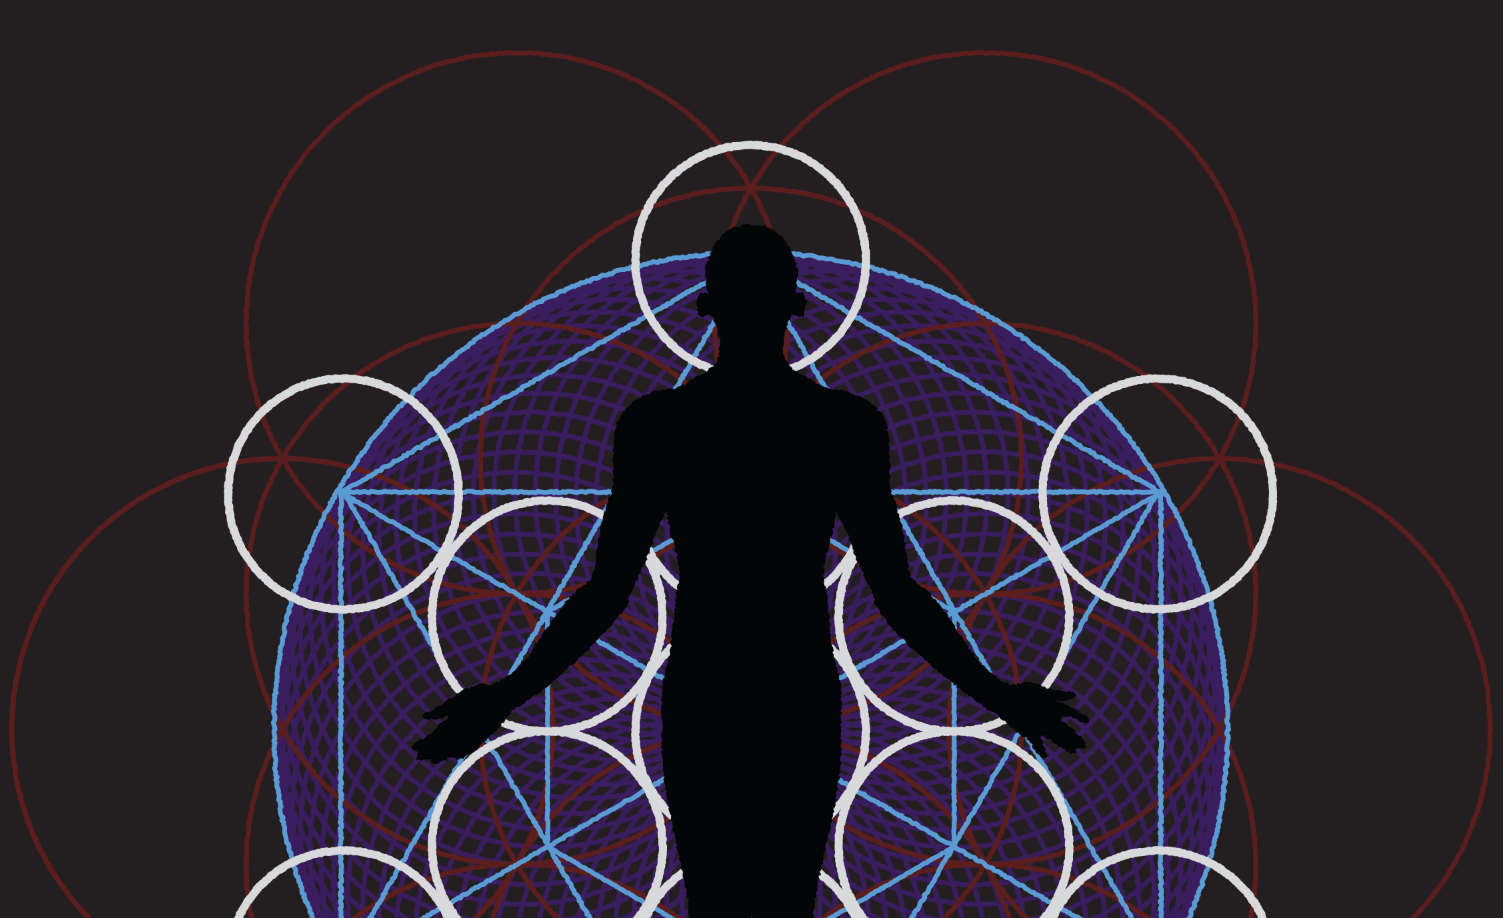
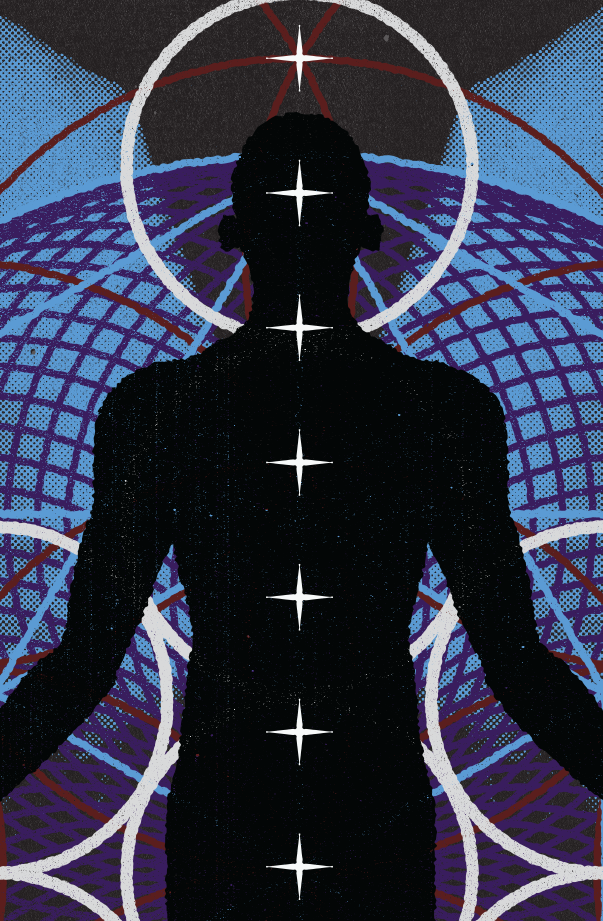
The black silhouette.
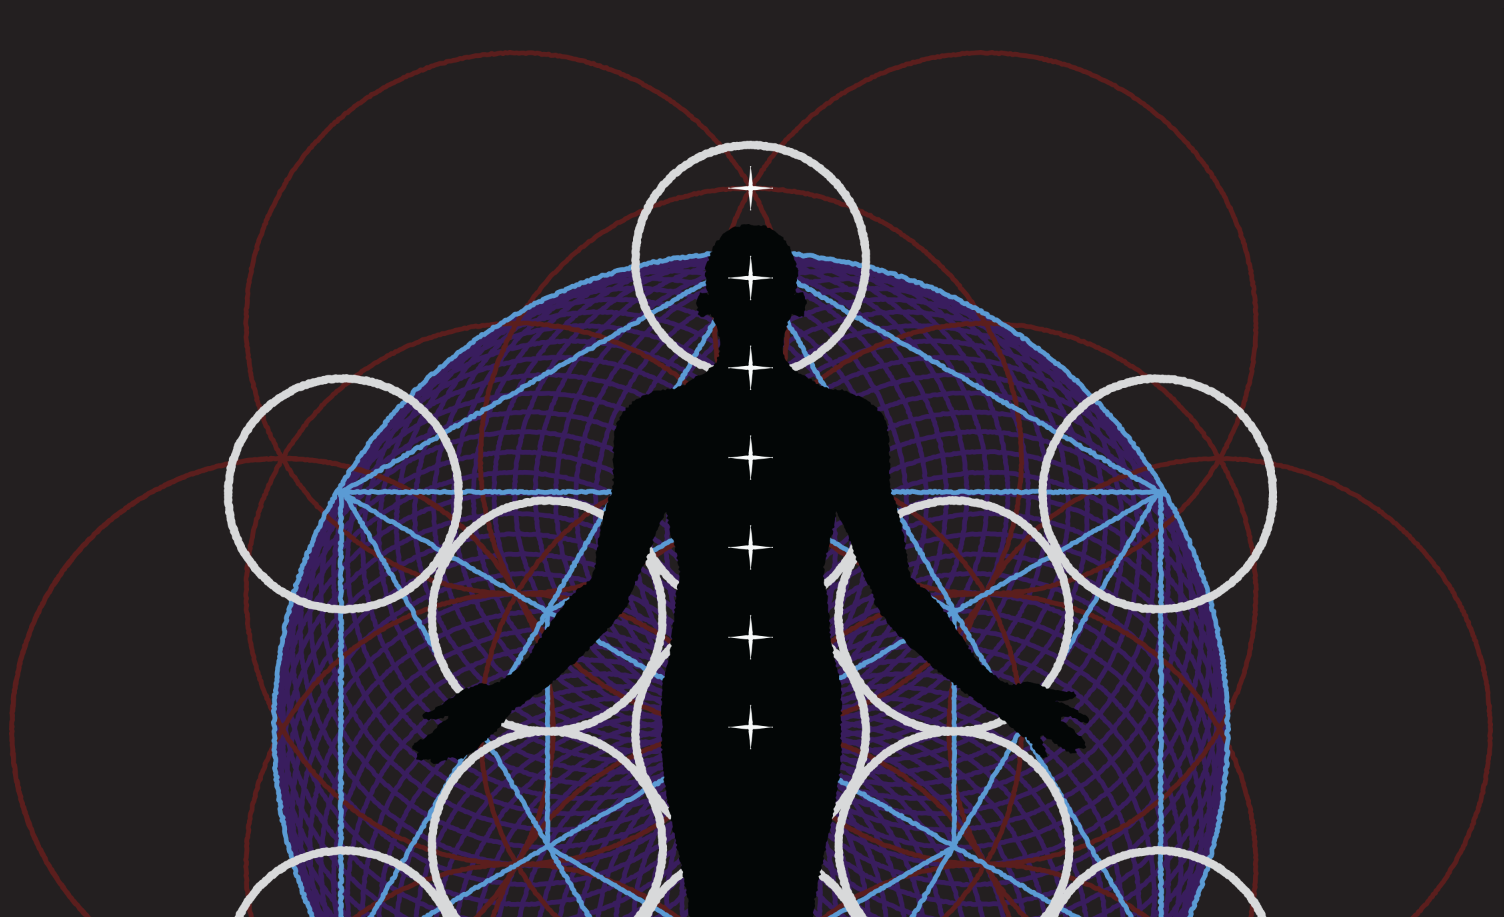
The stars.

Aligning the stars back in place (the top star is at the intersection of the top red circles).

Nudging the wings back in place.

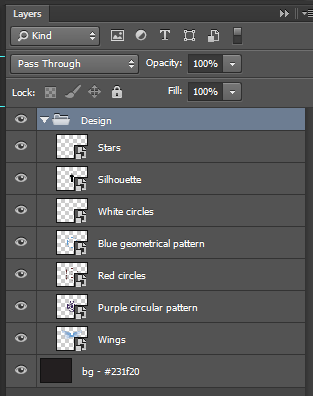
Here’s a view of how the design elements are placed compared to my initial guides. If you want your design or some of its elements to be bigger or smaller within the finished print, now is the time to adjust the sizes. For instance, I’ve decided to size my design so it reaches the smaller rectangles inside of my guides.


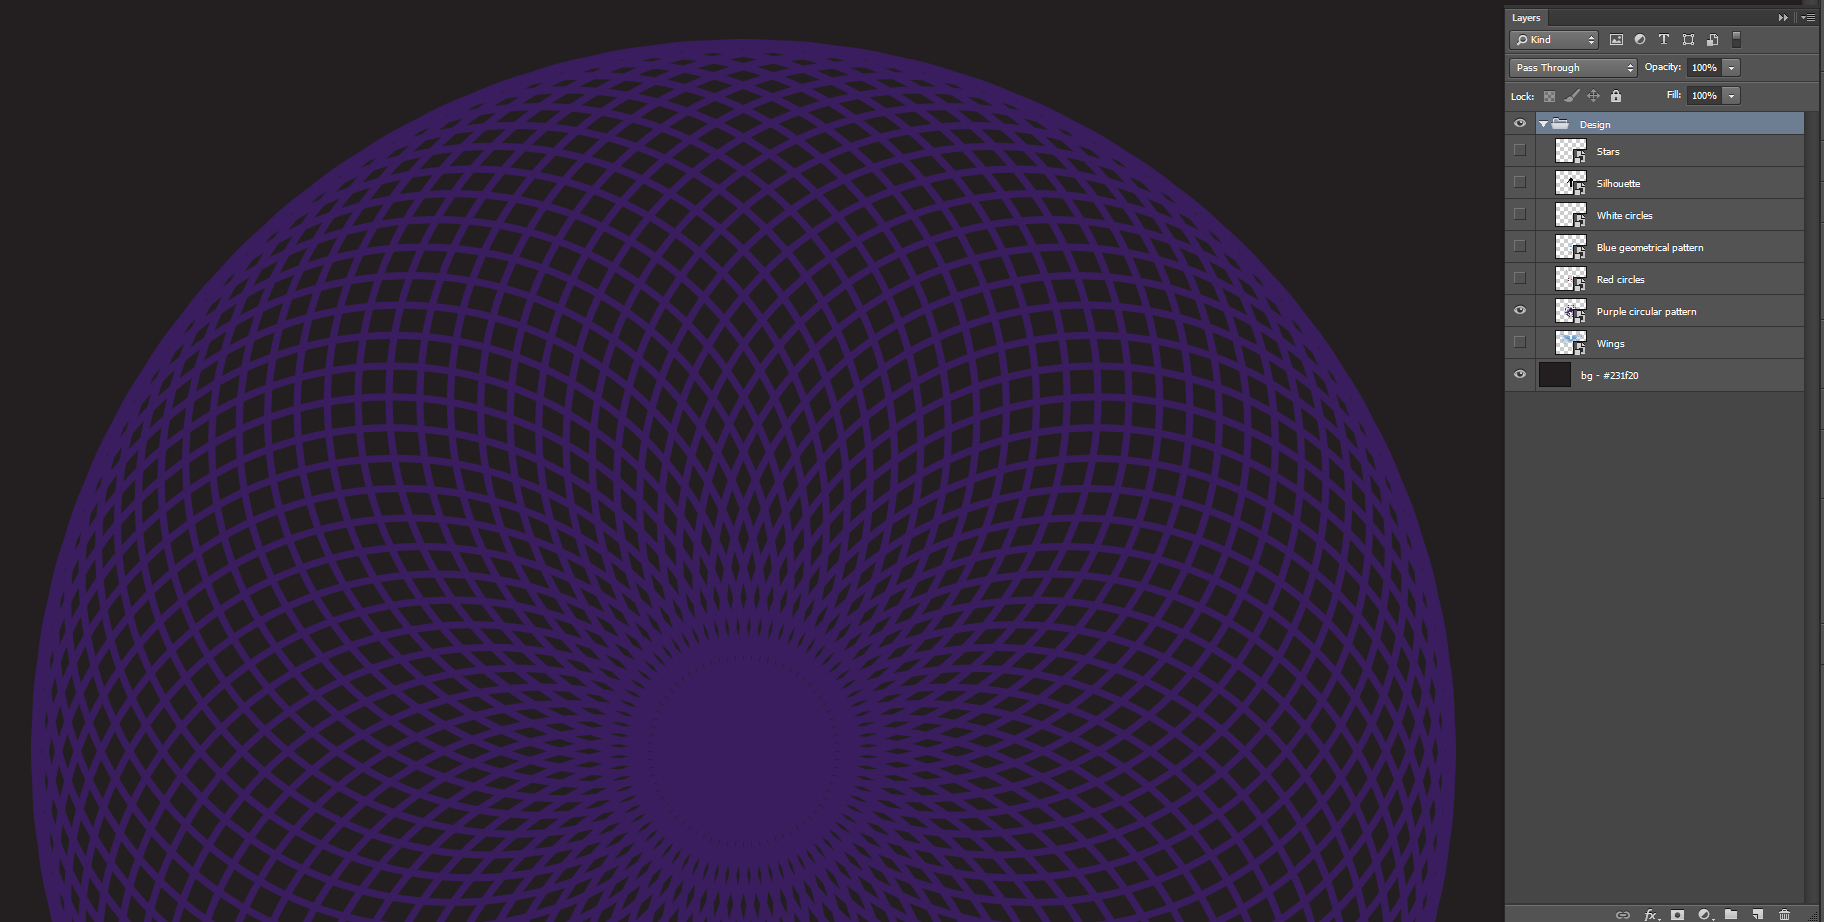
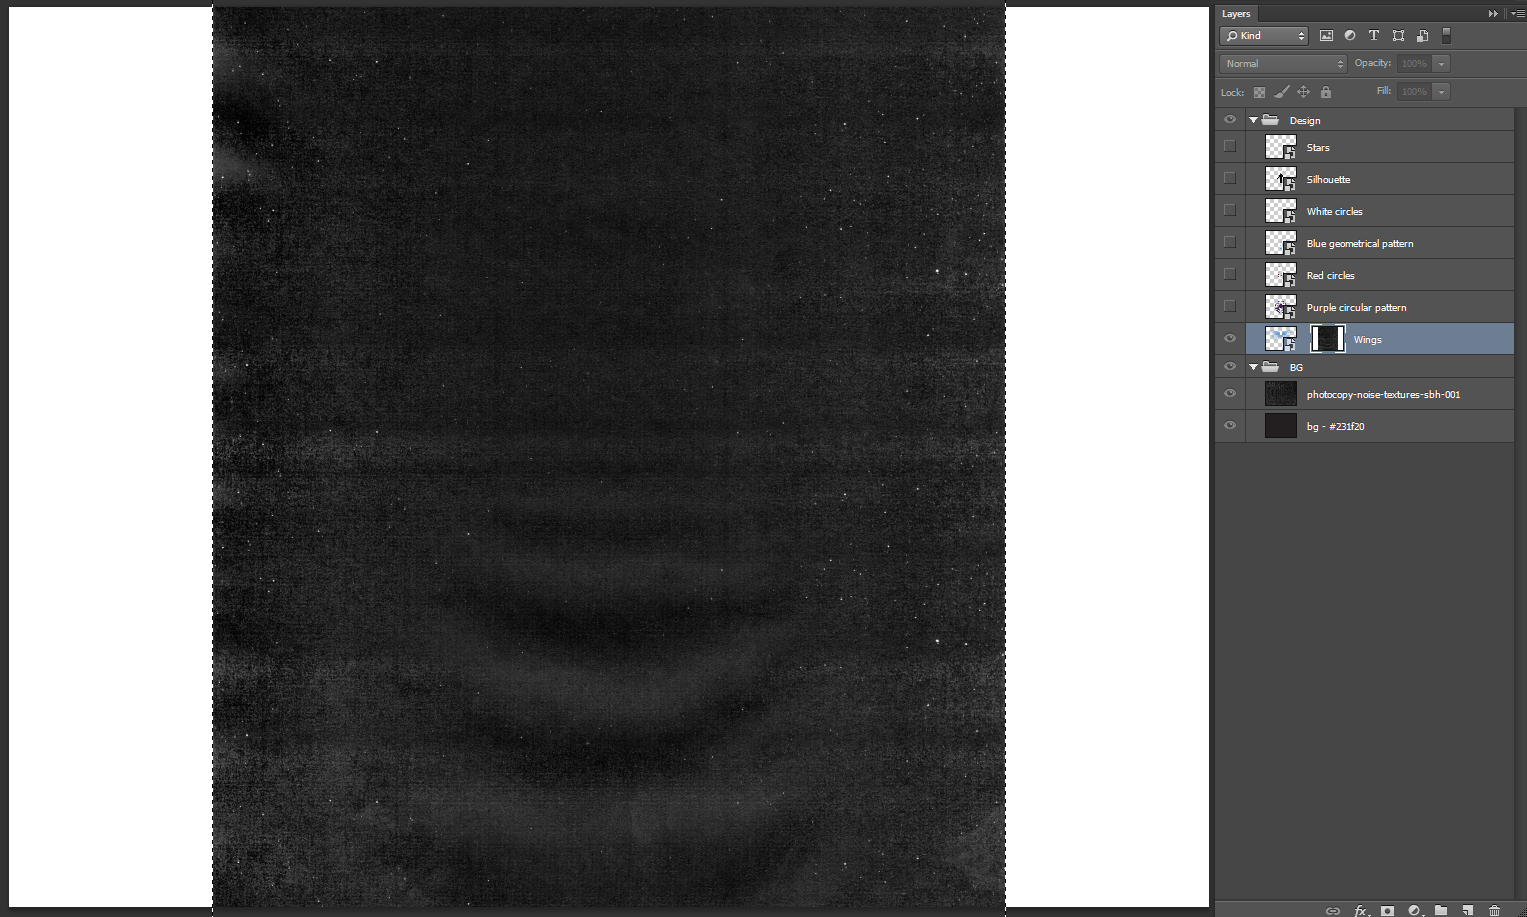
And here’s a view of my layer stack so far.
Step 3: let’s roughen these vectors up
The next step will involve the use of Illustrator’s roughen filter (Effect > Distort and transform > Roughen). I learned about the effect through that 2011 Method and Craft article by Simon Walker. Basically, the effect distorts your paths and adds more or less subtle variations to them.
We’ll be applying the effect on all of the elements of the design, minus the wings. This is where retaining the smart object quality of the elements pasted in Ps comes handy. You simply have to double click on the layer thumbnails of the smart object in order to be brought back to Ai, and to be able to edit the vector element.
Let’s start with the purple circular pattern element. I’ve turned off the other elements of the design for better legibility, but you don’t have to.
Once you’ll double click on the layer thumbnail, Ai will open and you’ll be able to edit just that element.
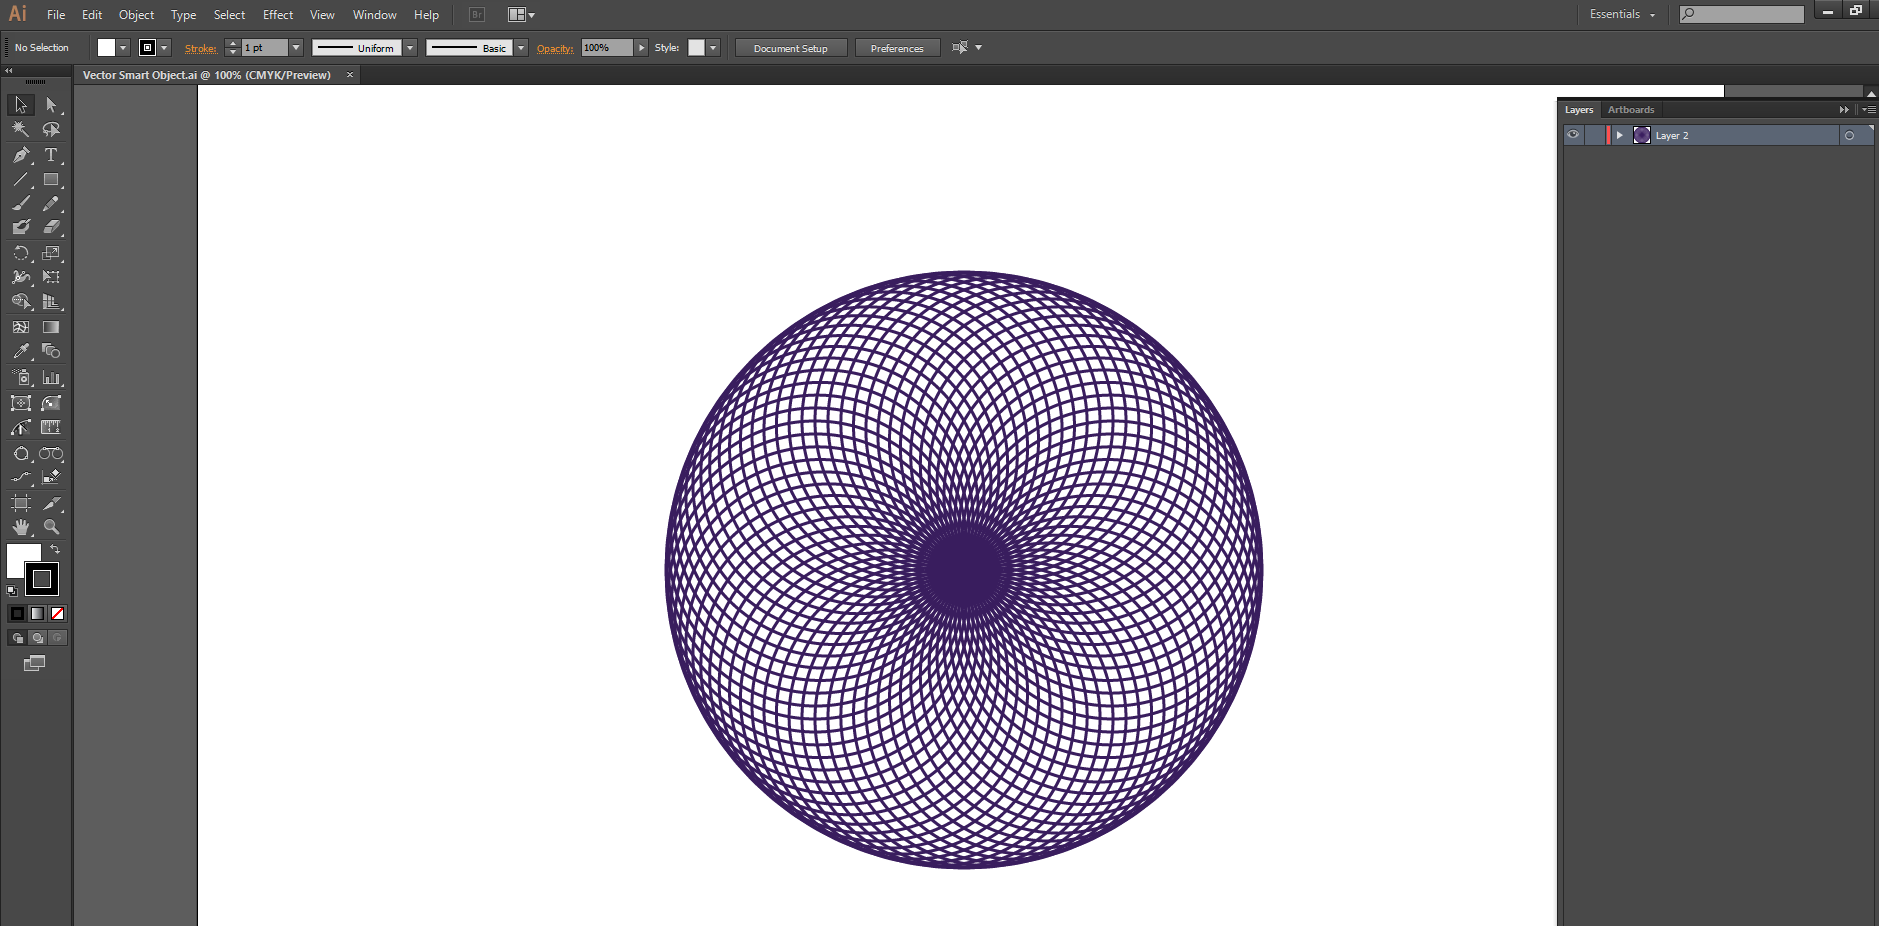
Let’s select our element, and bring up the roughen filter (Effect > Distort and transform > Roughen). I suggest zooming in a little bit, in order to fully appreciate what the effect does to your paths. Oh, and tick that “Preview” box to see what’s happening.

Obviously, the default values are a bit extreme in terms of result. After a little bit of tinkering, the values I’ve settled on are the following:
- Size: 0.1%, relative
- Detail: 50/inch
- Points: smooth

Note that you can come up with your own values. These should be considered as a starting point for your own exploration. Also, you could decide to expand the various elements from strokes to paths, or to leave them as is. Once you’re happy with the filter’s values, validate them. The next step: save your work (CTRL/CMD+S), close the file in Ai, and head back to Ps for a little surprise…
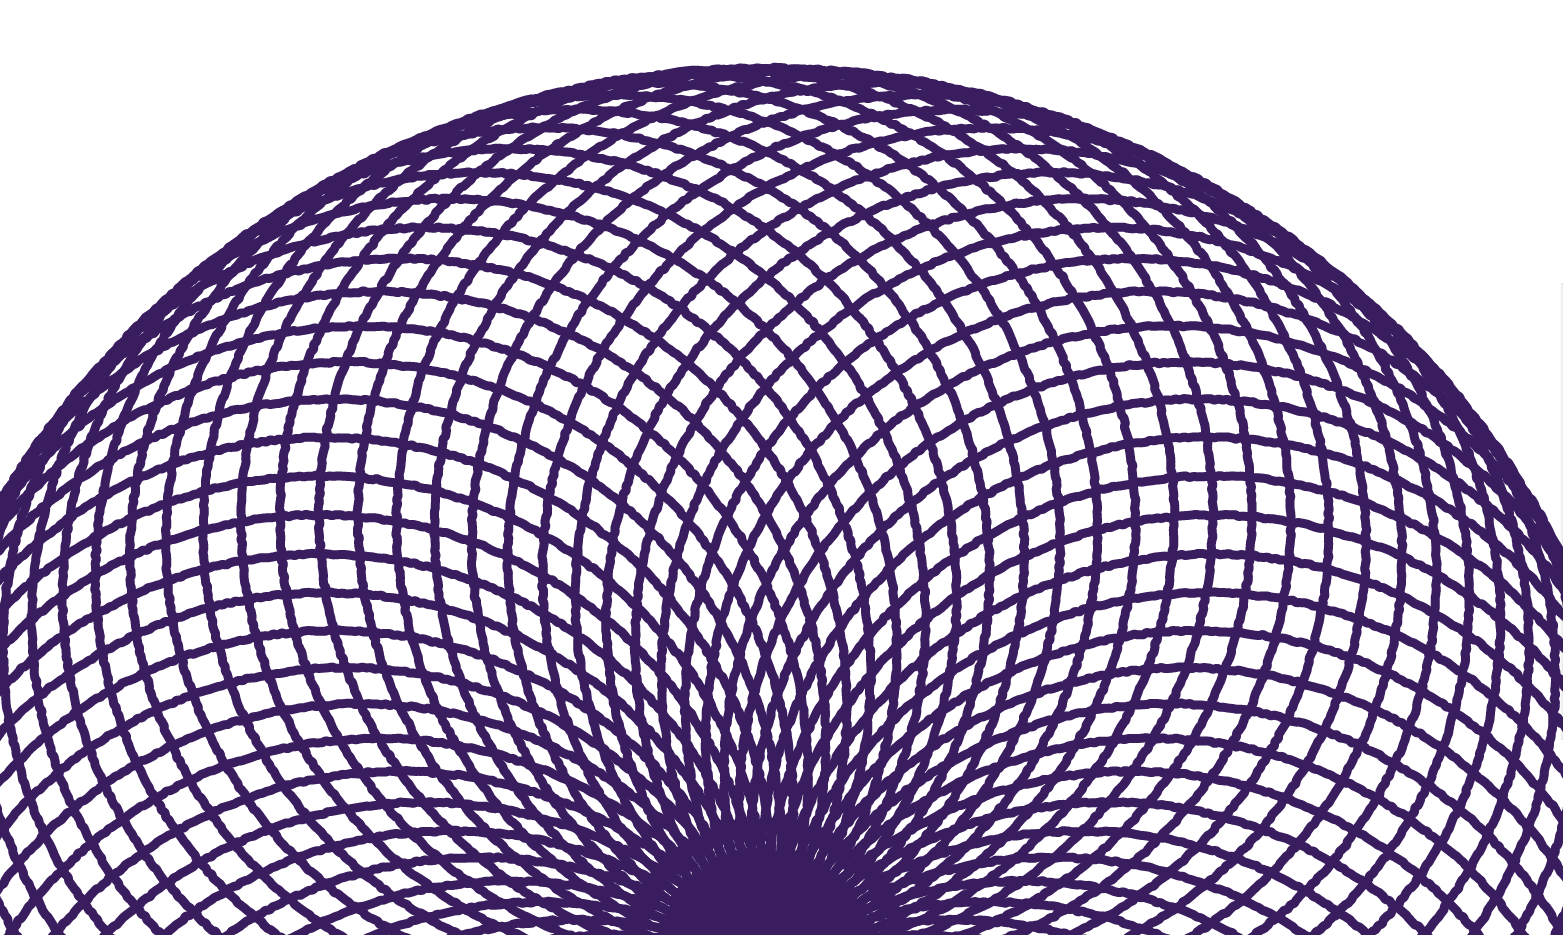

The effect is applied! Isn’t that neat? Now, you’ll simply have to go through the same process for the other design elements (minus the wings, once again: the halftone effect they have is enough). I personally used the same values for the roughen filter for all the elements, as it gives consistency to the final piece, but you could spend the time to find the perfect values that works the best for each specific part of the design. Below, a few shots of the process, up close:


Note the special values I’ve ended up using for the white circles: the effect wasn’t visible enough with the other ones I settled on earlier, so I upped the ante a bit. I did return to my previous values for the other elements though.

And done with that part.
Step 4: textures!
Finally, we can play with textures here. The photocopy noise texture pack is made of black and white textures, which will somewhat dictate the workflow we’ll have with them. First, we need a bit of a refresher about blending modes. This wonderful article by PhotoBlogStop will give you every detail you ever wanted to know about them, including math (!), but we’ll focus on Screen:
Screen: Similar to the Lighten blend mode, but brighter and removes more of the dark pixels, and results in smoother transitions. Works somewhat like the Multiply blend mode, in that it multiplies the light pixels (instead of the dark pixels like the Multiply blend mode does). As an analogy, imagine the selected layer and each of the underlying layers as being 35mm slides, and each slide being placed in a separate projector (one slide for each projector), then all of the projectors are turned on and pointed at the same projector screen…this is the effect of the Screen blend mode. This is a great mode for making blacks disappear while keeping the whites, and for making glow effects.
The most interesting part of this quote is the emphasized sentence: “this is a great mode for making blacks disappear while keeping the whites, and for making glow effects.” It just happens that the noise effects in the textures from our pack ARE white speckles and stripes. So we simply have to put the textures on screen to retain just their noisy part, and the rest shows up as transparent. After that, if the effect is too strong, you simply play with the opacity slider of the texture layer. Let’s put this into practice by adding some noise to our background layer.
Go ahead and place photocopy-noise-textures-sbh-001.jpg in your design. It should be just above the background layer, and sized to cover the whole background.

Give it a quick sharpening (Filter > Sharpen > Sharpen), and simply change the layer’s blending mode to Screen. As you can see, the effect is quite strong.
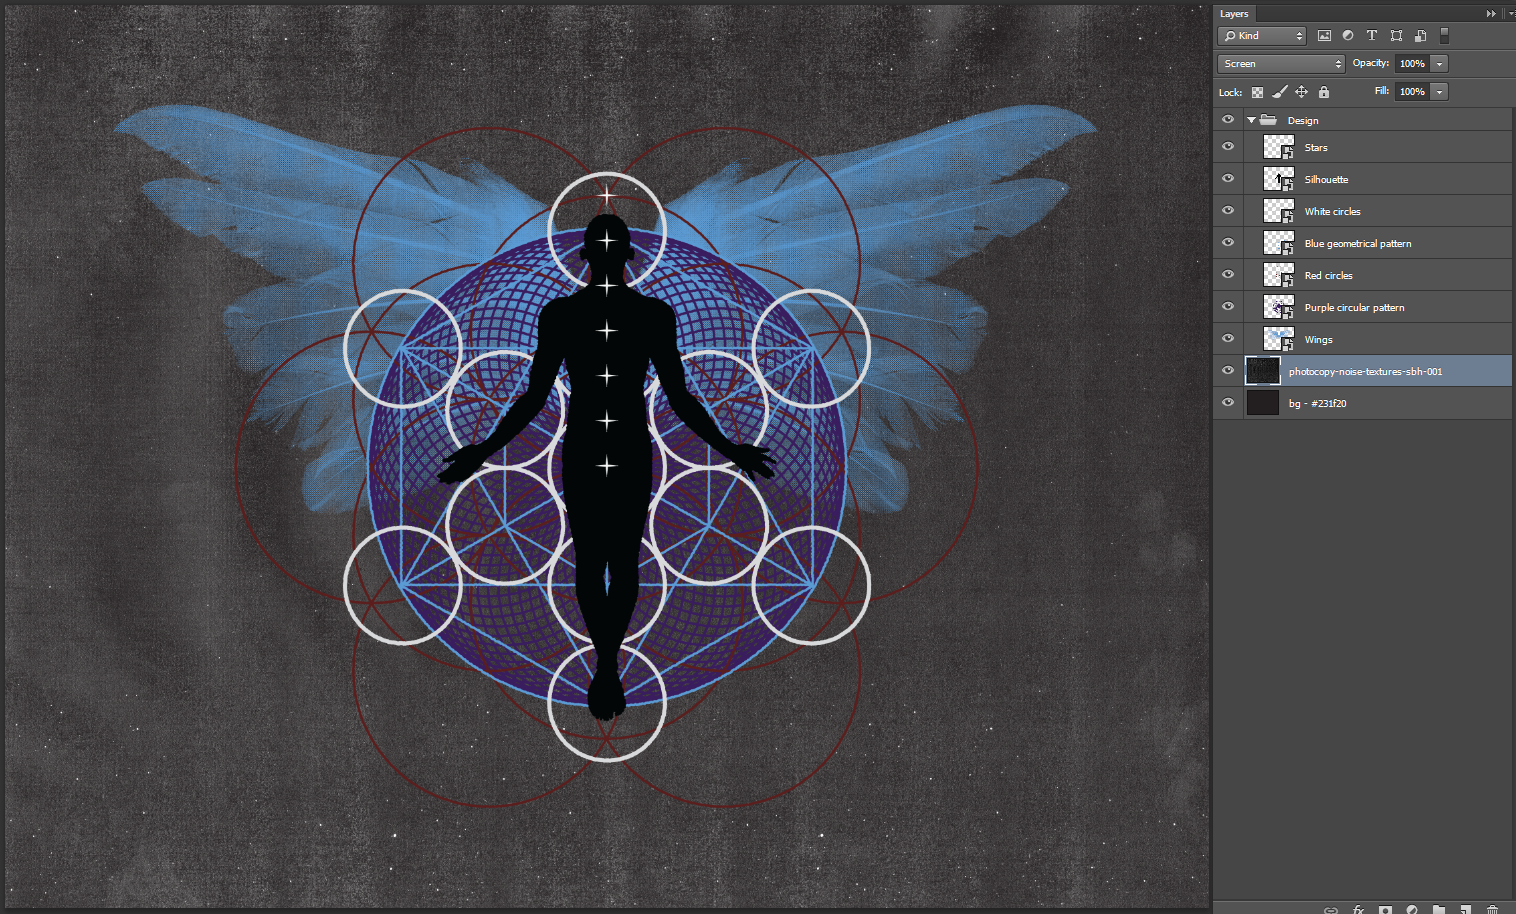
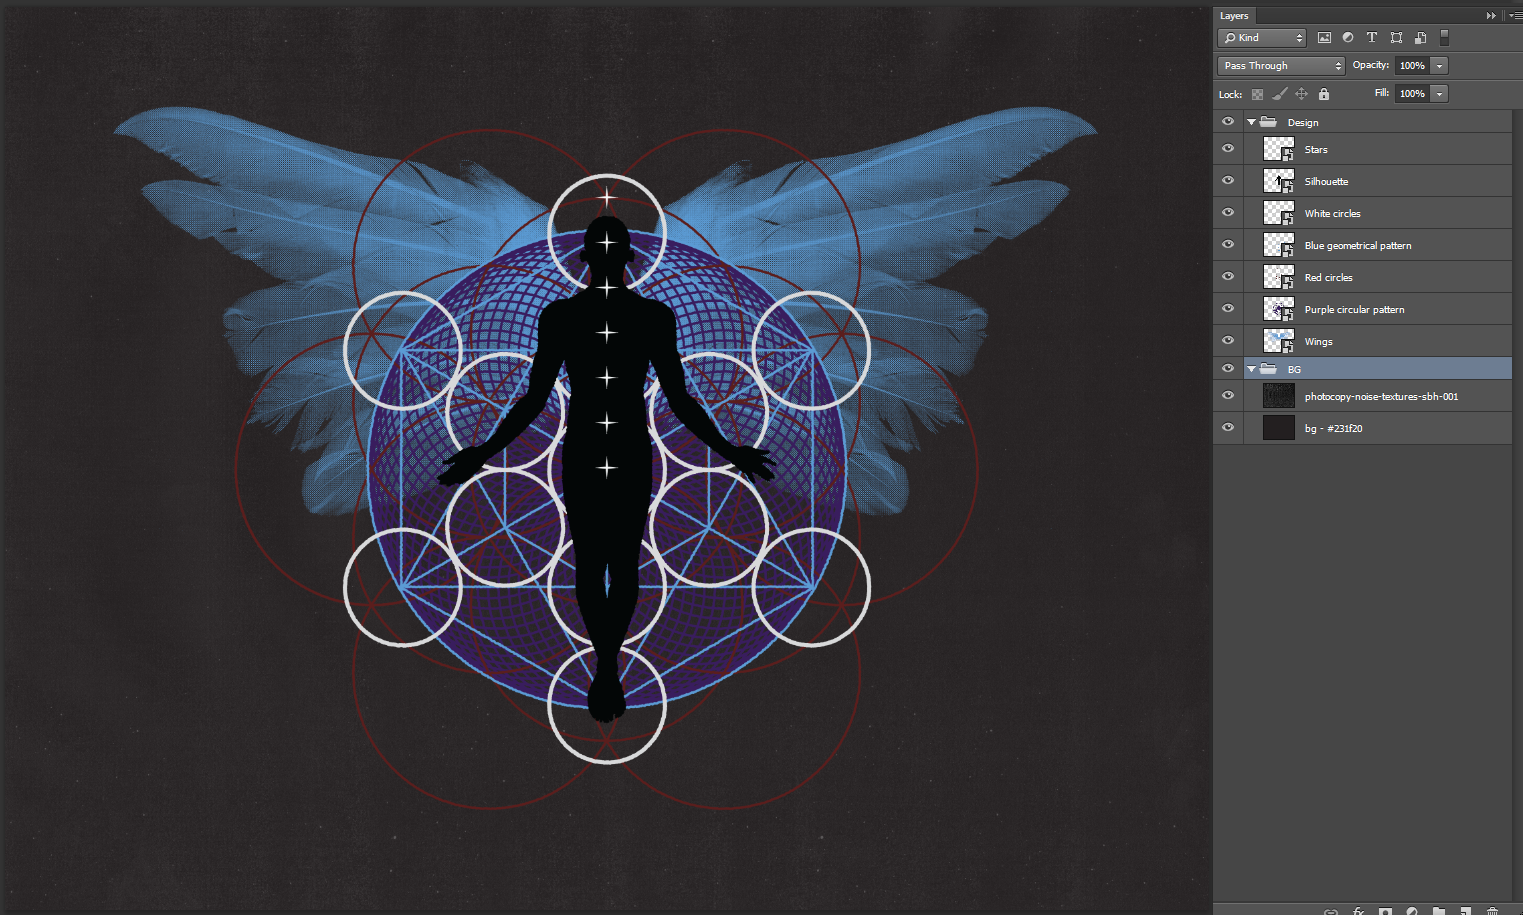
We’re simply going to lower the opacity of the layer to 25% for something a bit more subtle.

Also, I’ve given the background elements their own layer group.
It’s time to start adding our subtle noise to the rest of the design. We could simply use the texture clipped over each element, and tinker with the opacity sliders to create some subtle overlays. But this would show the noise as white or light gray speckles over each design elements. Most of these being line art, we wouldn’t see much of an effect.
We’re going to use another trick from our bag, and paste the textures in layer masks. Remember that whatever part of a layer mask that’s white shows the art, and whatever part of it that’s black hides it. Armed with knowledge, we can deduce that pasting the textures as is will simply obliterate the designs. Nothing subtle here. What we can do however is to invert the textures once they’ve been pasted in the layer masks. From there, playing with levels to increase or decrease the intensity of the effect is child’s play.
The process to paste a texture in a layer mask is easy:
- Add a layer mask to the design element you’re interested in impacting (with the layer highlighted, go to Layer > Layer mask > Reveal all). Make sure to click the little chain link between the layer and the layer mask to make it disappear. This will allow you to move or resize the content of the layer mask without changing the design element itself
- Open your texture file, copy its content (CTRL/CMD+C)
- Go back to your design, and ALT/OPTION + CLICK your layer mask. This will allow you to get access to and edit the content of the layer mask itself, rather than your design
- Paste your texture (CTRL/CMD+V)
- Resize and edit the content of the layer mask at will
- Click back on the design element and admire the result of your work
Here are some images of the process with the wings. I’ve used photocopy-noise-textures-sbh-001.jpg again.
Layer mask added and unlinked.

Pasting the texture in the layer mask.
Resizing the texture to cover the whole canvas. You have access to the same transform controls that outside of the layer mask (CTRL/CMD+T or CTRL/CMD+SHIFT+T for proportional transformations).

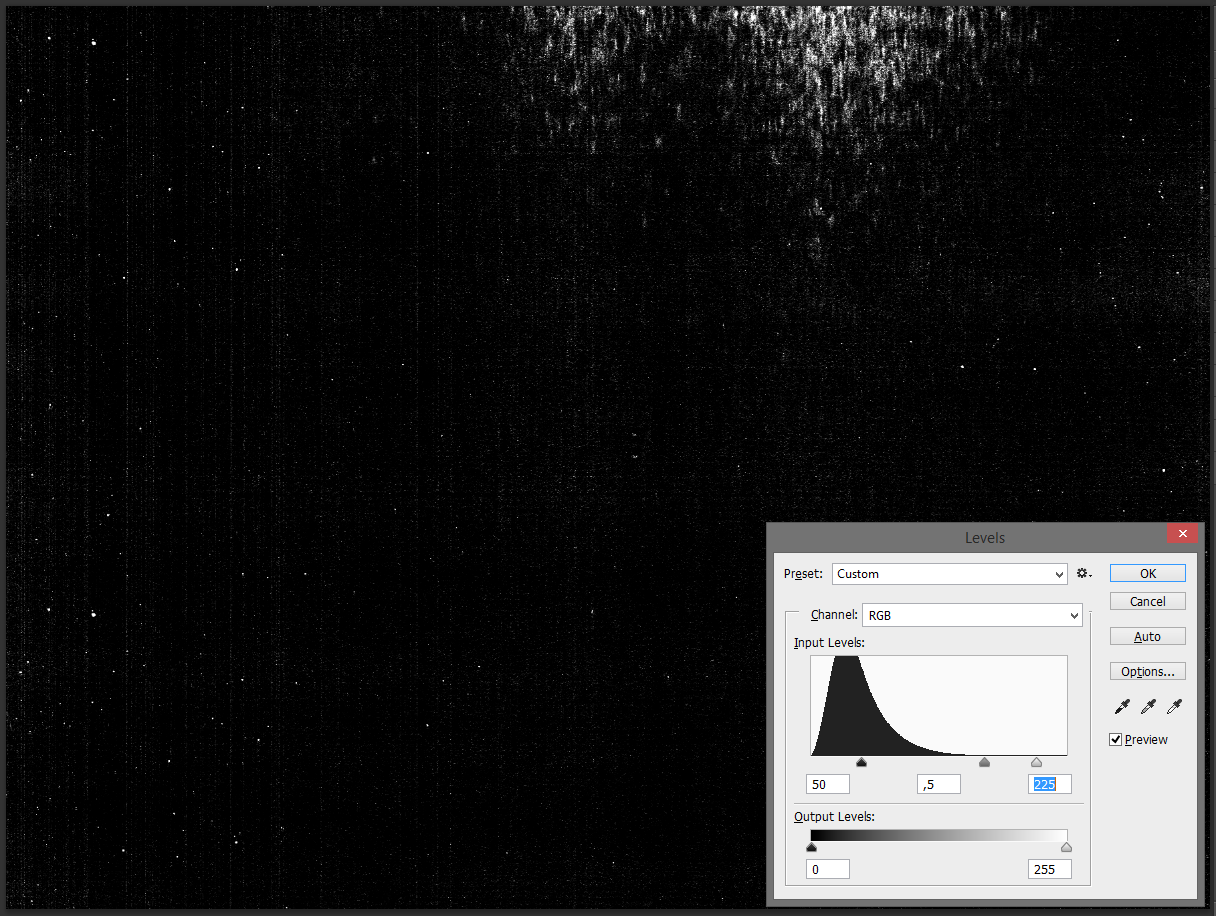
Inverting the texture (CTRL/CMD+I).

Using the levels palette (CTRL/CMD+L) to increase the contrast.

Admiring the result.

Comparison with the layer mask turned off.

Some of impacted areas highlighted.

As you can see, it’s quite a simple process, and the result with the photocopy noise texture pack are just the right amount of subtle.
Following a similar workflow, I worked my way through the other elements of the design, using textures #1 to #5 of the pack (#6 will used for the final finishing touch).
Below, some before and after pictures for each element:
Purple circular pattern, before

Purple circular pattern, after (background turned off for better effect appreciation)
Layer mask details

Red circles, before

Red circles, after
Layer mask details
It can seem that the effect is too subtle. Here’s a 100% crop to convince you otherwise:

Blue geometrical element, before
Blue geometrical element, after

Layer mask detail

White circles, before

White circles, after
Layer mask detail

Silhouette, before

Silhouette, after

Layer mask detail

Stars, before
Stars, after

Layer mask detail. Note that I’ve used the same textures than for the silhouette. I’ve simply moved it to the top right a little bit.
And here’s the full design after all that process:
We’re almost done. It’s time for the finishing touches.
Step 5: let’s wrap this up
Now that all of our design elements got their individual weathering treatment, it’s time to tie everything up together. In order to do so, we’ll first add a layer mask to the whole design layer group, and paste one of our textures in there. This will unite the elements together visually, by giving them a consistent weathering. I used photocopy-noise-textures-sbh-004.jpg for that (the one with the heavy striping).


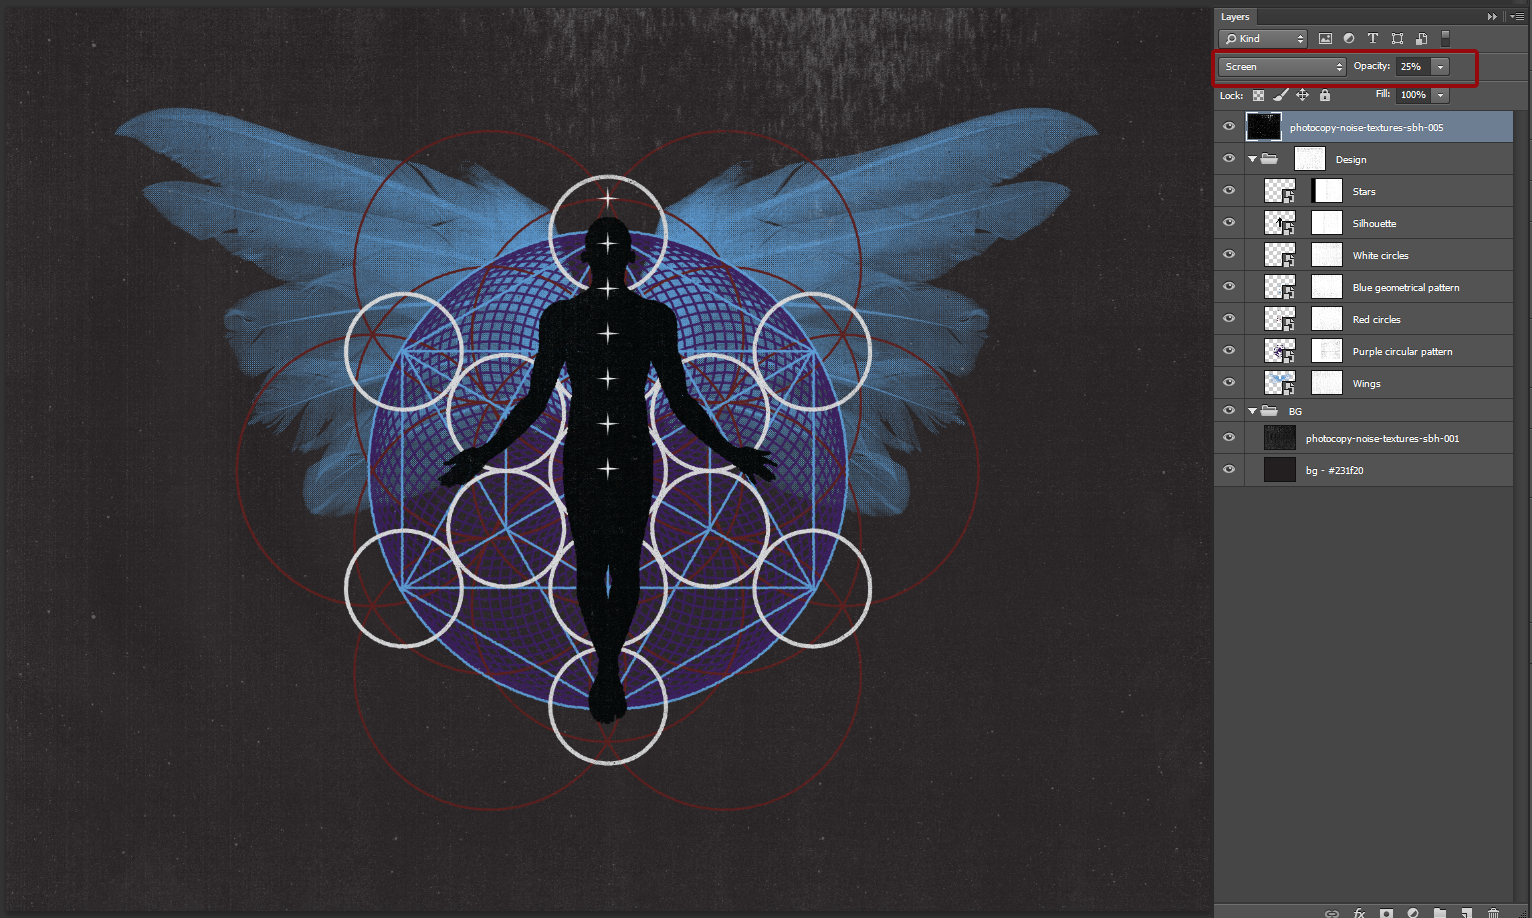
Once that’s done, we’ll add two more textures at the top of our layer stack. The aim is the same: to tie all the elements visually together, by impacting them all with the same element. First, let’s add photocopy-noise-textures-sbh-005.jpg to our design. Make sure it fills the whole canvas.

Let’s make it significantly darker, so its effect will be much more intense.
After that, change its blending mode to Screen.

Since the effect was a tad overbearing, I lowered the opacity to 25%.
We could stay there, but I’d like a effect similar to a vignette, that would detach the center piece from the background a bit. I’ll be using photocopy-noise-textures-sbh-006.jpg to accomplish this. Let’s place it into our document, in a way similar to the image below (it’s been rotated upside down, and scaled up so it covers the whole design). I’ve also given the two top textures their own Global textures layer group.

Once it’s in place, simply change the blending mode to Soft light, and lover the layer opacity to 25%. This gives a much softer result than Screen, and still let’s the background’s subtle noise show through.

And we’re done! You could take the time to mock this up on a poster mockup template if you wanted to:

Last words
I hope you liked going through this tutorial as much as I liked writing it. I also hope it convinced you to get the photocopy noise texture pack, as well as Jeff’s Awakened tee design pack if it isn’t already done. If you have any questions, feel free to tweet at me (@simonhartmann)! I’ll also be watching the comments in the next few days. Thanks again for reading, and until next time, cheers!