Blog
Clipping Masks in Illustrator | Design Tip of the Week
Clipping Masks in Illustrator
Hey, everyone! For this short and sweet Design Tip of the Week, I’ll show you how to use clipping masks in Illustrator. They are very to do, yet incredibly useful in creating backgrounds, making textured shapes and cropping in objects.

Start by opening the image you would like to be masked in Illustrator. Create a rectangle on top*. Select both the image and the rectangle, right click, then select Make Clipping Mask. Keep in mind that the rectangle must be on top of the image.
*So that you may see better, I gave my rectangle a white stroke. (You do not need it.)
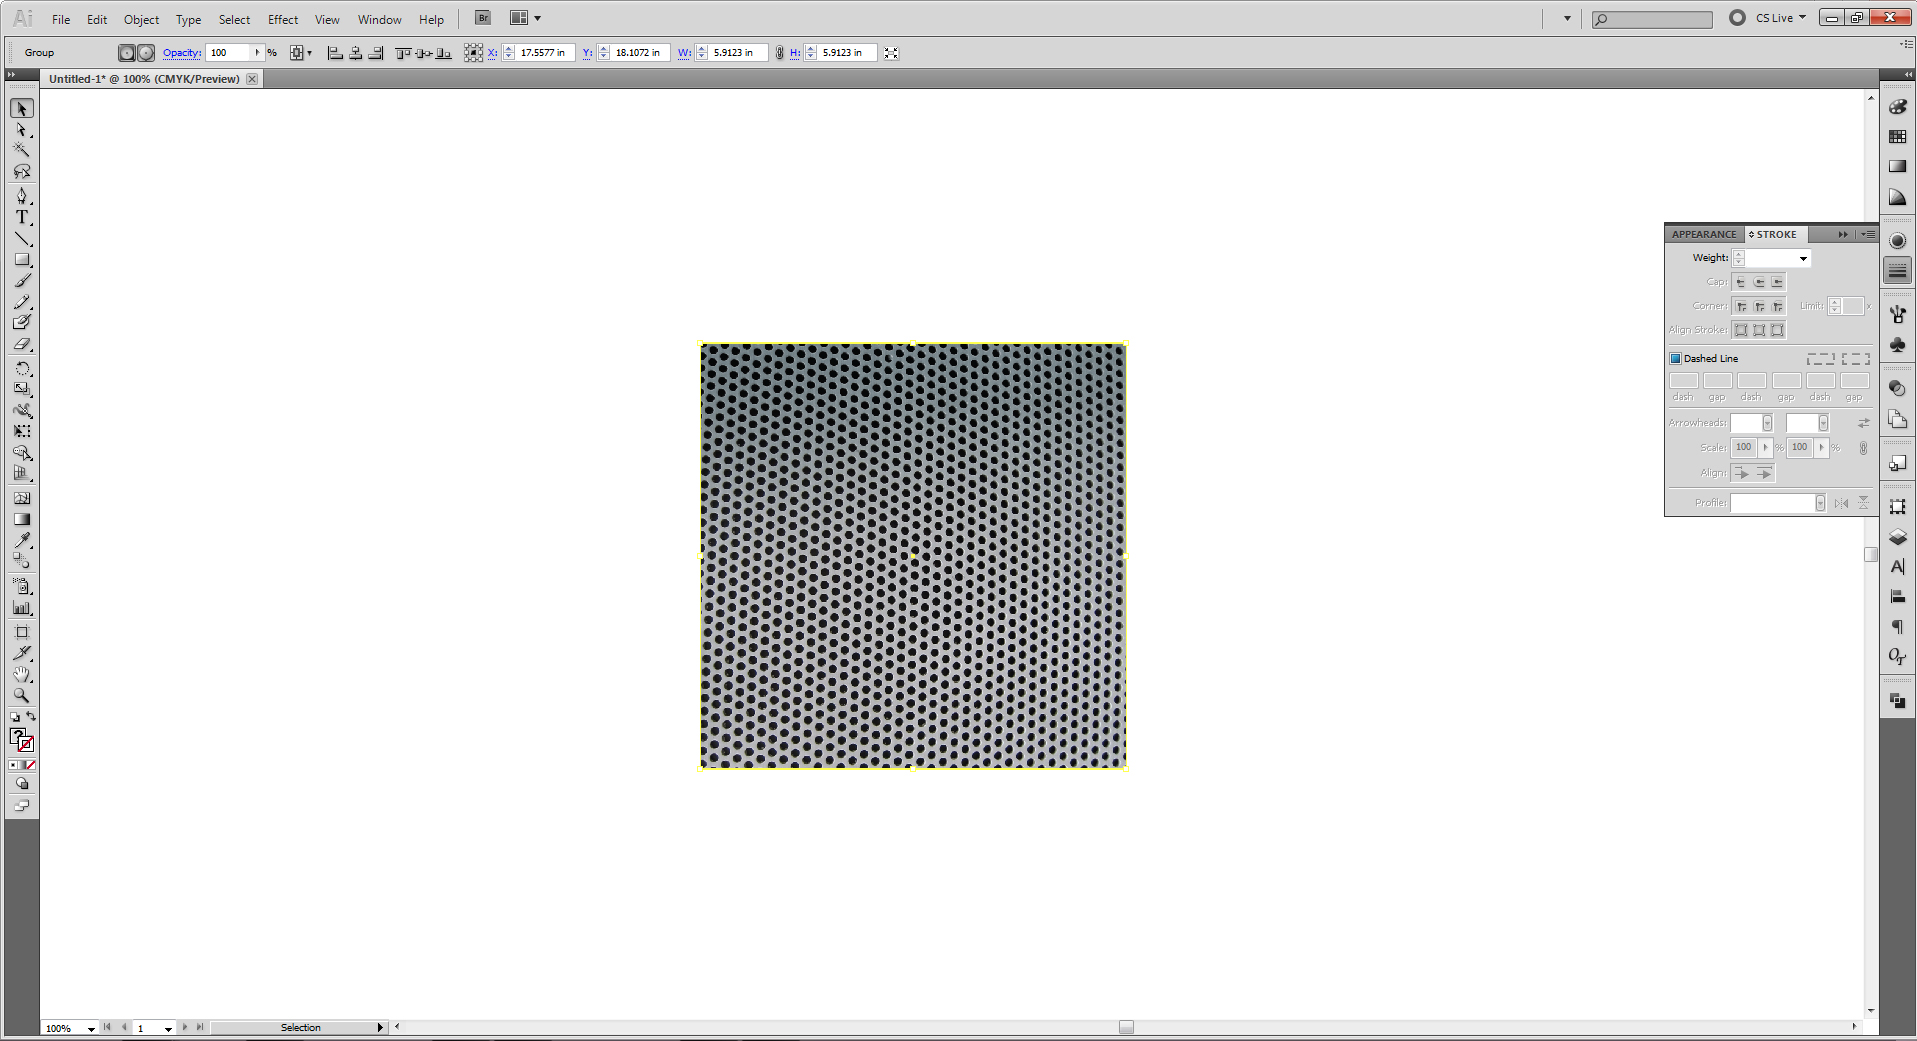
Ta-da! Told you it was super easy.

Double-click on the rectangle to edit the image inside. You’ll notice that the display will change to that of working inside a group. You can also remove the clipping mask by right-clicking and selecting “Release Clipping Mask.”
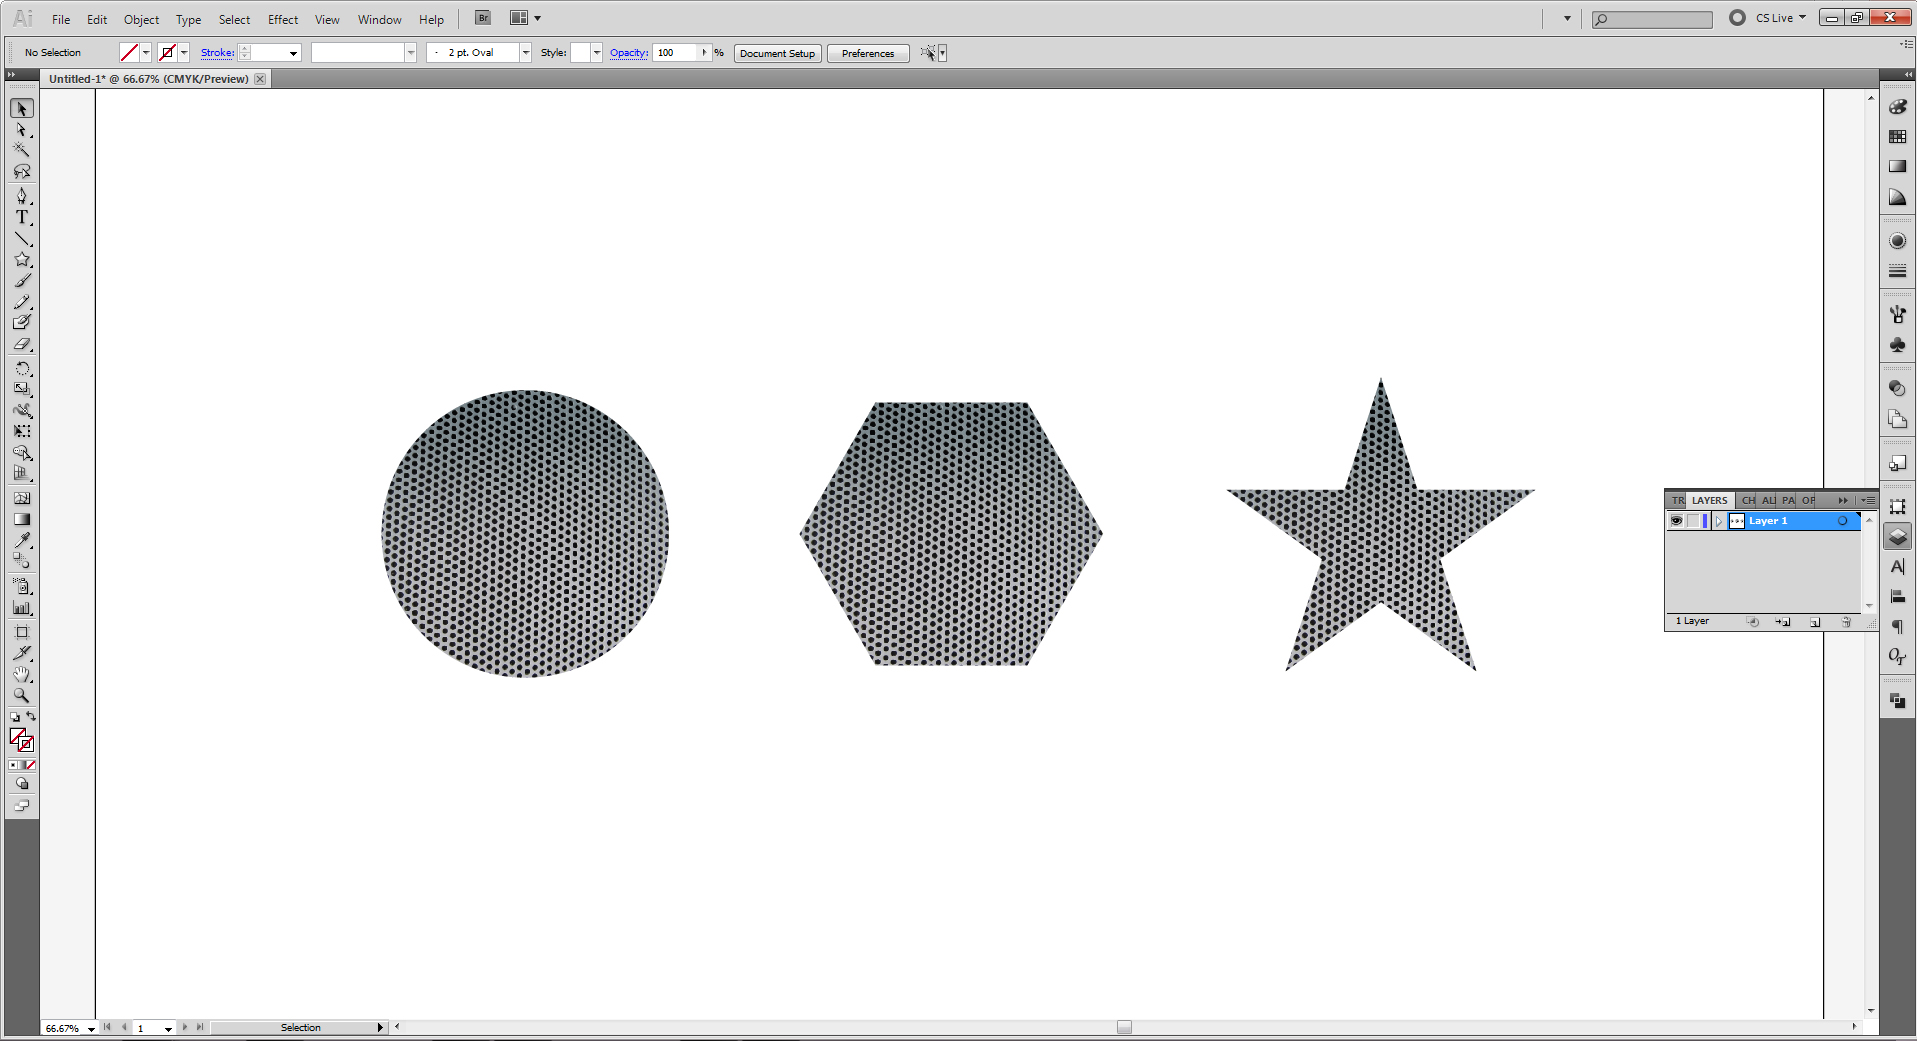
Any shape can be used to create a clipping mask. Again, just remember to have it on top of all of the elements you want inside the mask.

There are many uses for clipping masks. For example, You can use them in your illustration! (You too can create a debonair character like this one.) The suave Casanova above is made from three different images of textures, all confined in their designated shape by using clipping masks.
In need of some good textures? Look no further! Check out our texture packs in the Arsenal!
That’s all for now. Thanks for stopping by!
