Blog
PS Tutorial: Create a text portrait poster based on your favorite book (Free mockup included)
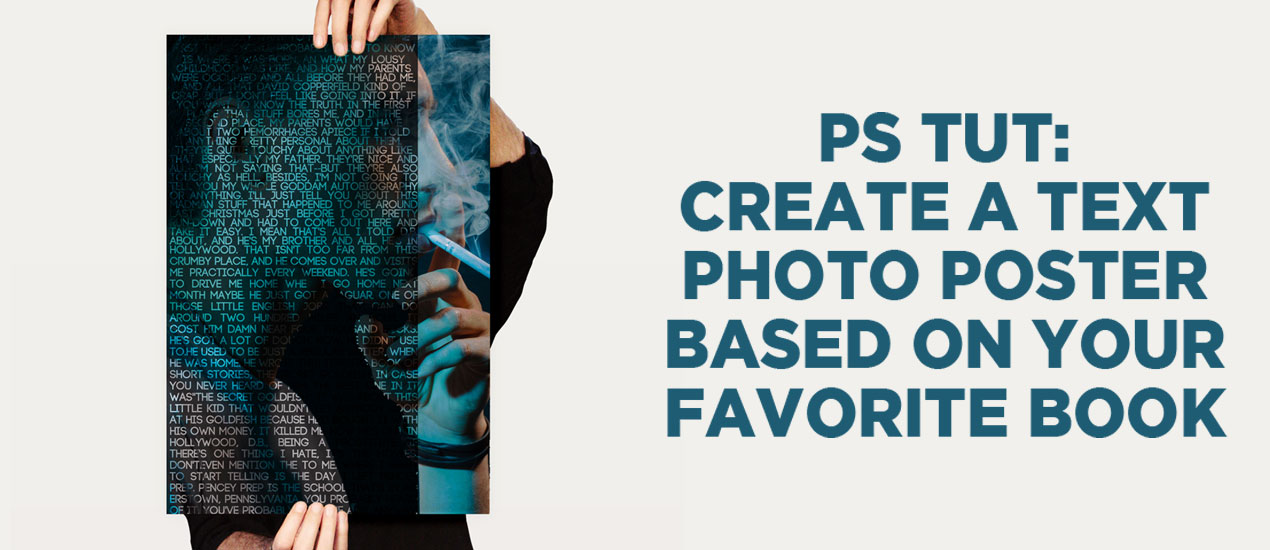
Let’s Create a Text Portrait Poster!
In today’s tutorial, we are going to be creating a text photo poster created by combining the image of our choice with related text. I’ll create mine based on my favorite book of all time, The Catcher in the Rye. Which book will you choose?
You will need:
- An image of your choice. I chose this image from Adobe Stock. I’m not sure it captures Holden perfectly, but it will work for today!
- Text relating to the image.
- Photoshop
- Free Poster Template from Go Media
STEP ONE: Open your image in Photoshop. Duplicate your photo layer so that you have two identical layers.

STEP TWO: Using the top layer, make a selection in order to cut the photo out from its background. I used the pen tool, but you can choose the implement of your choice. Once you have finished cutting your subject from the background like you see below, choose your PATH tab, right click on “Work Path,” then choose “Make a Selection.” You’ll see your subject selected.

Next, you’ll want to apply a layer mask to your photo.

If you don’t know how to do that, find this little icon below the two layers you have created. Make sure your top layer is selected, then click on it. You know you’ve done it when you see a black and while silhouette of your image to the right of it. This is your layer mask.
Now, select your layer mask, then click CTRL + I. You’ll see your background disappear. Well done! Let’s label this layer Image 2.

STEP THREE: I decided to enlarge my photo, so that I’d have more surface area for my text to cover later on. If you’d like to do this, make sure both layers are selected, CTRL + T and increase the size to your liking.

STEP FOUR: It’s time to add our text! Add a new layer above your existing two layers. Next, add a rectangular selection like you see below. This is where your text will end up, so feel free to choose how large or small an area you’d like the text to end up in.

Go ahead and layout your text in white, so that you can clearly see it in all its glory. When you’re finished, you can change it over to black.

STEP FIVE: Next, select your text and place a guideline to distinguish the text area versus the plain image space.

Oh, while you’re at it, slide your text layer beneath your image 2 layer. Now, select your image layer. Use the rectangular marquee tool to select the plain image space, ie. that which isn’t covered in text.
STEP SIX: Copy, paste this space into its own layer. (CTRL + C, CTRL + V) You’ll see it show up as below.

STEP SEVEN: Staying on this same layer, let’s use the rectangular marquee to select the opposite side. Choose your paint bucket tool and making sure your foreground color is #000000, fill this side with black.

STEP EIGHT: Let’s highlight our Image 2 and text layers. Press SHIFT and ALT at the same time, until you get an arrow and symbol indicating it’s time to clip the layers together. Right click to accept.

STEP NINE: Play around with your final product so that it’s to your liking!

I headed down to my layer 1 and took the opacity down to 77%, but you do you.

STEP TEN: Save it out and File > Place it into the free mockup we’ve provided you with today. Then, tweet it out or Instagram. We wanna see!
