Blog

Dust, speckles, and noise
Finally!
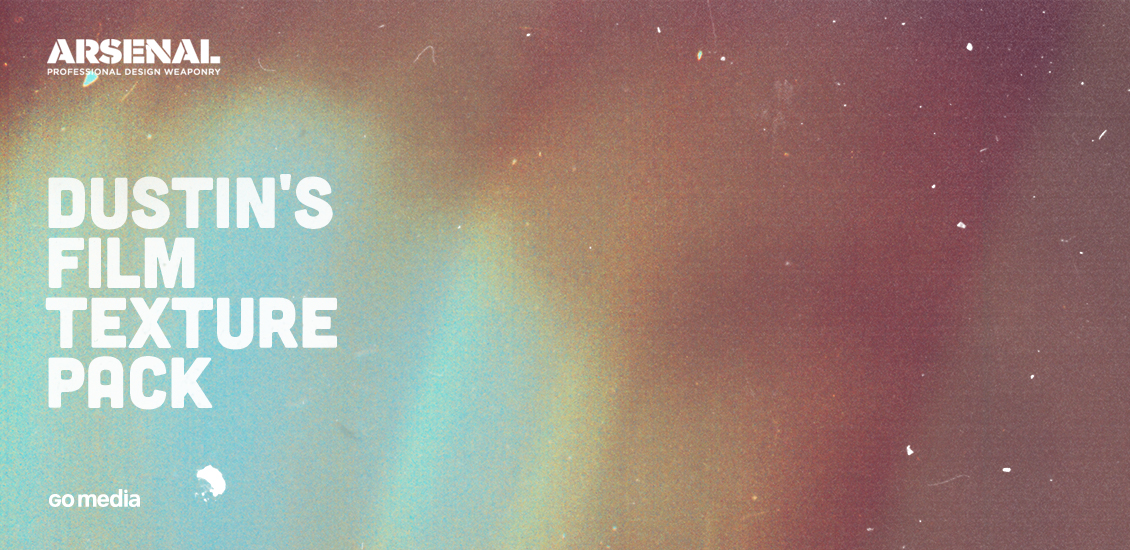
Hello all, Simon here. The product we’re launching today is something I’ve been wanting to launch for a LONG while. Behold, Dustin’s film textures pack! 
A bit of background
Why am I excited? Well, since we’ve (finally?) passed the extreme grunge trend, resources for subtle worn effects are what’s awesome. Believe it or not, quality ones are not always easy to find. Anyways. One of the ways to get some subtle grunge effects is to use these film textures. They will bring you three things at once:
- grain, from the film itself (100% analog awesomeness)
- dust, because we love anything that will make that clean, digital feel disappear
- speckles, to make things look less perfect
The other cool thing that comes with a film texture is a light effect of some sort. I’ve been scouring the web for textures like these A LOT. And I’ve found some. But for one, their licence restrictions are not the most practical. And then, always using the same three textures gets old. So I decided to tap on the shoulder of our contributors, and to see if they could help to add some of these awesome textures to the Arsenal. And Dustin Schmieding answered to the call! You know, the guy from Valleys in the Vinyl who brought us the Microscopic Fingerprints Texture Pack (among other things)?
The pack
The pack contains 23 amazing textures. Look at these beauties:
All of these could be printed at 24″x36″ and beautifully ornate a wall, don’t you think?
How to use them
There are multiple ways to use these textures. Let me show you a few of them.
Overlaying them together
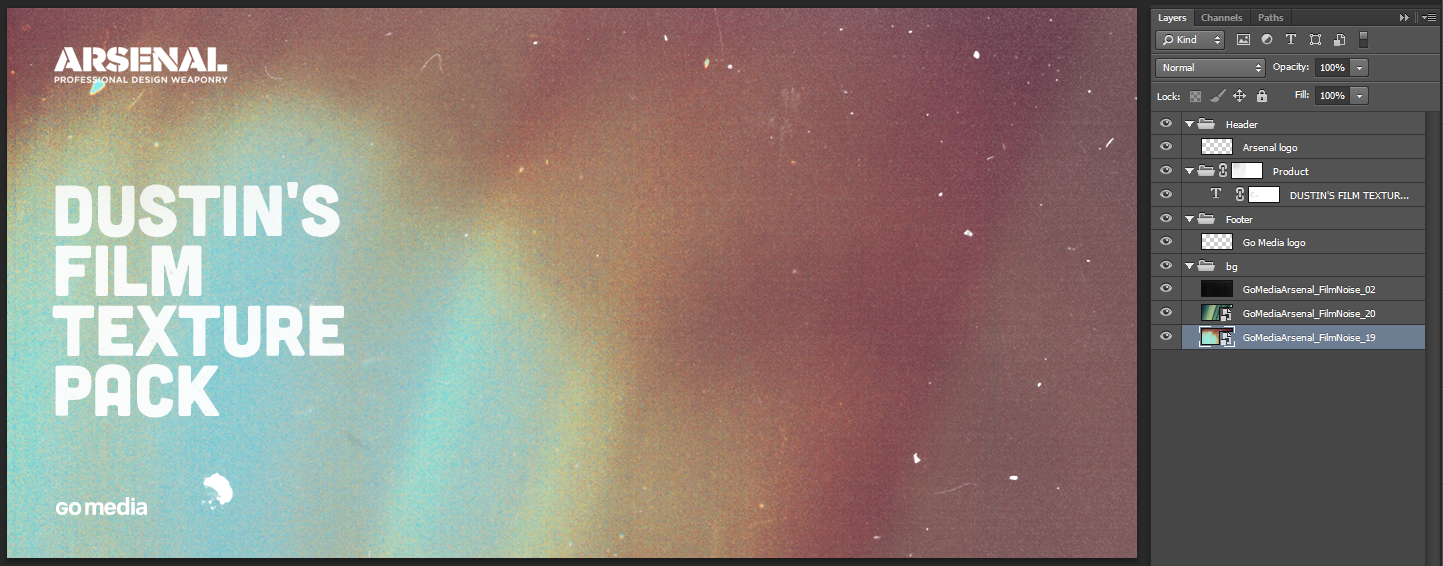
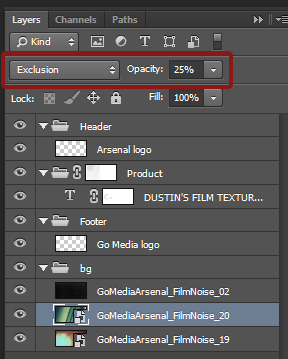
Let’s have a look at the visuals I came up with for the box, Zine header, etc. This is a screenshot of my file for the Zine header:  You’ll see that most of the design is made up by the 3 textures in the bg layer group. The main trick was to put GoMediaArsenal_FilmNoise_20.jpg on top of GoMediaArsenal_FilmNoise_19.jpg, and to change its blending mode to exclusion, at 25% opacity. It was also flipped, in order to orient the stripes it’s made of towards the right rather than the left. As I wrote earlier, the textures are already looking amazing on their own, so I didn’t need to add grain, other colors, or anything, really.
Blacking them out
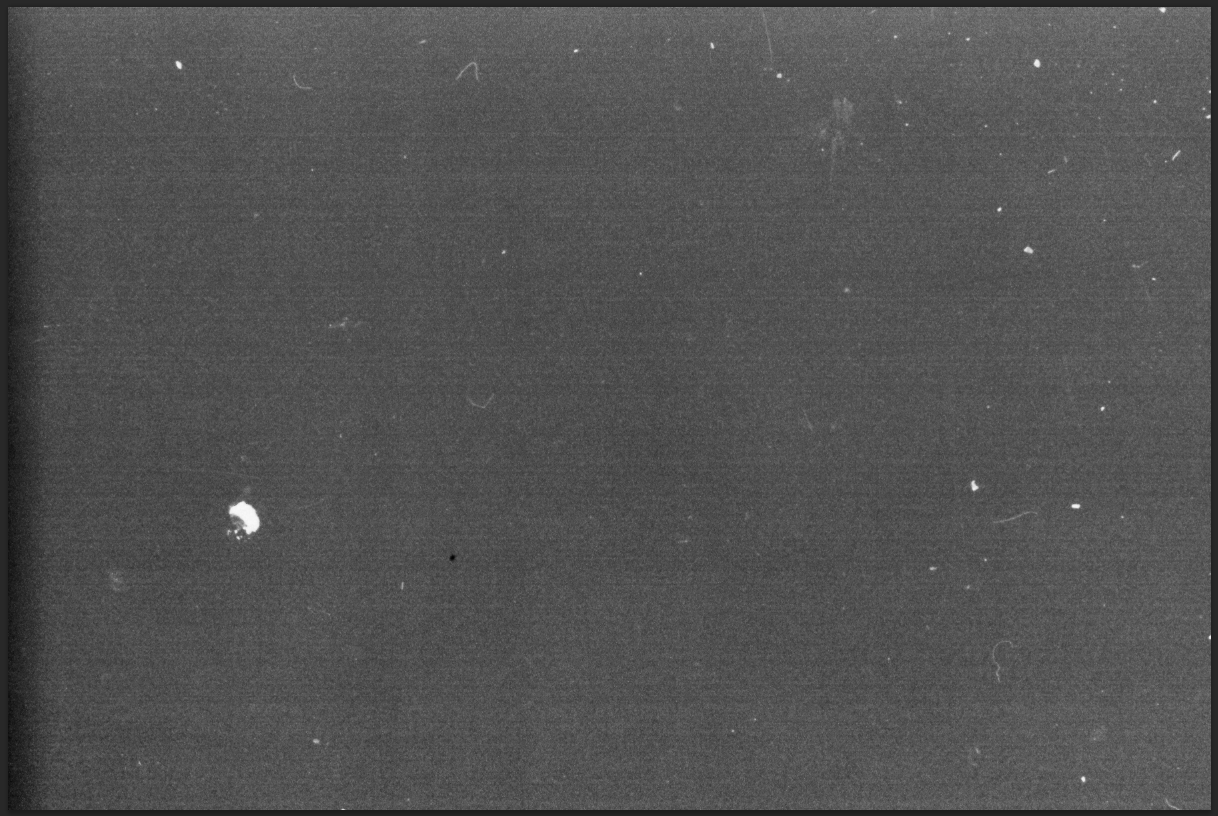
The more observant of you will notice that there’s one last texture on top of everything, GoMediaArsenal_FilmNoise_02.jpg. Well, that one is here for added speckles, mostly visible on the right side of the image. The process for that one is quite simple. See below:
1. Desaturate (CTRL/CMD + SHIFT + U)
2. Play with levels
This is the crucial step. What we want is to isolate these white speckles, hairs, and pieces of dust present on the film. These should be as white as possible, while the rest of the image should be as black as possible. We’ll then place that on top of our two background layers, and use the screen blending mode. This will only show the white elements of the layer, while the black ones will be displayed as transparent. See my Levels palette settings and my layer palette below: 
 Here’s also a view of without and with the GoMediaArsenal_FilmNoise_02.jpg texture:
 I hope this makes better sense to you now. I haven’t had many chances to play with these since I just got them a couple days ago, but I’m sure that the light bokehs and other halos could play nicely in many compositions, to give them that nostalgic and eerie vibe.
Where to buy?
On the Arsenal, of course!
Doing something with these textures?
Feel free to share them in the Go Media Flickr pool! We’ve brought the Flickr pool showcase back!


