Blog

How to Create Your Own Vector Pack – and sell it!
So you’ve seen all the crazy vector packs we sell over at the Arsenal. Today I’m going to teach you how to create your own stock vector pack and show you how you can sell it online with Gumroad!
Come up with a theme
Before you start coming up with a stock vector pack, you have to think about what would be useful for other designers. What can you make that will save them time? What are you skilled at making? A selection of cool textures you made or a set of birds? What about a set of skulls, heraldry, or ornaments? Vector patterns even zombies? Whatever you fancy, there are two or three primary ways of creating it. I will walk you through each of them.
Option 1: Live Tracing Photos
Note: You shouldn’t work with photos you do not have permission to use. You should either buy the photo with the proper rights off a stock photo website, shoot the photo yourself, or ask the photographer for permission.
The first option is the easiest. It can be as simple as taking a photo and using the live trace command in Illustrator. But often it requires some tweaking and masking in Photoshop before you run the ole vectorizer on it. This option works best for textures, abstract images, or a raw “photocopied” look. The idea is to create a usable element someone else can use in their design. In my experience, converting the photo down to just black and white is best, but of course you can do whatever you think would be most useful.
For example, take this texture for instance. We shot this photo for one of our texture packs.
Open up your texture photo in Photoshop and desaturate it by pressing Ctrl+Shift+U. Then invert it by pressing Ctrl+I. Then you end up with this:
This is getting close to be able to vectorize. But we want to boost the contrast a bit. So press Ctrl+L to bring up the levels and adjust them accordingly:
Then copy/paste or place the image into Adobe Illustrator and click the “Live Trace” button in the upper toolbar.
Then click the “Expand” button. You’ll also want to use the Magic Wand tool and select the “white” background that Adobe Illustrator had converted to vector as well. You don’t need the white part, just the black shapes.
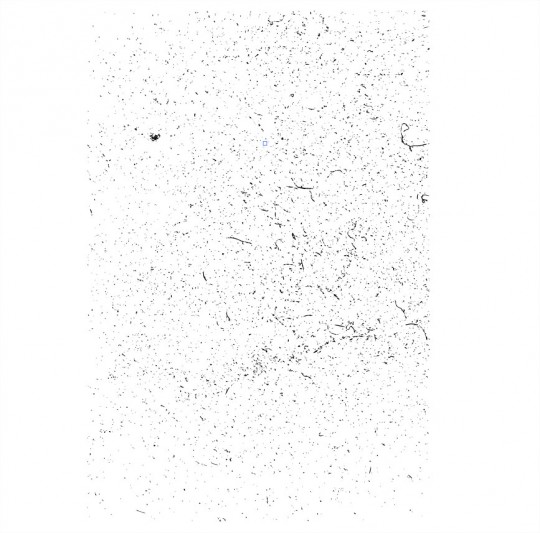
Here is an example of how the vectorized texture will look once applied to background:
Here’s another example of placing the photo directly into Illustrator and running the live trace filter.
The final texture is below. Pretty useful for backgrounds!
Option 2: Drawing off Reference Photos
I would highly recommend reading this tutorial by William Beachy on Frankensteining several photos together. To save you some time though, I will share the most important bits relevant to creating your own vector pack. Essentially you want to find good source photos (take them yourself or get permission to use someone else’s) and then draw/trace on top. The idea is to get a simplified vector version of the photo.
In the example above, Bill uses the pen tool to illustrate directly on top of the photo. It gives it sort of a highly polished look with just a few colors. The skull below is an example of illustrating directly on top of a photo.
If you want to go for a more grungy look, then take a look at the images from the popular Gigposter Tutorial from 2007. This photo below is just an example to show you the process:

Cut out the subject from the background using the Pen Tool or your favorite masking procedure. I have seen ClippingMagic.com but haven’t tried it yet.
Here are two different settings for contrast. In this case, it was done to give you two different levels of color. One will be used for the lightest shade, a medium shade, and the full silhouette will be used as the darkest shade.
See below how each version was live traced:
Now look how each one was given a different color:
And then they are finally arranged on top of each other to complete the three color look. If you’re interested, I made a free Photoshop action quite some time ago to instantly give you a three color effect in Photoshop.
Option 3: Drawing from Scratch
Finally, if you’ve got some drawing skills, you can always draw your vector shapes by hand on paper like below:
And you can see those drawings by Dave Tevenal for our Ornate Vector Pack were Live Traced directly in Illustrator without much editing.
It’s really important to make sure your drawings have a clear distinction between black and white. Pencil drawings do not live trace well. Neither does ball point pen. We recommend using Micron pens or something similar.
Keep in mind when you scan your drawings, they should be fairly high resolution so the Live Trace works well. You might need to clean up any stray dots or mess around your image.
Here are other examples of drawing from scratch:
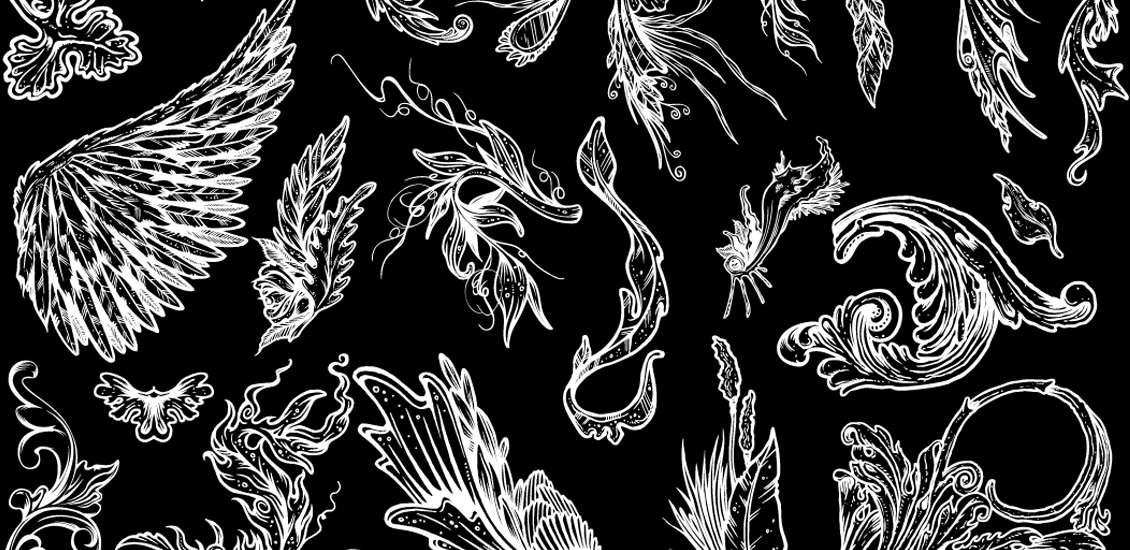
And the final vector version you can find in our Ornate Patterns vector pack:
Selling Your Vector Pack
Once you have a finished vector pack, you can sell it on your own website or blog using Gumroad. We are huge fans of Gumroad and they make the process extremely easy. You just upload your product and preview image, set a price and you’re done. They give you easy embed codes to copy and paste the button right onto your website.
Gumroad will handle all the credit card payments. The downside is they don’t take Paypal, but that’s ok.
I don’t really need to tell you step by step how to use Gumroad, they already do it quite well. But I’ll give you some tips – the preview image you use goes a long way in showing off your product. You only get one big image, make sure it shows off the benefits of your vector pack! Another tip is trying out the “Pay What You Want” feature for freebies!
In fact, you can see how Go Media uses Gumroad by checking out our profile page.
Another place you can sell it is on a marketplace. We are close to launching the Arsenal Marketplace which will become a curated collection of some of our favorite resources designed by us and fellow artists. Another great option is Creative Market.
Examples of Finished Vector Packs


If you make your own vector pack, post a link in the comments to where people can buy or download it!


