Blog

Design Tip of the Day: Creating your own Coloring Book in Photoshop
Creating your own coloring book using Photoshop >
It’s time for the holidays! That means lots of relaxation time, including time spent curled up by the fire. If you’re like me, it’s hard to keep still when all you want to do is create all the time. This is where coloring books come in. They’re perfect for cold winter nights when you need to keep yourself busy without going into full work mode.
Let’s create our own!
Here’s what you need:
- A photograph, image or collection of vectors from Go Media’s Arsenal
- Photoshop
- Just a few moments
Super Simple Method One
STEP ONE:
Open a new document in Photoshop. I sized mine 8 inches by 10 inches.
STEP TWO:
Build your coloring page using any of our vector packs. I made mine from our Cute Monster vector pack. Make sure that your fill color is white and stroke color is black. I sized my stroke at 1 pt. Feel free to download and use my coloring page when you need to escape family time here > Go-Media-Cute-Stuff-Coloring-Page

Super Simple Method Two
STEP ONE:
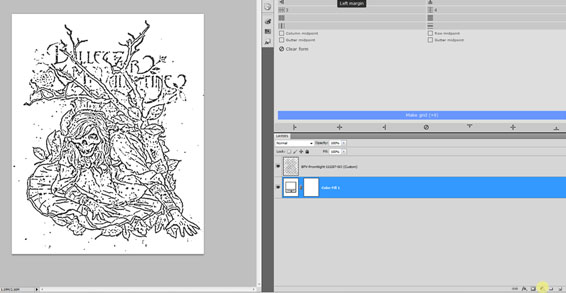
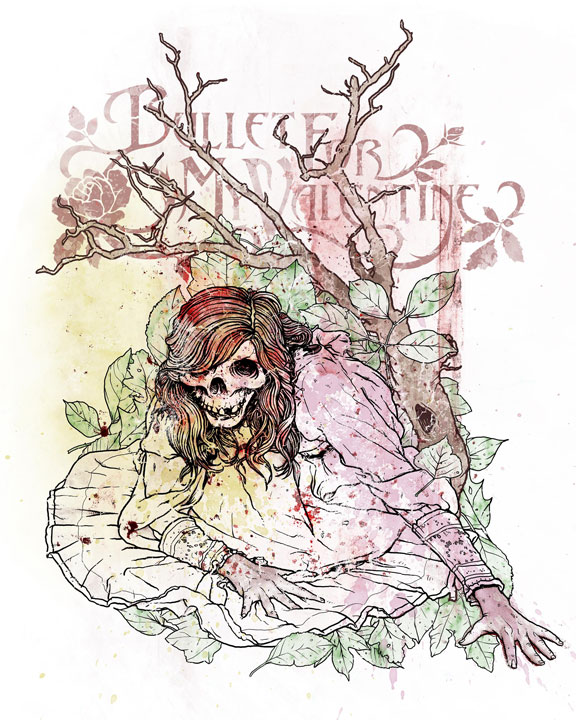
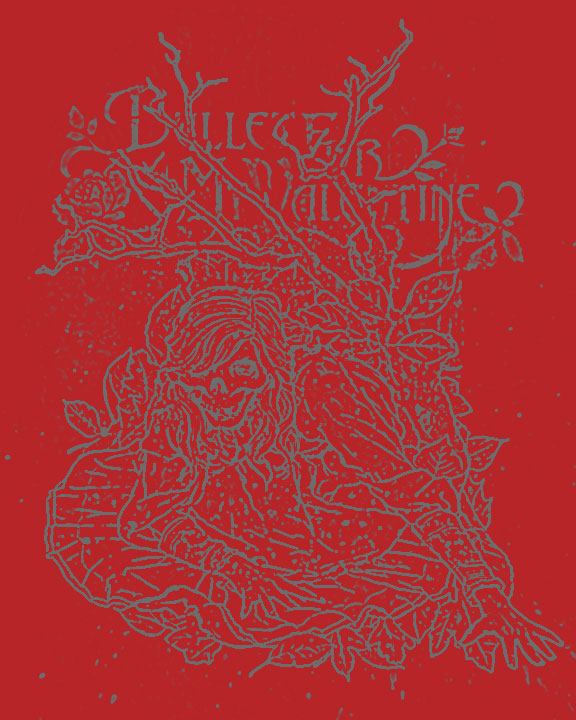
Open a new document in Photoshop. I sized mine 8 x 10 inches. Then, File > Place your image or photo into the new document.
STEP TWO:
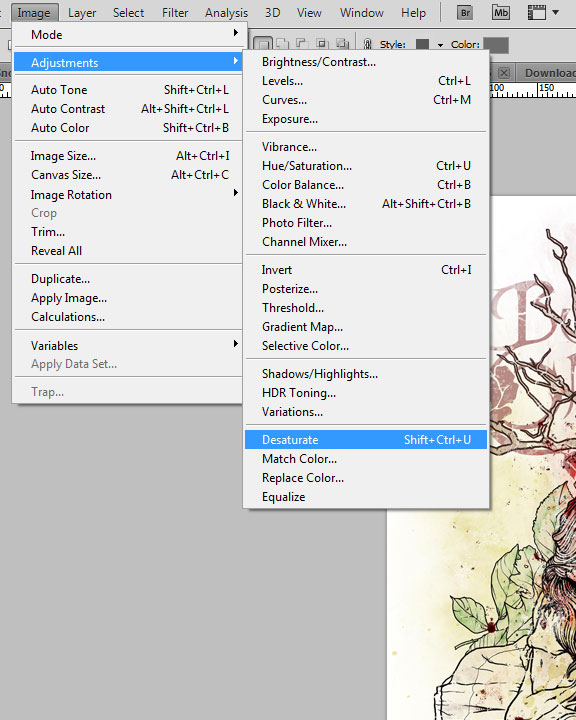
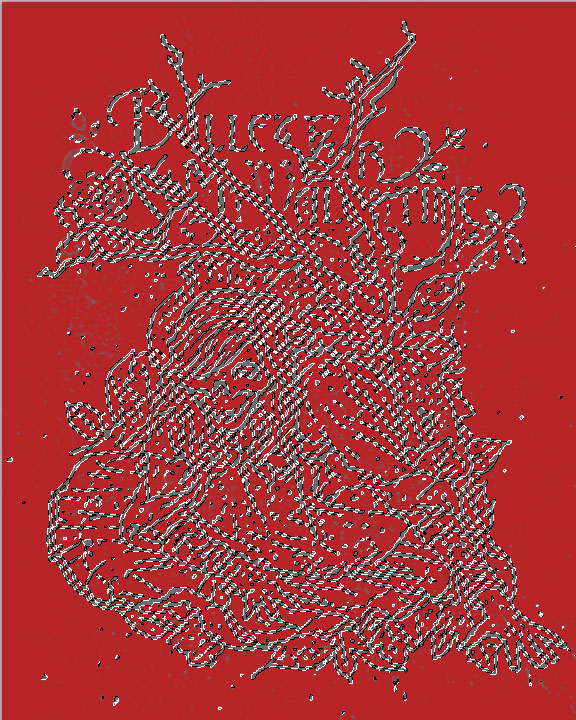
Go to Image > Adjustments > Desaturate.
STEP THREE:
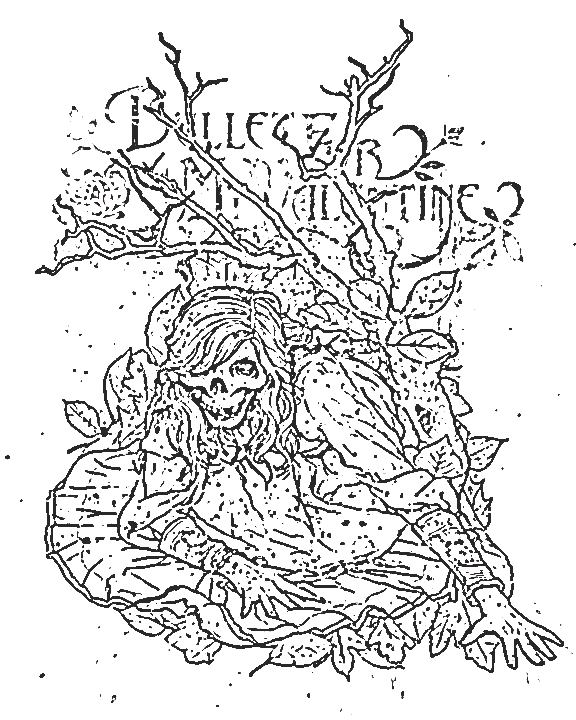
Next, Filter > Sketch > Photocopy. Here, I have set my detail to 3 and darkness to 20. Set to your desire.
STEP FOUR:
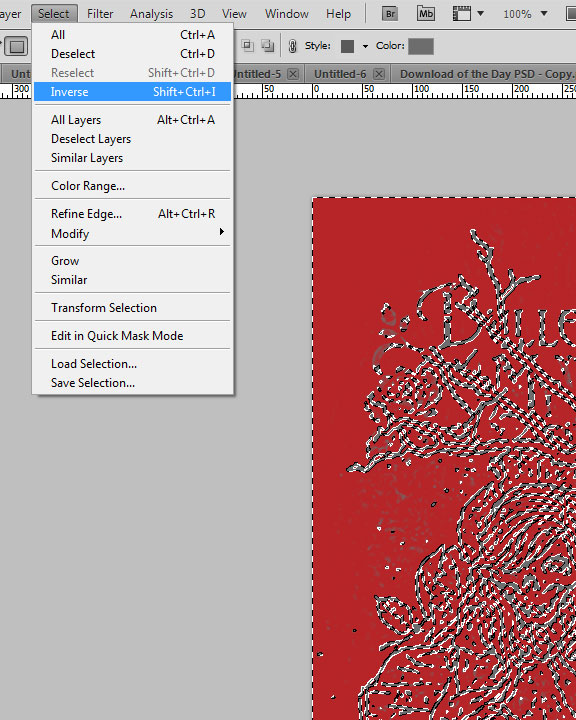
Next, in order to remove my background, I will head to Select > Color Range. I will touch my eyedropper to the gray line art, which you will then see selected on screen.
STEP FIVE:
Next, Select > Inverse (Shift + Ctrl + I) to remove the red background.
STEP SIX: Ctrl + D to deselect.
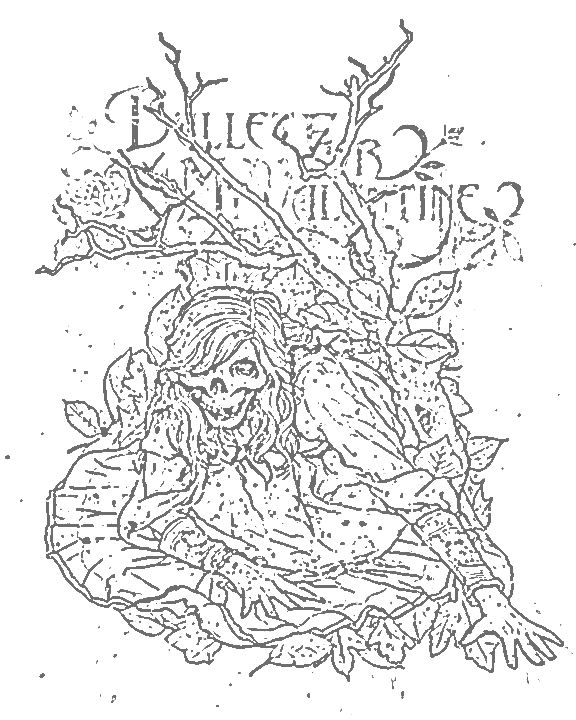
STEP SEVEN: In order to darken the lines, head to Image > Adjustments > Levels and darken your black levels.
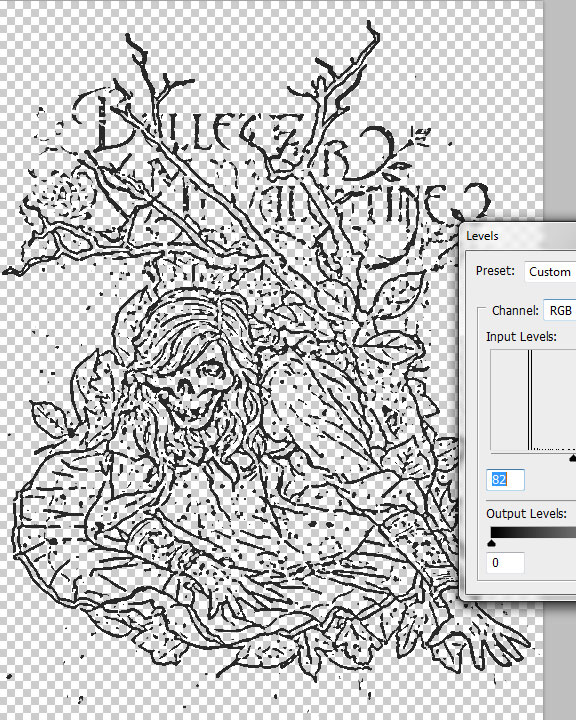
STEP EIGHT: Add a white solid color background and you’re done!