Blog

Step by Step: Printing Weapons of Mass Creation posters by Mama’s Sauce
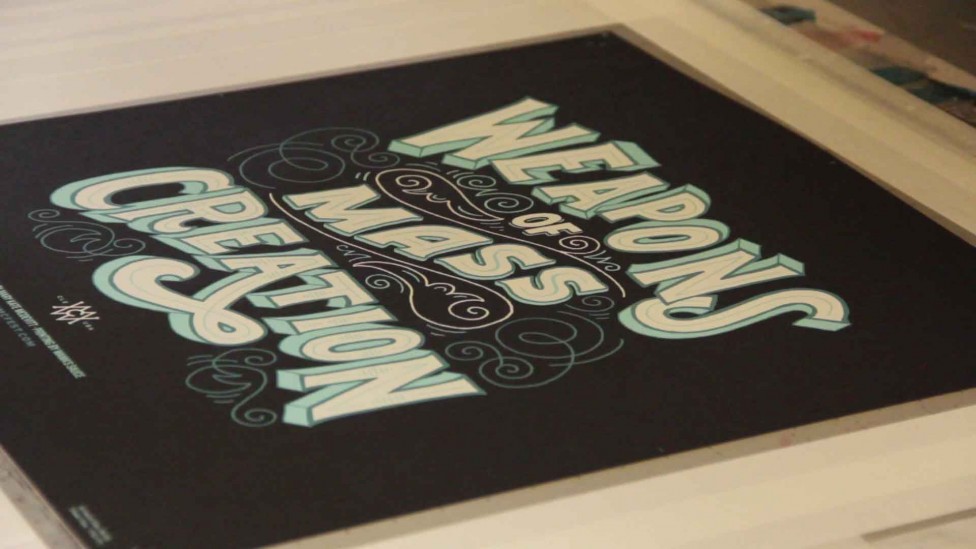
We are pleased to show off the new art print for Weapons of Mass Creation 5! The lettering was done by the talented Mary Kate McDevitt and the printing is done by Mama’s Sauce! What follows is a step by step walkthrough of the printing process by Mama’s Sauce.
Weapons of Mass Creation is a 3-day creative conference that will change your life. It takes place on August 15-17 in Cleveland, OH. See speakers, bands, workshops, and more.

01. Ink Mixing.
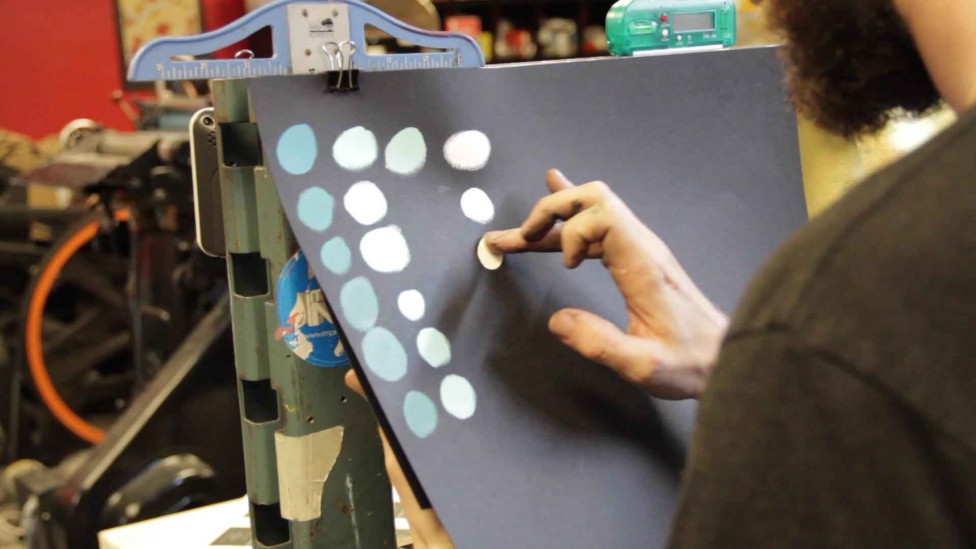
Hand-mixing the inks for the poster was the first step. We hand-mix every color for all of our custom screen printing projects; this gives us the most possible control over color.

02. Color Proofing.
After the ink was mixed, we tested a small amount of it for accuracy. We always use a piece of the paper that the poster will actually be printed on. Different papers handle ink differently, so it’s important to test for every project.

03. Prep the Screen.
Screen printing uses a fine mesh through which ink is pressed. To start printing, we had to burn the image for the poster into the mesh of the screen. This process is repeated for each color in the design. In this case, there were three screens.

04. Printing.
Once the inks were mixed and the screens were prepped, printing could begin. Ink was flooded over the screen and then pressed through the mesh by a squeegee. It’s very important that the 3 colors line up perfectly.


05. Quality Control.
After we started printing, we were very careful to keep an eye out for inconsistencies and defects in the prints. A lot can go wrong on press, so quality control is an ongoing, essential part of custom screen printing.

06. Racking & Drying.
The WMC Fest poster was printed with water-based inks that take a little while to dry. Consequently, each poster was hand-placed on a rack to dry for about 15-20 minutes between each color.

07. Trimming.
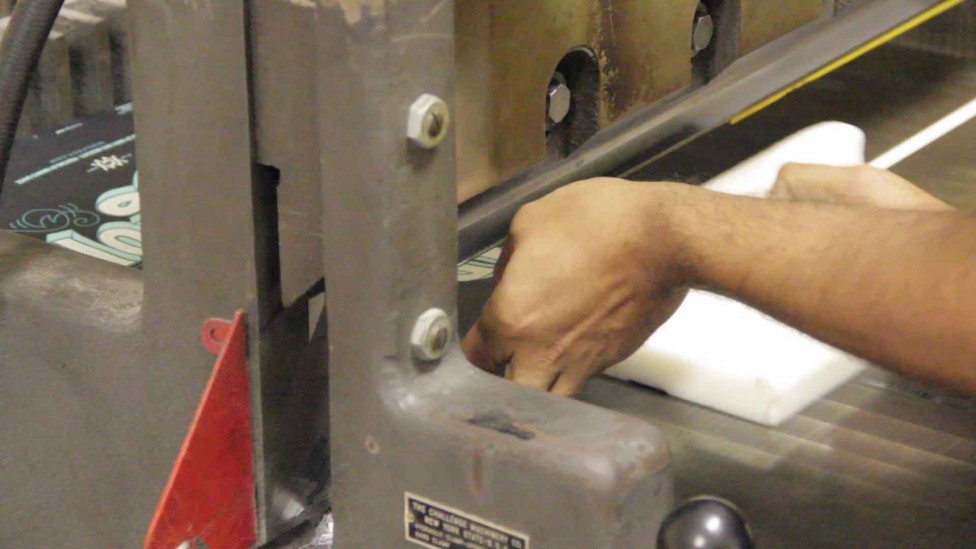
Most custom screen printing projects are printed on a sheet of paper that’s a little bit bigger than the final size of the piece. This allows room for helpful marks & notes on the press sheet as well as room for us to actually grab the sheet without smudging the artwork. Once the WMC poster was printed, we trimmed it to its final size with a guillotine paper cutter.

08. The Finished Product.
Once each color had been printed, dried, and trimmed, the job was done. At this point, a sigh of relief and admiration surged through the shop.
