Blog

Flash Tutorial: An Introduction to Animation for Newbies
Introduction to Flash Animation
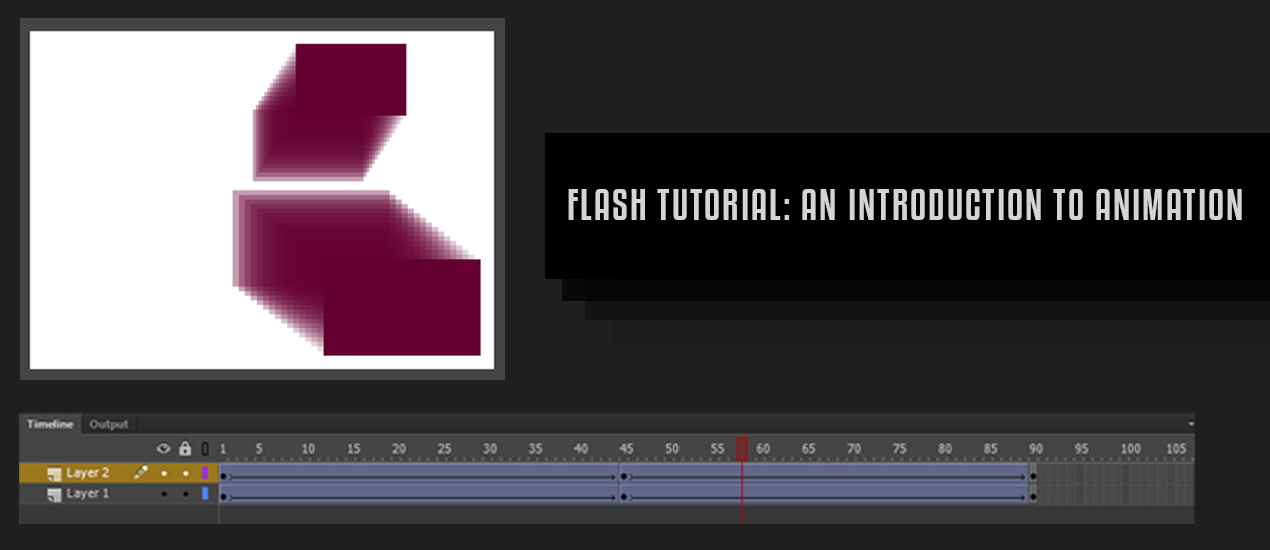
Now, I only know a handful of the multiple software programs that Adobe has to offer, but, in my opinion, Flash is one of the more difficult to learn. Jumping into a project with Flash takes a lot of time and effort, so I want to go over the absolute basics with you. After all, it was quite difficult for me to find anything that helped me in my introduction with Flash. So for our first project, we’re going to make some rectangles move.
So, first things first. We have to open Flash.
The type of file that I typically open is an ActionScript 3.0, which is the most recent version of ActionScript. It’s the best for what you want to do for a lot of technical reasons we don’t need to go over right now. But just know that Flash files that use ActionScript 3 cannot include earlier versions of ActionScript.
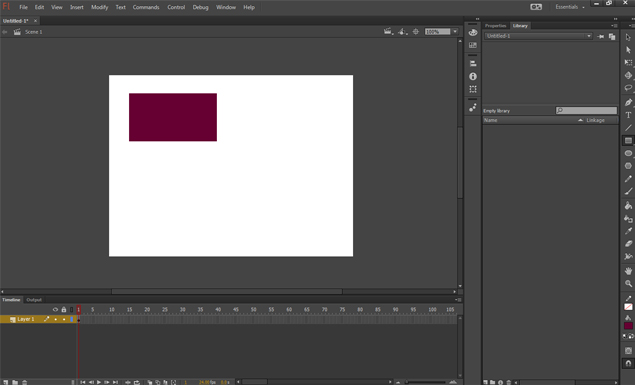
Okay, so we’ve opened our program and now we are at the workspace. The big white space in the middle here is called the stage. If you want something to be seen, make sure that it is within the white space, otherwise, it is unseen offstage.
You will note that my workspace has all of my tools situated on the right hand of the screen. Flash mostly uses the same kind of tools that are used in most of the Adobe suite.
One important thing to note: when you are making shapes with a stroke, the stroke tends to act as a separate component from the shape you originally drew it with, so I tend to make shapes without a stroke.
The main aspect of Flash is that it contains a Timeline that is typically affixed to the bottom of your screen workspace. The timeline is where you keep track of your layers and animation. The timeline is divided into separate frames that can be selected and keyframes inserted.
A Keyframe is a frame where content appears on the Timeline. Typically, Flash’s default setting for speed is 24 frames per second, so it takes 24 frames of animation to create a second of active content.
This is an example of a blank keyframe, which would be 6 frames long if played in Flash Professional. Notice the empty circle at frame 1 indicating there isn’t any content.
This is an example of a blank keyframe, but has actions attached to it. Notice the a above the keyframe. Actions are the coding in Flash (we won’t get into coding in this post).
Pictured above is an example of a keyframe with content. Notice the filled in circle on the first keyframe.
This is what a tween looks like when applied to a keyframe with content, more specifically, this is a shape tween. Tween comes from the words “in between.” A tween helps to create movement in your animation.
There are 3 different types of tweens. There are classic tweens (creating a tween that can change size, position, and skew of almost anything), motion tweens (applied to symbols and text fields), and shape tweens (drawing a vector shape on one keyframe and then drawing another shape in a second keyframe).
This is an example of what the timeline looks like when you are using keyframe animation. Each frame is a keyframe, so instead of using tweens, you are creating each motion within each frame.
So now that we understand the timeline, keyframes, and tweens, let’s draw some shapes.
What I did here is pick my color with the color picker (no stroke!) and use the rectangle tool to draw a shape on Layer 1 in frame 1.
Before we get much further, I want to make sure that you know that there are two defaulted tabbed spaces that can be very helpful to you. Libraries are going to be used later in this post, but Properties is also very useful to you.
Properties will tell you what kind of content you have selected, can let you name instances (not shown), and you can change your positioning, size, color, and all kinds of other useful tools that are necessary to the creation process in Flash.
Continuing on, since I want this shape to move, I’m going to insert a keyframe at frame 45, which will make this animation less than 2 seconds long. To insert the keyframe, I simply right click so this menu will pop up.
With the keyframe at frame 45 highlighted, I take my shape and move it into the position I would like my shape to end up at the end of the animation.
Now that we have our shape in the positions we want, we’re going to click anywhere between the two keyframes and create a classic tween. Now, the shape will move within the 45 frames.
Now, let’s make a copy the same shape to move in a different direction as the original shape. So to do that, we’re going to use the library panel.
The library stores shapes, animations, sounds, and even photos where they can easily be clicked and dragged out onto the stage.
To make our current shape an aspect of the library, we must convert it to a symbol.
In this new menu, we are going to make this a movie symbol, and name this object “Purple Rectangle” and then click on Okay.
The symbol now appears under the library tab as Purple Rectangle. We are going to add a new layer and then drag our new symbol out.
Next, we’re going to position out our second shape where we would like it to initially appear when the animation begins.
After we have our initial position, we’re going to insert a keyframe on layer 2 under frame 45 and move the shape to where we would like the shape to end when the animation is complete.
Now that we have our two positions, we are again going to create a classic tween so that our shape moves.
Now let’s preview our hard work by going under the Control Panel, to Test Movie, to In Flash Professional.
Congrats! You’ve made your first Flash movie! Brought to you by the patron saints of responsive web design Ohio, Go Media.


