Blog
How to Set up Your Wacom for Awesome Results

Hey designers, attend our all-inclusive soul-fulfilling three-day design retreat, WMC: Off-The-Grid, this October 5 – 7th. To learn more, head to wmcfest.com.
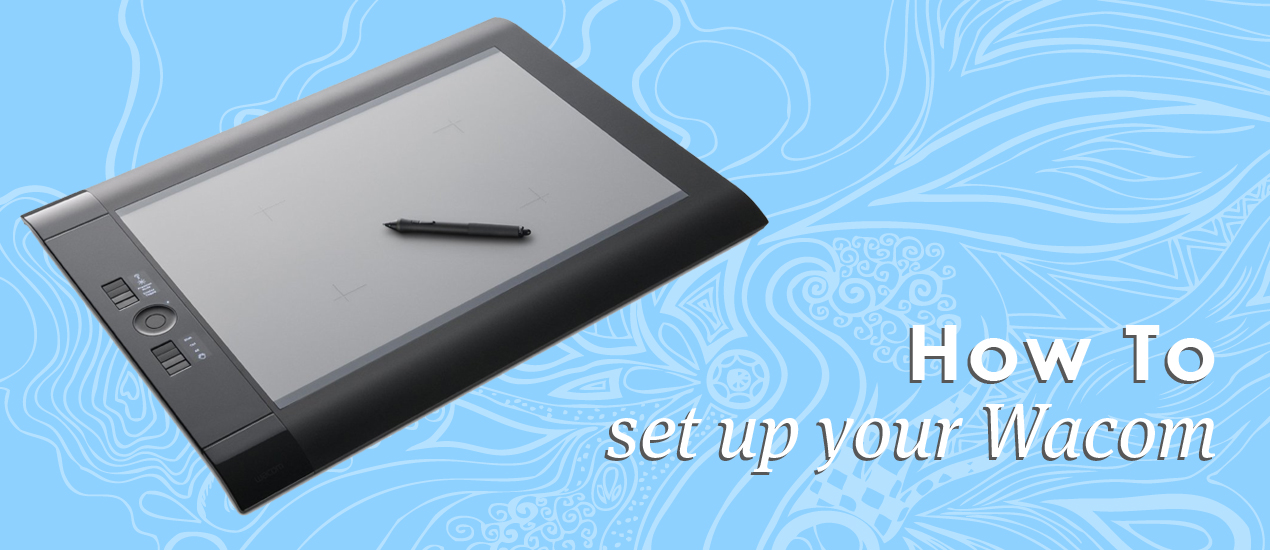
A lot of you have asked about how to set up your Wacom for awesome results like this. In this post we’ll cover the basics of getting your Wacom working, some finer details of getting it to work well, and finally some tips for getting better at drawing with a Wacom. We use Intuos 2s & 3s here at Ohio Website Designers, Go Media. Specifically, this tutorial was written with the Intuos 3 6×11 in mind.
If you have more questions about using your Wacom after reading this post, please reach out to Wacom directly. We do not handle any support questions here at Go Media. Thanks!
Step 1
Getting your Wacom installed
Well first of all, just plug the USB cord of your Wacom Tablet into your computer. You’ll see that the pen tracks right away, but it has one major problem; it will not reach to all corners of the screen without having to be picked up for another swipe across the tablet. This is because you haven’t installed the Wacom Software yet.
So calm down. Yes that new toy smell is really exciting, but we’ve got to install some stuff first. Put in the CD that came with your Wacom or head over to wacom’s website to download the software & drivers for your model. Once installed, you should notice some things are different.
First, the tablet is proportional to the screen now – you can point to any spot on the screen without picking up your pen.
Second, unlike your mouse, your Wacam pen will point to exactly the same spot on your screen when it is pointed at the corresponding spot on the tablet. This is really cool once you get comfortable with it.
Step 2
Adjust your Wacom’s settings Fire up Photoshop or PainterX and play around
I know you want to!
I’m only going to to cover the use of the Wacom with Photoshop because it is all we use at Go Media. For a great video tutorial on Wacom settings in PainterX, check out Ray Frenden’s guest post from a while back.
 Go ahead and create a new Photoshop Document at a pixel resolution equal to your screen resolution. Set your foreground color to black and select the Brush Tool. Press on the rocker button closest to the tip of your pen, which should be mapped to be a right click by default. Set the brush hardness all the way to 100% and size to about 20px. Press F5 to bring up the Brushes palette and make sure the “Shape Dynamics” box is checked. Make sure the rest of the settings match the screenshot.
Now go ahead, draw a squiggly line! Does the brush vary in thickness in response to pressure? Great! It doesn’t? Don’t worry, it happens to us all of the time. Shut down Photoshop, fire up the wacom tablet properties software just for fun, restart Photoshop. Rinse & Repeat.
Step 3
Adjusting your Wacom’s settings
In your start menu you should see a ‘Wacom’ folder, and inside, a ‘Wacom Tablet Properties’ program. This utility helps you tweak the special buttons on your tablet, pen pressure, and a lot of other stuff. The most important setting here (and the only one I’m going to talk about) is the ‘Tip Feel’.

As you can see from the screenshot above, I like pen tip to have a firm feel. This means that I have to press harder to get the same line thickness than at the default settings. I find that being able to keep a constant medium to hard pressure helps me make smoother lines. The software has a handy little preview of how hard you’re pressing so use that as a benchmark to find the best setting.
Drawing Tips
Before I started using a Wacom I imagined that it would magically transform me into a good artist. Not so! In many ways the Wacom is more difficult to control than traditional drawing tools (it’s saving grace is the Undo function). So unfortunately even if you follow this tutorial perfectly I can’t guarantee you’ll be drawing scrolls like Jeff does. Even so, here are some tips for getting better as a Wacom artist.
- Practice! Plain old drawing is great, but also try some Wacom training drills. One that I’ve used is trying to draw perfectly spaced even lines from thin to thick. Then try it thick to thin, then thin, thick, thin. Try concentric curves, squares – anything that requires you to keep line thickness and spacing consistent is good.
- Zoom in. Your Wacom’s tablet area is proportionate to your screen, not your zoom setting. For that detailed linework go ahead and zoom in to reduce shakiness.
- Be Decisive. Quickly drawn lines are naturally straighter, so don’t be bashful.

More Questions?
If you have more questions about using your Wacom, please reach out to Wacom directly. We do not handle any support questions here at Go Media. Thanks!

Lastly, make sure to check out our Arsenal Membership, which hooks you up with our huge product library for only $15 per month. Yes, seriously.