Blog
Create a Grassy Field in Illustrator in 13 Simple Steps
Sometimes, you just need some grass. It can take a design from blah to brilliant, especially when you need a natural and organic look. Grass can be a subtle nuance, or the key piece of your design.
We have lots of options for Photoshop, but your designs may need to work in many different mediums, so you’ll eventually need vector images. No problem. Illustrator is your best friend, so let’s jump in and kick some grass.
Getting Started
1. Open a new Illustrator file using a width of 500px and a height of 250px.
2. Get some grass!
You have three options for getting grass: (a) download what we have provided for you (recommended for this tutorial, (b) use the built in grass in Illustrator, or (c) make your own. It’s your decision, but for this tutorial we will be using the files provided below:
If you want to use the built in Grass in Illustrator (CS5), open the Windows -> Symbols pallette -> Symbols Library Menu -> Nature.
3. For this tutorial, place the Grass.ai or Grass.pdf file from above. File -> Place -> select the Grass.ai/.pdf where you saved it. Resize the image as needed.
4. Head to Windows -> Links -> fly-out menu and select “Embed Image”. This will allow you to directly edit the contents of the Grass file. This technique is nice for bringing a Placed image into projects you have already started.
5. Lastly, using the Selection Tool, CTL (Right) – Click any of the grass designs and select “Ungroup”.
6. Now, we’re ready to really get going! Using the Selection Tool, click the top left grass design -> Windows -> Symbols -> click the New Symbol button.
7. Name it Grass01, or whatever you like, and make sure it’s set to “Graphic” just in case you want to import into Flash later. If it’s just for illustrator, it doesn’t matter if it’s Movie or Graphic. Repeat this for the other symbols, or for any grass you create on your own.
8. Create a new layer and hide the layer with the Grass.ai/.pdf file by clicking the eye symbol in the Layers window.
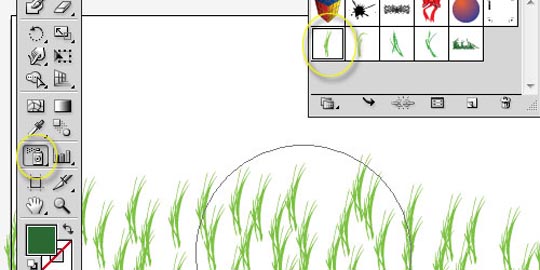
9. Grab your Symbol Sprayer Tool, select Grass01 in your Symbols pallette, and spray away!
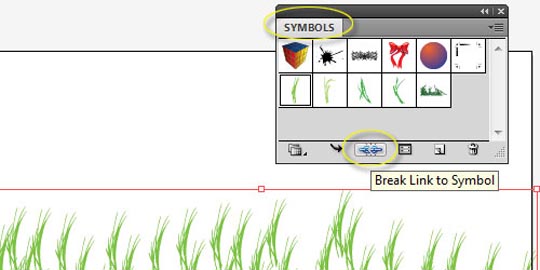
10. Now, you need to edit your new lawn with the grass you just sprayed selected, go to your Symbol window and click the Break Link button.
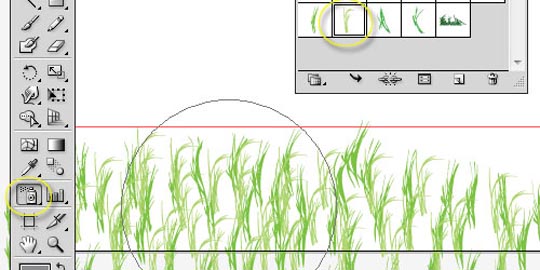
11. If you want to reduce the amount of repetition, grab the Warp Tool, select a group, and move some of the grass around until it looks less like a pattern.
12. To add some definition to your grass, we are going to make a new set of grass using the Symbol Sprayer tool again. We used Grass02 for this example.
13. Now grab the Symbol Stainer tool, choose a brown foreground color, and spray over the Grass02 symbols you just made.
Project Notes
Notice that we bled off of the artboard. The nature of the Symbol Sprayer tools is that they’re a bit messy, so just make sure that you move your groups around to position them appropriately.
Using the above tools, you can keep adding layer after layer until you have your final concept. Between creating symbols and editing with the Warp Tool and the Symbol Stainer, you can quickly design a textured field of grass and retain the vector qualities you need.
What techniques have you been using for grass?


