Blog
Newbie’s Guide to Beautiful T-Shirt Mockups

So you want to make beautiful, photo realistic t-shirt mockups? This is a tutorial for newbies or beginners on using the t-shirt mockup templates we provide at Go Media’s Arsenal. Note: this tutorial was done with our Tri-Blend Templates, which features a removable tag layer. This feature may not be included in older templates.
Place Your Design
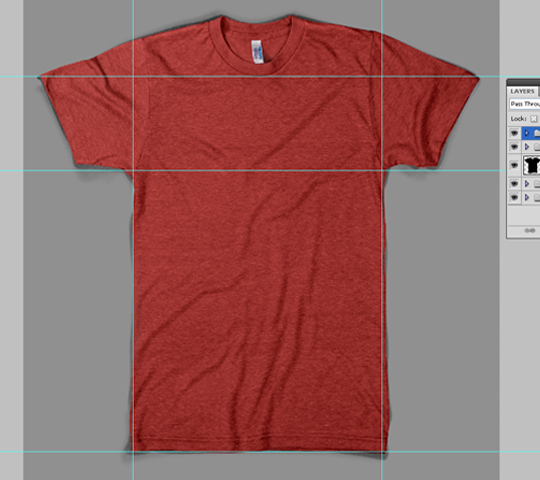
Step 1: Open your desired t-shirt template in Photoshop
Step 2: Make sure your top layer (or layer group) is selected so that your design is placed on the top layer. Older template products might not have a “tag” layer, so just select whatever is the top most layer.

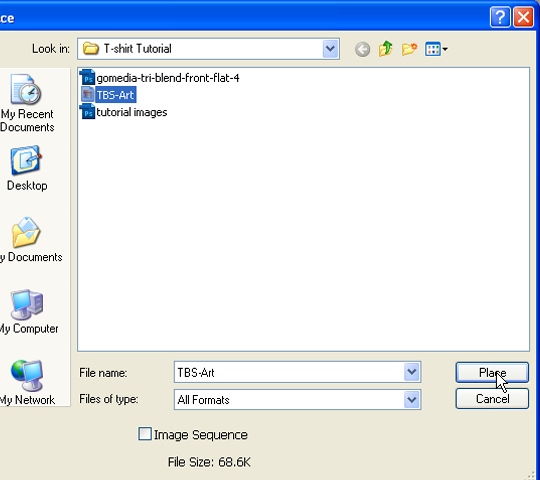
Step 3: Go to file, then place.

Step 4: Select your art (a flattened JPG file works best) and hit place. It will show up on top of everything with a big X on it. Those are the transform controls in case you wish to resize it. Just press ENTER to finish placing your art. There are a variety of ways to get your art onto the template, but this is a simple method. You can always copy and paste it from another Photoshop document too.
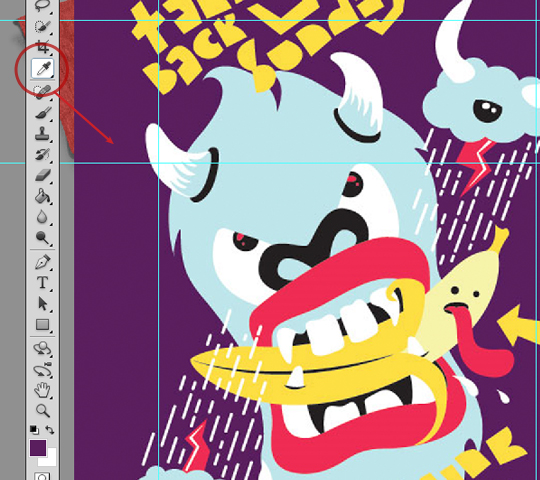
Step 5: Your artwork is now the top layer. This will make selecting your design’s background color easier

Grab Your Shirt Color
Step 6: Use the Eyedropper tool (I) to select your designs background color. This is your desired color for the shirt and will be used in Step 9-10 to create the correct shirt color.
Mask Your Design
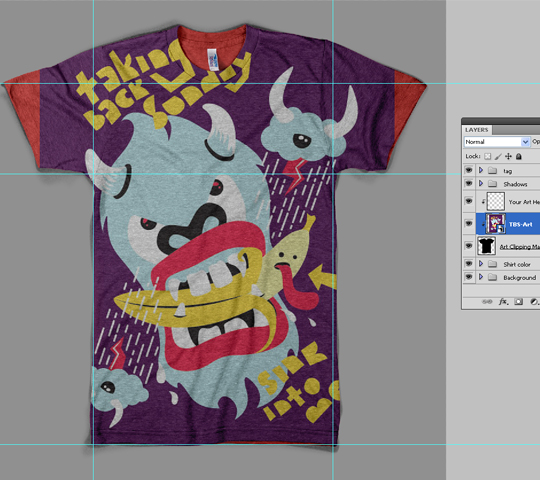
Step 7: Drag your design below the layer named “Your Art Here”. This will automatically create a clipping mask that confines your design to the edges of the shirt template.

Step 8: Your design is now masked onto the shirt. Time to change the shirt color to match.
Change The Shirt Color
Step 9: Expand the group called “Shirt Color”. You will see a variety of pre-set default colors. Simply select the color layer on top and move onto the next step.

Step 10: Use the Paintbucket tool (G) and click on the layer to change the shirt color to your foreground color (the color you selected in Step 6).

Resize and Arrange Your Design
Step 11: Select your artwork’s layer again.

Step 12: Use the Free Transform Tool (Ctrl + T or Cmd + T) to resize and arrange your design. Hold down shift while resizing to keep your design in proportion. Feel free to move it around, even off the edges of the shirt. You’ll see the template won’t allow the design to bleed over the edges of the shirt. That’s because of what you did in step 7!

Step 13: Hide the guides (Ctrl + ; or Cmd + ;) to take a look at your design.

Looks so real. You’ve learned well Grasshopper! That’s how most of our templates work. However, some older templates might have a slightly different layer setup, but the basic idea is the same. You place or paste your artwork into the template, drag it under the “your art here” layer to make sure it doesn’t bleed off the edges, and change the shirt color to the same color as your design’s background.
Pro Tip: If you wanted to change the above design to a different color t-shirt you can. But you must change the background color on your original artwork first. So save out your art on a red background first, then place it into the template and change the shirt color to the same red as your artwork’s background. Awesome!