Blog

Sharpen Images in Photoshop | Design Tip of the Week
Sharpen Images in Photoshop
It was actually Carly, one of the wonderful designers here at Go Media, who showed me this tip: using the High Pass filter to sharpen images in Photoshop. It’s real easy and super quick. Check it out!

Who doesn’t love red pandas? We’re going to be using this little guy for our example.
*Note: I just borrowed this image from a Google search for this example. Make sure you always use your own images or ones that you have purchased from a stock photography provider.
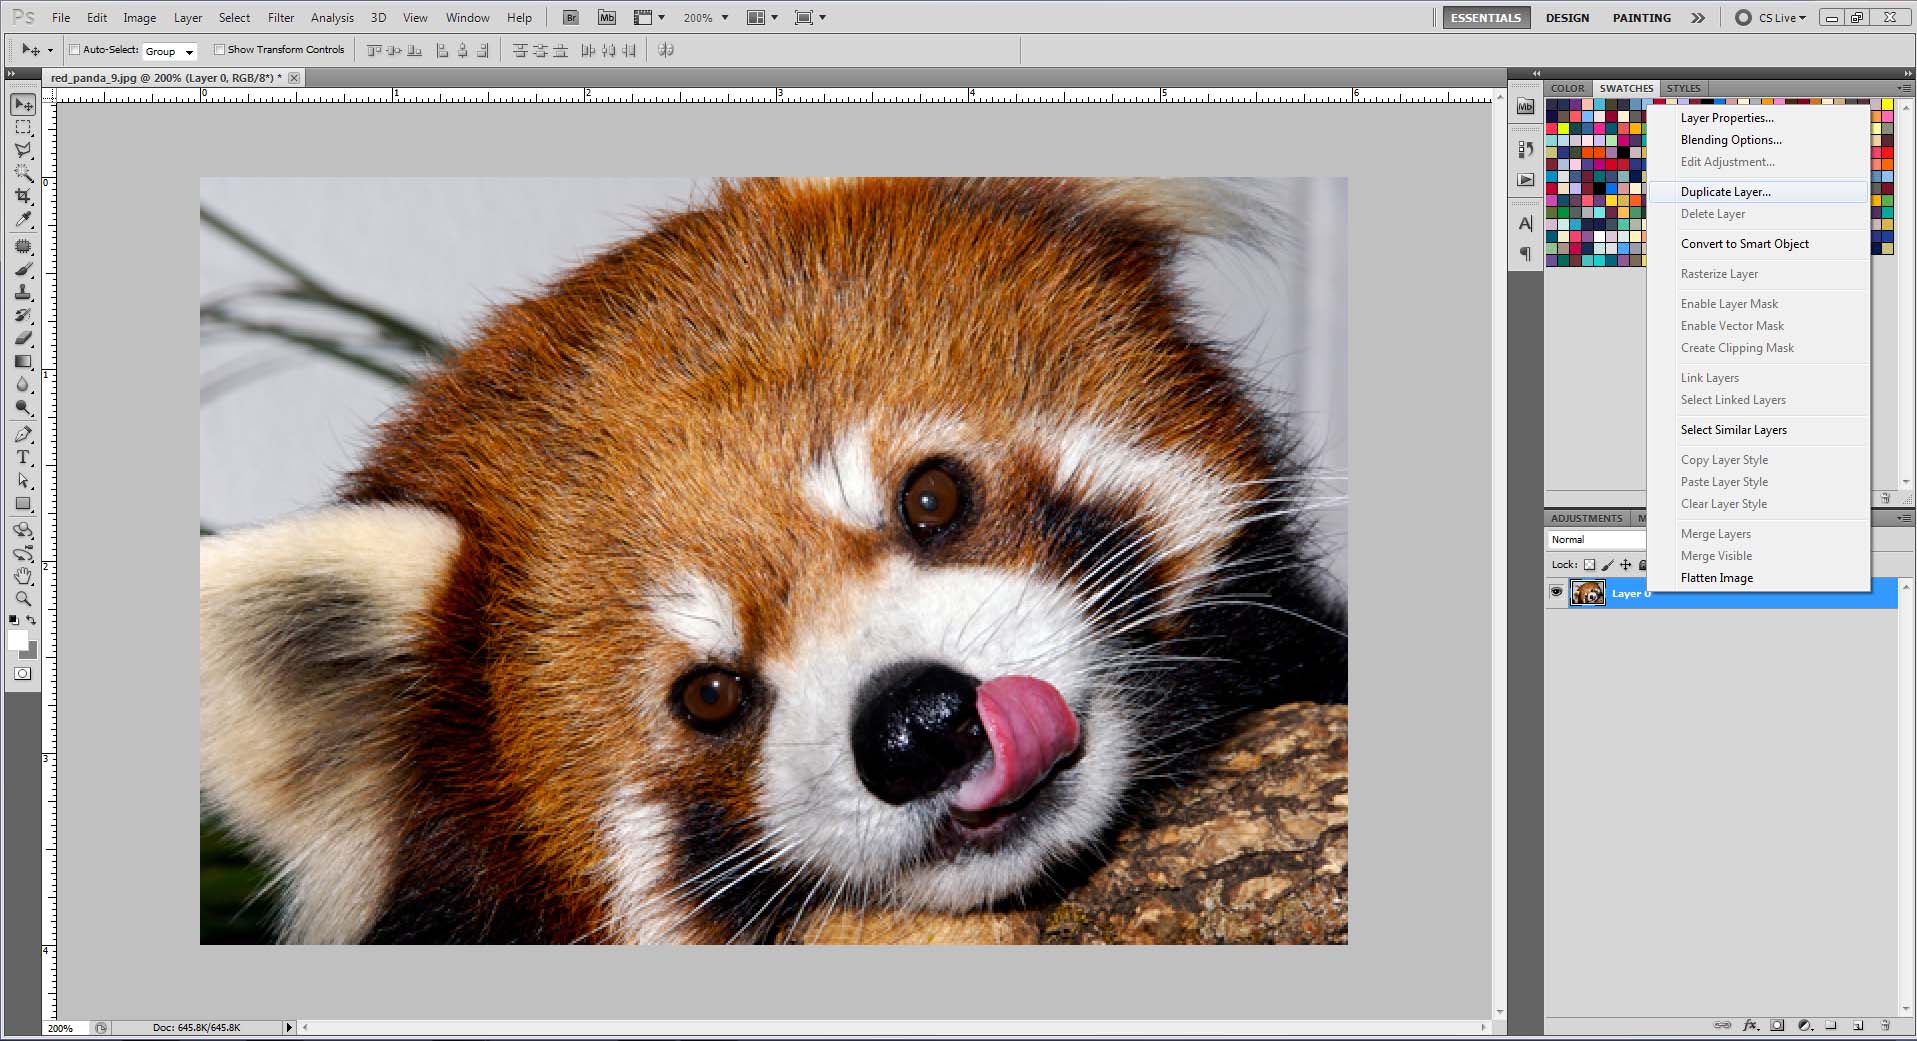
We’re going to duplicate the layer.

On the duplicated layer, apply the High Pass filter (Filter>Other>High Pass).
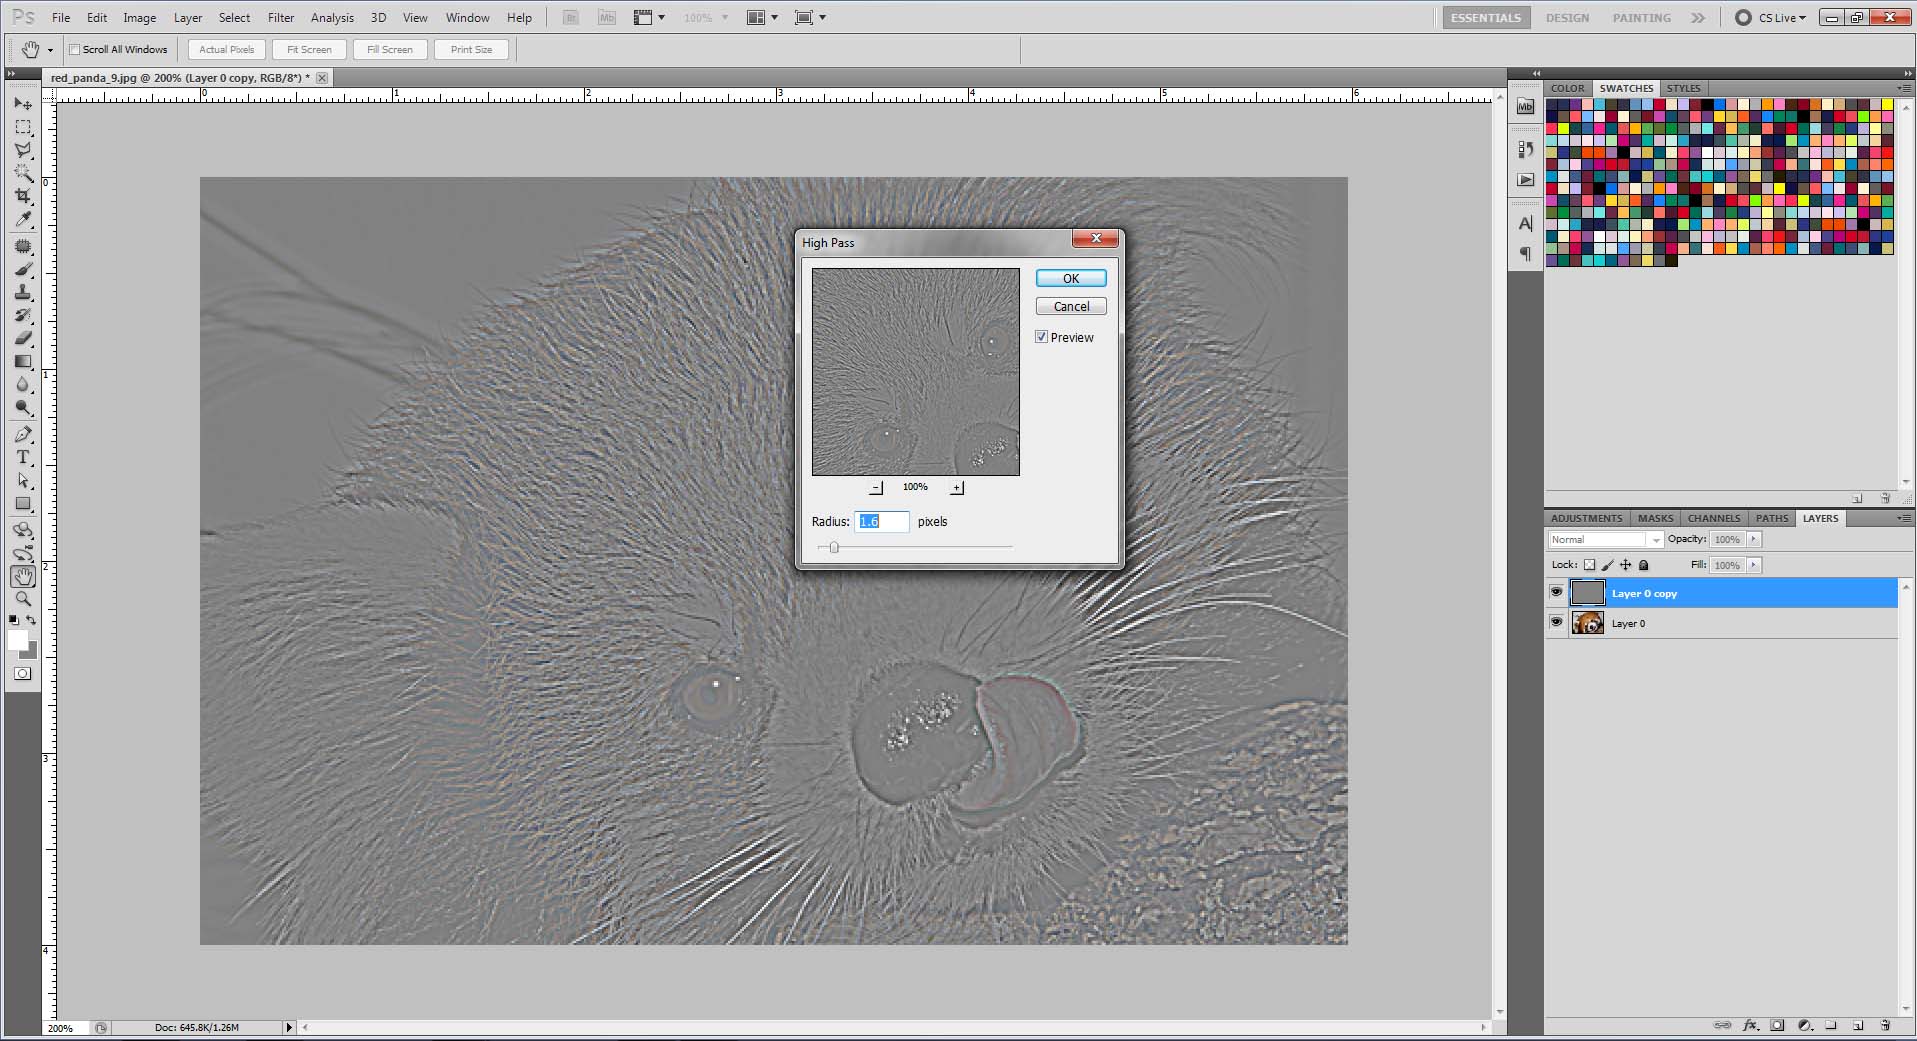
Select a Radius value. You’ll want to keep this value towards the lower end of the spectrum, but may even have to go back and play around to see what value best enhances your photo.

Once you have chosen a Radius value, set the layer to Overlay.

Voilà!
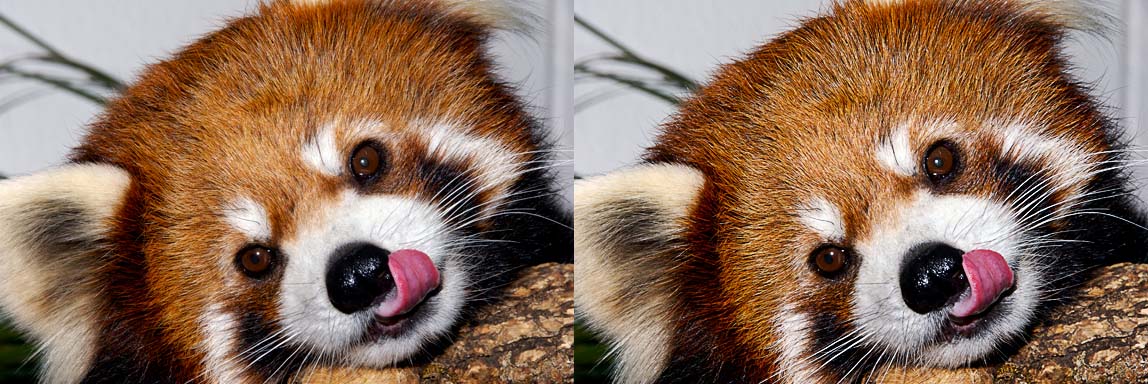
*Click on the image to see a larger version.
The left is the original photo, while the right is with the High Pass filter applied. Notice how the right is crisper and has more definition. So if you find yourself with some not-so-sharp images, you can now give ’em a little boost!
Cheers!
