Blog
Apparel Design Tutorial: A Quick and Easy 13 Step Guide
Apparel Design Tutorial
This is reposted from my previous blog entry at thewetcat.com (which I never update much). I figured it’d be a good way to get the ball rolling here.
This tutorial is brought to you by your friends at Go Media, Cleveland’s go to graphic design firm for a quick and easy way of doing a 2-3 color shirt design that’s all vector. Like I have said before, these tutorials are just tutorials – they aren’t the end all be all way of doing things. It’s just stuff I do. This is a quick way of doing a shirt design for a band. Doesn’t really matter what genre, but if you have the assignment of just coming up with “something” then this is a good thing to do. Again, you should spend time on your projects to make them the best they can be, but this a quick and dirty approach and will save you time and money in the long run. You’ll need Adobe Photoshop, Streamline, and Illustrator for this tutorial. And you should be familiar with most of the tools already. Because I assume you are.
1 – Find yourself a cool photo.
In this case, some scary animal. Use a stock photo site like istockphoto, or take your own photos. And open it up in Photoshop.
2 – Select the Shadows.
In Photoshop, go to Select > Color Range. And select shadows from the dropdown menu.
3 – Make a new layer.
Fill the selection with black.
4 – Select > Color Range > Highlights.
And make another new layer and fill the selection with white. And make another layer and fill the entire layer with a mid-grey. And drag that mid-grey layer underneath other two layers you made. So the white and black is on top.
5 – Cut out a portion that you want to use in your design.
Use a selction tool like the polygonal lasso tool and make a selection around your main element in your design. In this case, the bear. Just kind of use your judgment as to how to cut him out. Be as precise as you want. And when you’re done, select > inverse and delete the space around your selection. Do that on every layer.
6 – flesh out the design.
I enlarged the canvas so I could have some more room to work. And I filled the background with one of the colors I am using in the design. In this case, it’s grey. So my two colors to be printed are black and white. I can change the colors later. I just did some quick splatter and grunge behind the bear. (click here for a basic tutorial on splatter and grunge) And added a band name. I used Above This Fire because they are awesome and I saw them live last night.
7 – Repeat Step 2-4.
If you are like me, you probably used a bunch of layers to finalize your design. So we repeat the select > color range steps and get all the whites on one layer and all the blacks on another layer. Seperate but equal. (hmm…)
8 – Prepare your image for Adobe Streamline.
Make all layers invisible except your newly created layers with black and white and a white background layer. Select your layer with just the black on it. You should see just a black and white version of your design. It’s also a good idea to increase the size of your image. This helps get better results when converting your image to vector. Save this image as “black.psd”
9 – Time for the whites.
Do the same thing for the white colors. Select the layer with just your white shapes and make the layer with black invisible. Invert the white layer so it’s now black. And you should have a black color on top of a white background. Save this as “white.psd”
10 – Streamline it!
Fire up Adobe Streamline and open up your file “black.psd.” Click file > convert. And then file > save art as and click ok. You just vectorized your black colors. Now open up “white.psd” and do the same.
11 – Fix the shapes in Illustrator
Fire up Illustrator and open up your newly created “black.ai” file. Now zoom out so you can see the entire design. Looks ok right? Not so fast. Streamline took all the “white” spots in your design that were surrounded by black and made it it’s own shape. We gotta get rid of that. We just want black. So create a big square of grey and click Ctrl+Shift+[ to send the shape to the back. You get something like this:
Once you have done that, click on a white shape. And the click Select > Same > Fill Color to select all the white shapes. Click Ctrl+G to group them. Now select a black shape and do the same. You may have noticed after you grouped them, the white shapes disappeared. They didn’t. Just press Ctrl+[ to send them back one spot. And you’ll see the white shapes. Now with the black shapes still selected, hold down Ctrl (or shift, I forget) and click on the white shapes. You should now have both groups selected. Open up your pathfinder window if it’s not open and click the “subtract” button. That will knockout all the white shapes. This may take a while depending on your version of Illustrator and your processing power on your computer. In the new CS2, it works really well. In older versions, this could take ages. After it’s done, you’ll see something like this:
Now open up “white.ai” and do the exact same procedure as above. This is important you do it the same way. If you fuck it up, it’s not my problem lol. Once you have done it with the “whites”, click once on the shape and give the shape a White fill. And press Ctrl+X to cut the shape.
12 – Arrange the two groups together.
Go back into your “black.ai” file which should still be open. Press Ctrl+V to paste your white shapes onto the work area. And use the black pointer to move the white shape into place. It should line up fairly well. Use your judgement. It should look something like this when you are done:
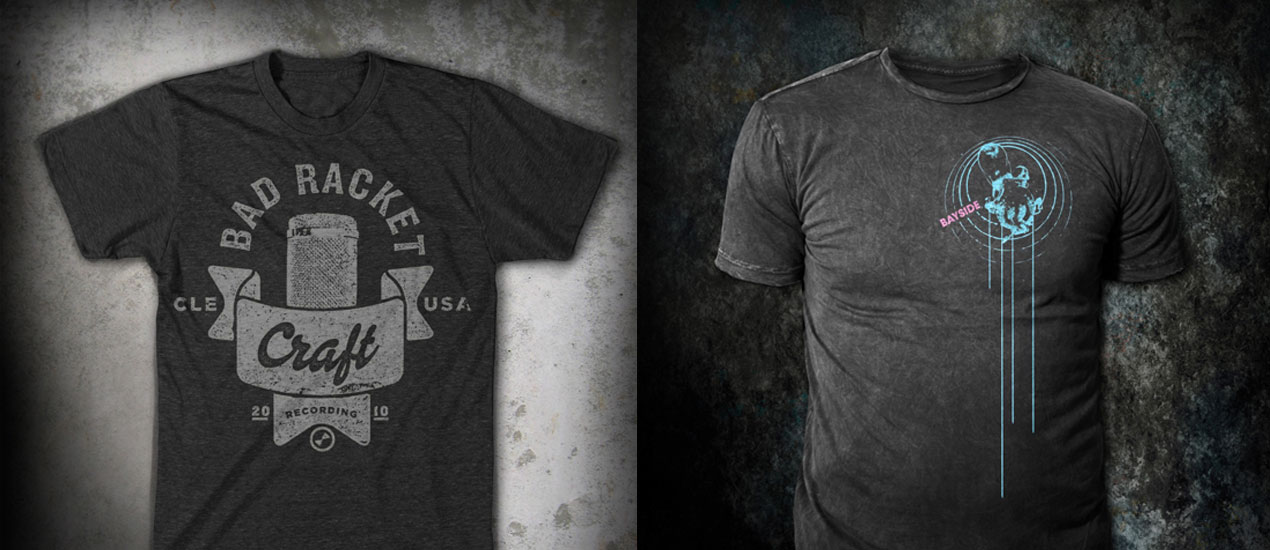
13 – Pick your colors.
Ok, you now have assembled your design. And it’s all vector. Which is exactly what you want. Now you can pick your colors with ease. Just play around with different combinations. Your background layer is your shirt color. When you are done, you can arrange your design on a shirt template so your client gets an idea of what it will look like on a shirt. And give them a few color concepts to pick from. But make sure they are all strong color combinations that effectively portray the feeling you want to get across. Here’s the final design on an “army” colored American Apparel shirt: