Blog
Announcing the Go Media building texture collection!
Textures. You said textures? That’s textures!
Hey folks, it’s Simon here. To say that I’m excited to share what I’m about to write doesn’t even begin to cover it. Heather and myself have been hard at work to release a super thing for you guys, before WMC Fest. It’s the Go Media building texture pack!

A bit of context
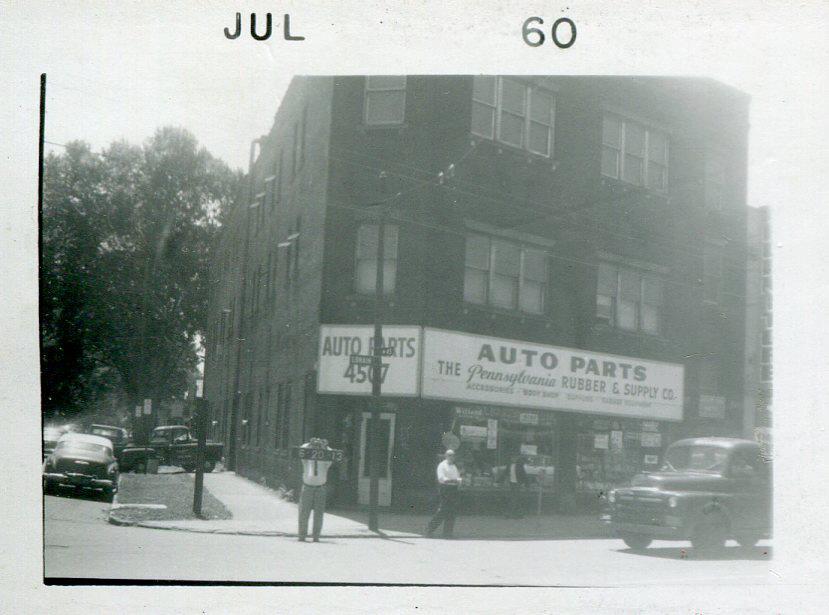
So I don’t know if you’ve been following along, but here’s the thing: Go Media is housed in this super bad-ass old warehouse building. I won’t go in too many details, but you can read a lot more about it in past Zine articles (Home sweet home, Designing the Go Media HQ workspace) or see some photos of the office floor renovation process. Our fearless leader Bill also tracked down this circa 1960 photo of the building:
Anyway, there has been a lot of work done on the building’s facade in the past 3 months. Just check this out:

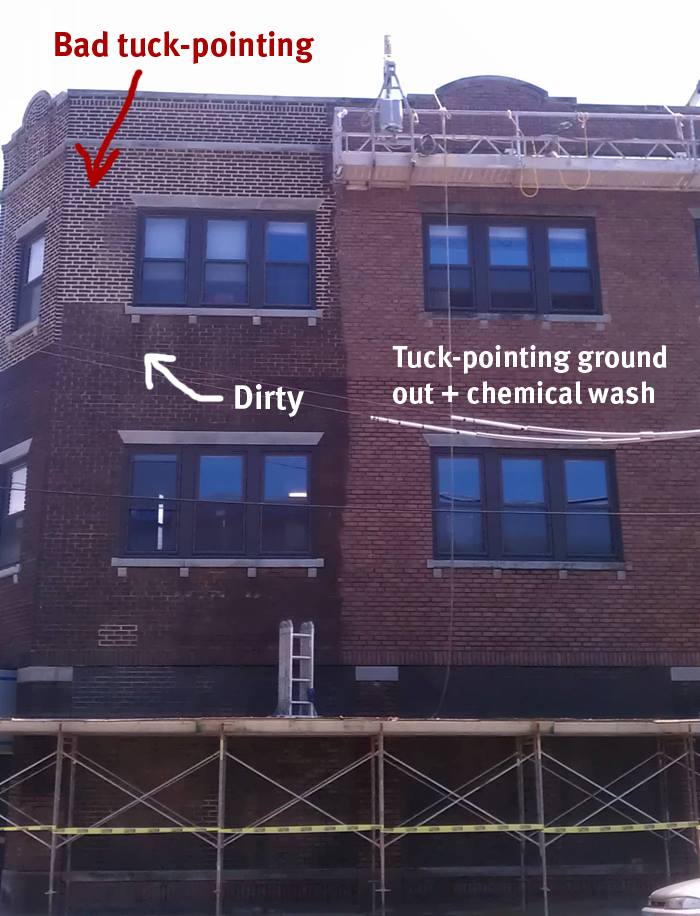

All of this fixing-up work revealed a lot of amazing things to look at. I’m obviously talking about textures here. After capturing a few images for personal references, we decided to share them for all you guys too!
So what?
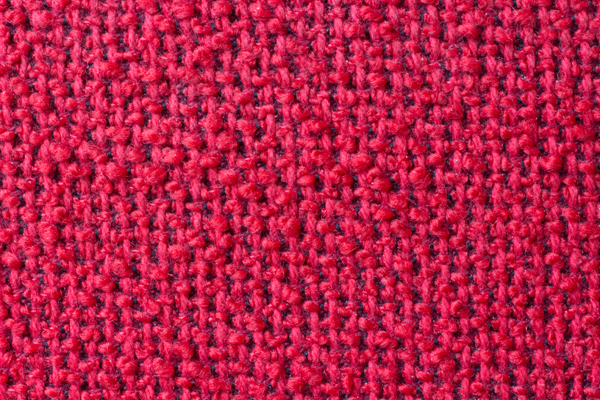
So after a couple of hours of shooting, at least as many in editing, and some selection process, we’re ready to introduce you to the Go Media building texture collection. It includes 122 textures, divided in five categories: fabric, dust, grunge, noise, and wood grains. The whole things weighs 629 Mb.

Let’s have a quick look at some of these

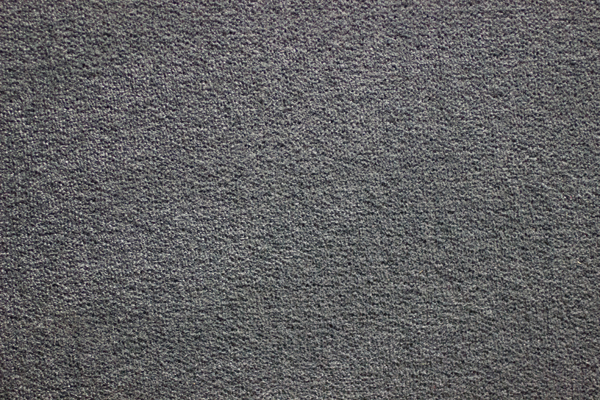

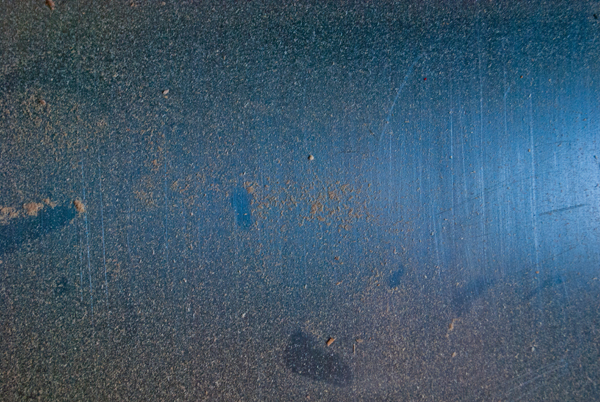

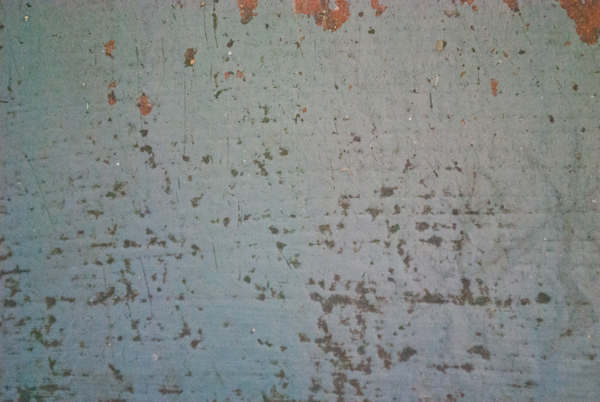


As you can see, the collection covers a pretty wide array of texture types, and goes from super subtle to sledgehammer.
The best is to come yet: let’s talk price
That’s the most awesome part: we decided to release the full collection for free! 0¢. Nada. Zilch. You get the picture.
Well it’s free, for a limited time only, as part of the general craziness surrounding WMC Fest and its preparation. We will probably put the whole collection back at a normal price sometime after the Fest when we’ll have time to do so, between catching up, tearing stuff down, and settling back in a normal rhythm. So, obviously, you know what to do: get the damn collection now.
The good times of the free texture collection have passed, but we decided to sell it for a very low price: only $37! I’ve calculated that’s around 30¢ a texture.
A few case studies
I wanted to demo the potential of the pack, and to unveil some of the ways to use these.
1. The fake product box
For a start, you can see the textures in action (and a few other ones) on the digital product boxes. Let me quickly walk you through the PSD in the video below.
http://www.vimeo.com/71507521
Sorry for the background noises, but the Go Media office is busier than a bee hive!
Resources
Grab these resources to re-create the design:
- gma-go-media-building-texture-set-misc-noise-008.jpg
- gma-go-media-building-texture-set-misc-noise-005.jpg
- gma-go-media-building-texture-set-grunge-049.jpg
- photocopy_by_clarisaponcedeleon_-_deviantart.jpg
- gma-go-media-building-texture-set-grunge-047.jpg
- gma-go-media-building-texture-set-dust-001.jpg
- gma-go-media-building-texture-set-dust-002.jpg
- gma-go-media-building-texture-set-fabric-004.jpg
2. Some advice on how to manipulate the textures for use
It’s the first time I’m shooting photos to create noise textures. I have developed a workflow to use them, but it might not be the most obvious. Let me show you below. We’ll create a wallpaper in the process, using some art I’ve developed for a recent contest on Dribbble as the basis. You can use whatever you see fit though. Call it your procrastination project of the day, but don’t cry if your boss catches you.
1. Let’s create a new Ps document sized at 1920×1200 px.

2. Let’s have a look at the art in my Ai file.
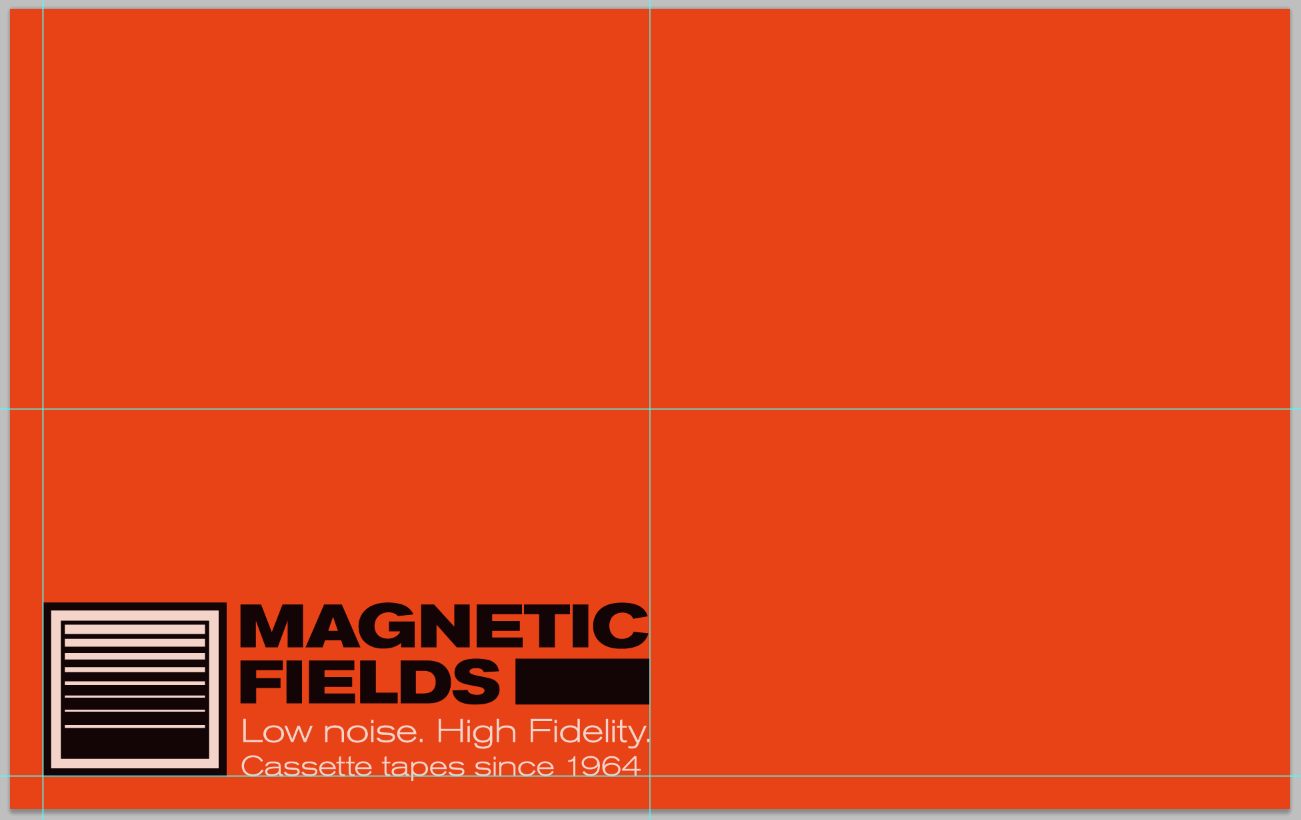
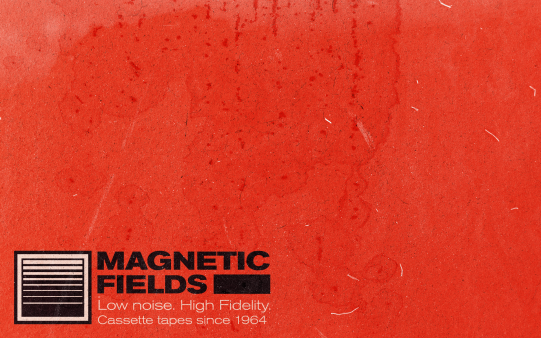
The color scheme is as follows: #EA3E24 for the background, #200D10 as my near black dark color, and #F4D6CB as my highlight color.

3. Let’s fill the background of our wallpaper with #EA3E24, and paste our brand lock-up in the frame.
You could go simple and just center it, or align it at the bottom right corner, in order to spice things up a bit. This will also allow people to appreciate the textures we’ll be working with in your design against that dark orange background.
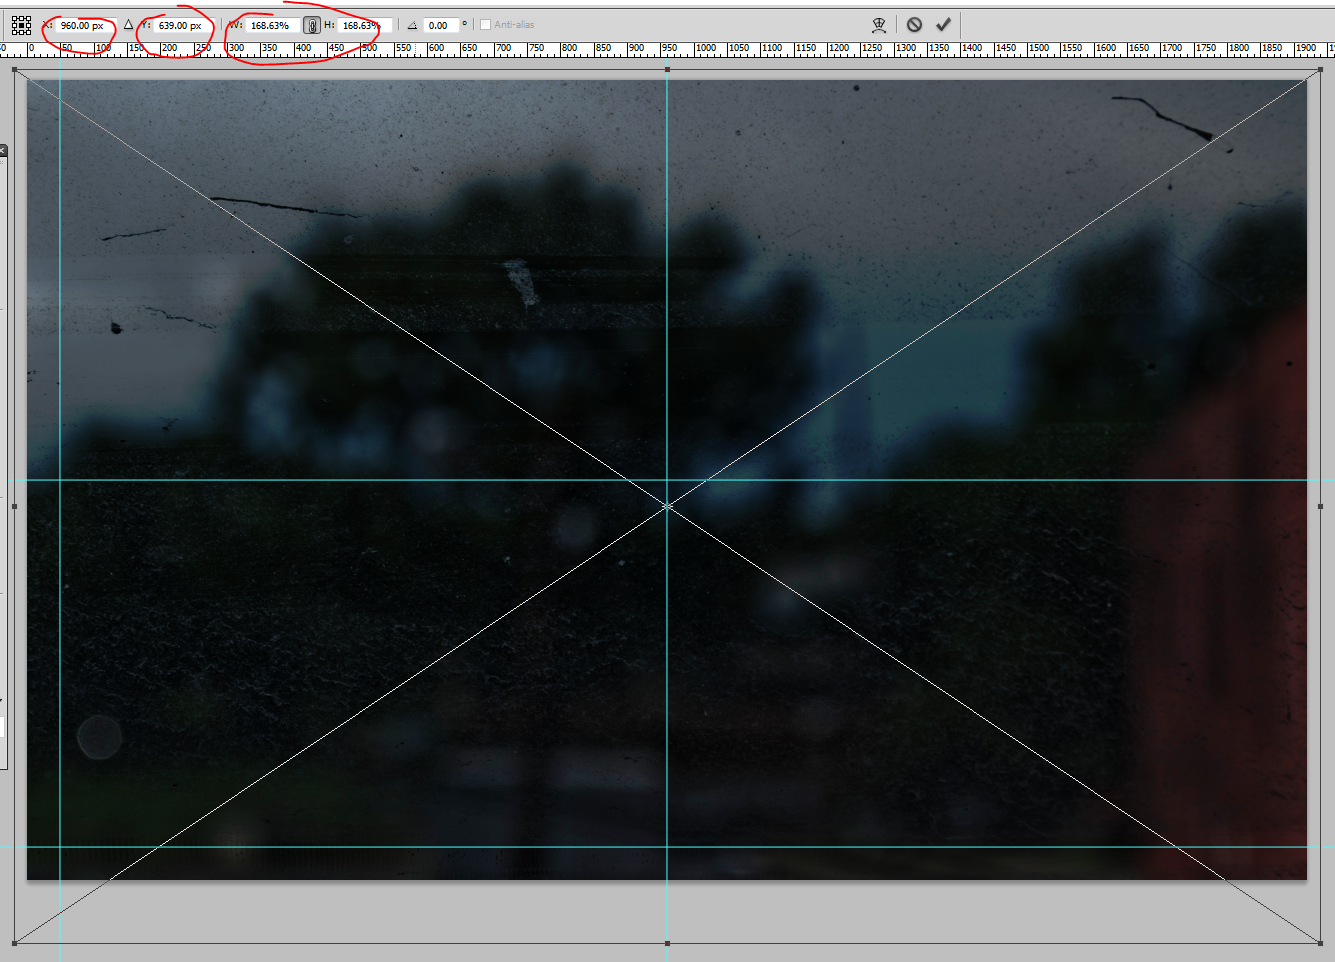
 Following my initial intention to center the art, I placed guides at the center of the frame (960 px vertically and 600 px horizontally). But since I’ve decided to shift things around a bit, I also placed guides at 50 px of the bottom right corner. Now that that’s done, time to work some texture magic.
4. Let’s choose a few noise textures, and a few dust textures from our collection.
I’ve chosen the following:
- gma-go-media-building-texture-set-misc-noise-007.jpg
- gma-go-media-building-texture-set-misc-noise-009.jpg
- gma-go-media-building-texture-set-dust-001.jpg
- gma-go-media-building-texture-set-dust-002.jpg
- gma-go-media-building-texture-set-grunge-048.jpg

5. It’s time to place and edit the first noise texture, gma-go-media-building-texture-set-misc-noise-007.jpg
I’d suggest placing the textures at the top of the brand lock-up. That way, the texture application will unify everything together visually. To place the first noise texture, I’m just sliding it in my Ps window, and sizing it to recover my whole canvas. I’ve highlighted the values I’ve used in red.
 Once you’re happy with your texture placement (notice how mine is slightly off-centered), just validate the transformation. Now, we have two options: either we rasterize the smart object created when we slid the texture in our document, or we leave it as is. I’m going to rasterize it to gain time, but you could still follow this tutorial if you didn’t. You would just need to use adjustment layers to apply the saturation and level changes to the textures, and make sure these are properly clipped. See the box PSD breakdown above for more information.
For a noise texture to, what we want is to bring these subtle dust and noisy elements visible in white or off-white over our design. We’ll be using the Screen blending mode (which shows anything black as transparent) to accomplish this. So the goal now is to use our levels to darken as much as possible of this texture, and to lighten only the noisy bits up.
First, let’s desaturate the texture (CTRL/CMD + SHIRT + U). Then, time to bring our levels palette up (CTRL/CMD + L), and to start playing. After a bit, it looks like the areas that we can impact with the texture aren’t very interesting. A potential workaround is to invert the texture and see what we can do with that “new” work surface. But even after doing that, alas, no luck. So I’m simply not going to use this texture this time.
Let’s slide in our second noise texture, gma-go-media-building-texture-set-misc-noise-009.jpg, and repeat the same process.
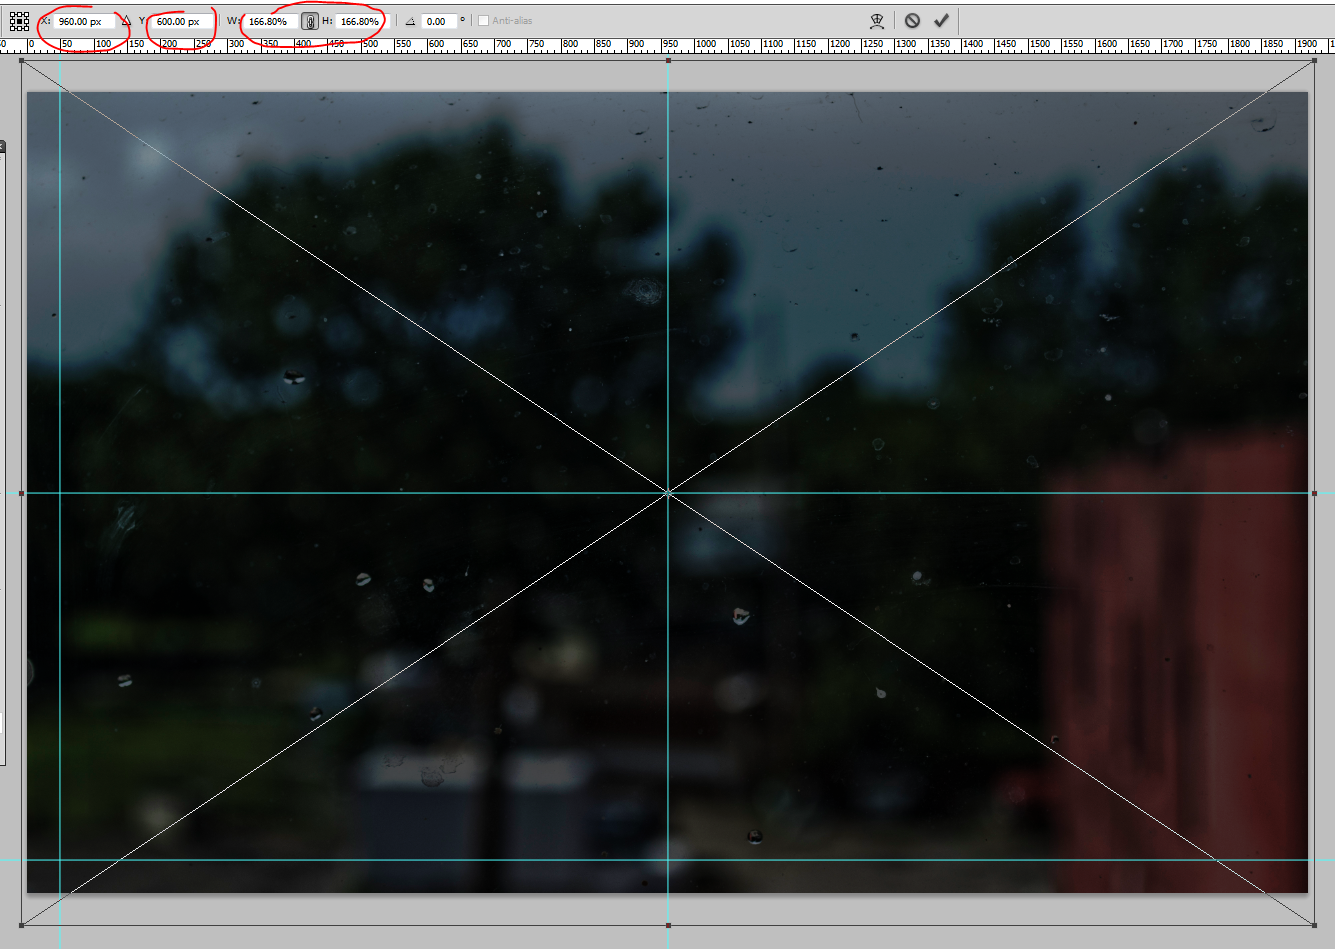
And here, we’ve got some better luck at just keeping parts of that texture that make these little noisy elements we’re after.
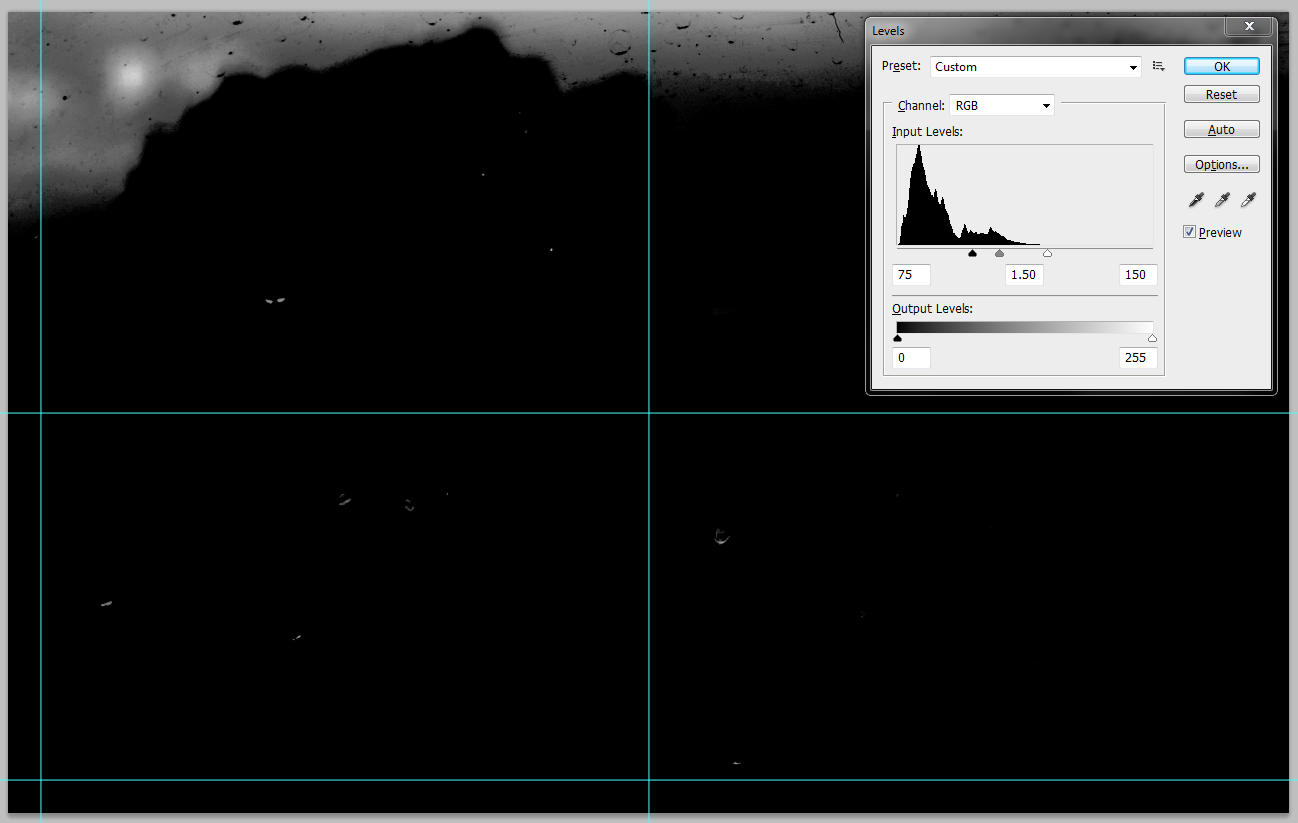
I’ve used 75 for my dark tone, 1.5 for the mid-range, and 150 for the light tones. Time to change the blending mode to Screen, lower the opacity of the layer to 35%, and to admire the result of that first texture pass.

Another little thing I’ve done is to sharpen (Filter > Sharpen > Sharpen) my layer once, as it enhances the little noisy details we’re after.
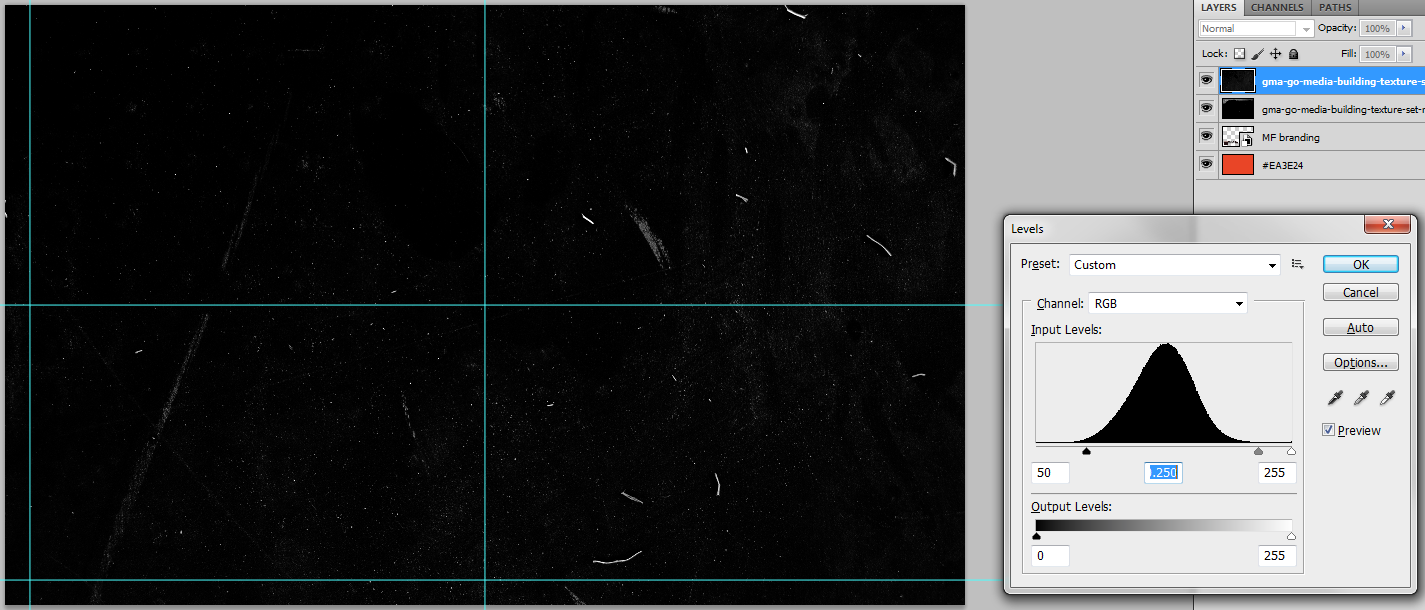
6. Dusting things up
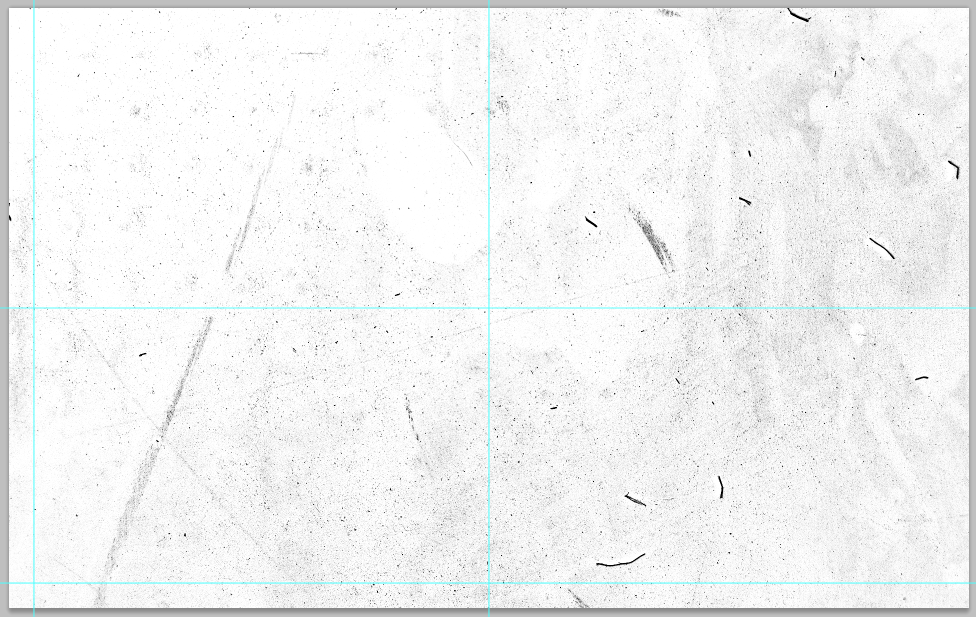
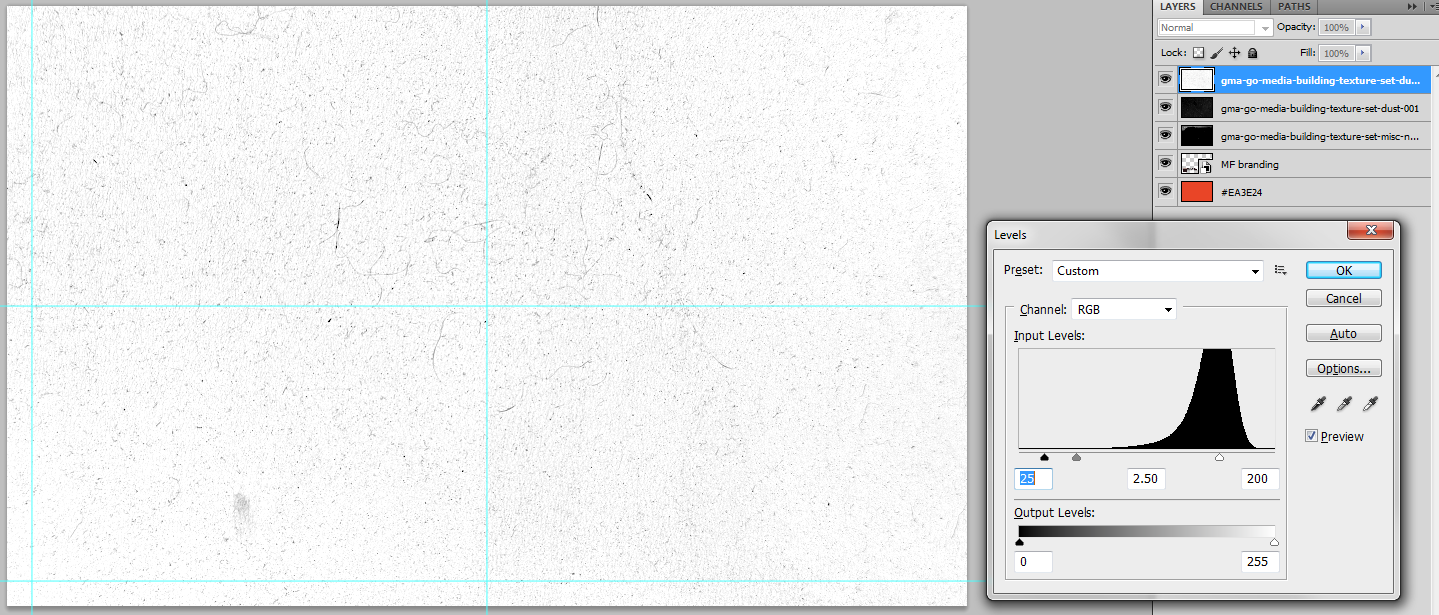
It’s time to include and manipulate our dust textures in here. Let’s start with gma-go-media-building-texture-set-dust-001.jpg. If you want your dust speckles to look white, the process will be very similar to the noise textures. Here are the values I’ve played with for that:
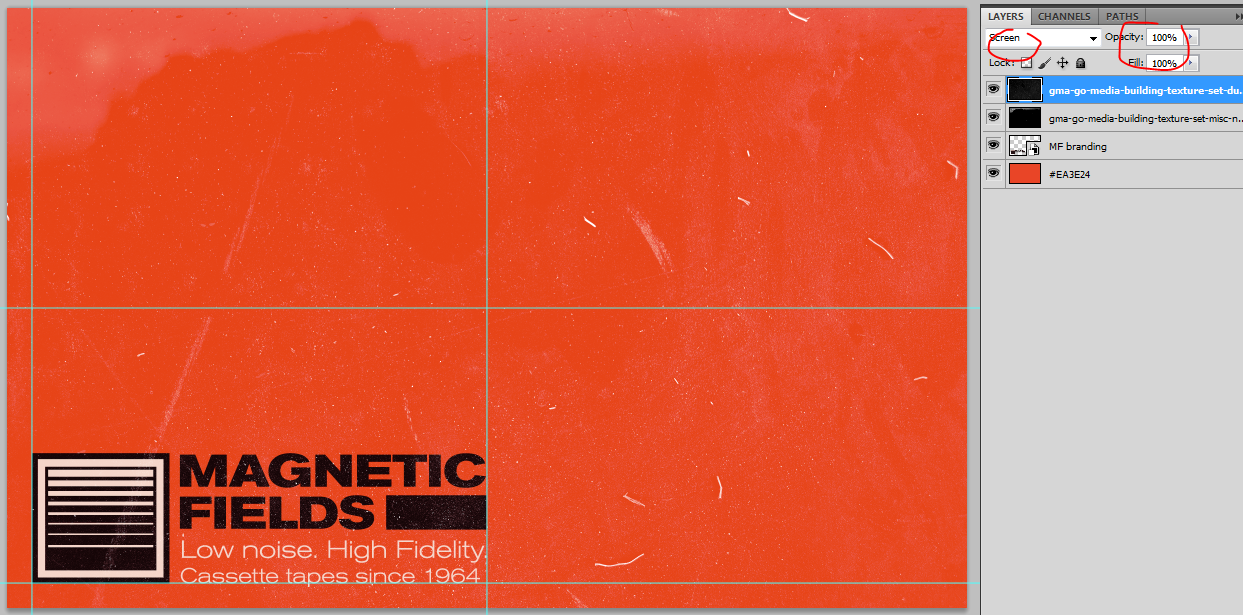
And here’s the result:
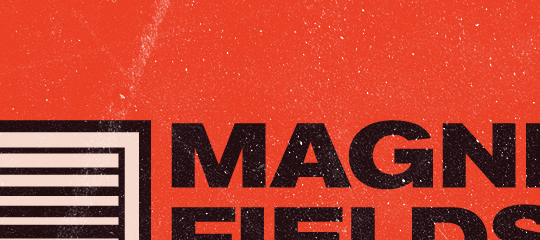
 This is a crop at 100%:
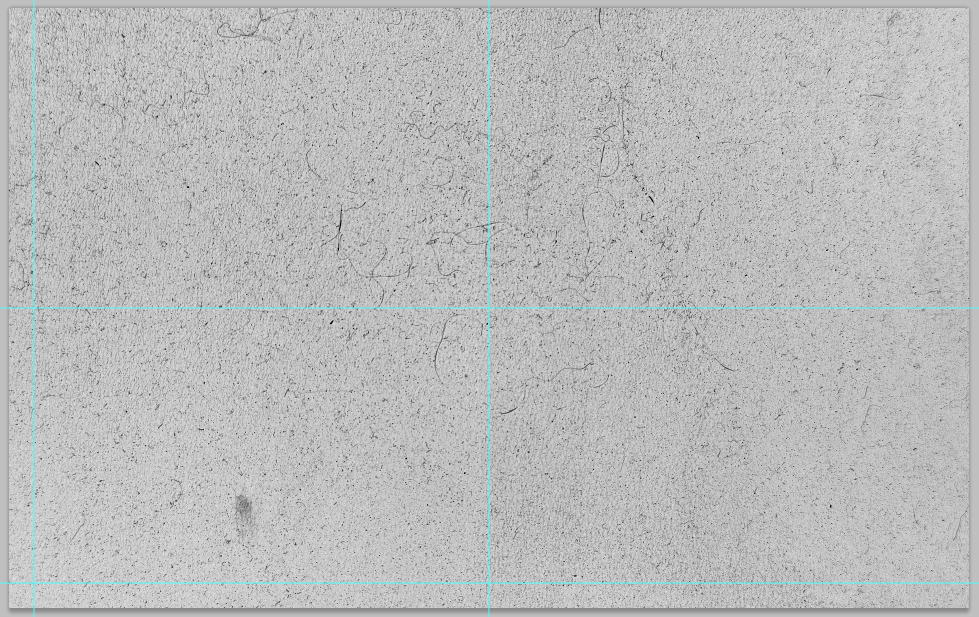
In the event you want the dust and speckles to be black, here’s what I’d suggest:
 The next step is to invert your texture (CTRL/CMD+I), which should give you a result similar to this:
Finally, I just switched the texture’s blending mode to Multiply.
 To get an idea of the detail from up-close, here’s a 100% crop:

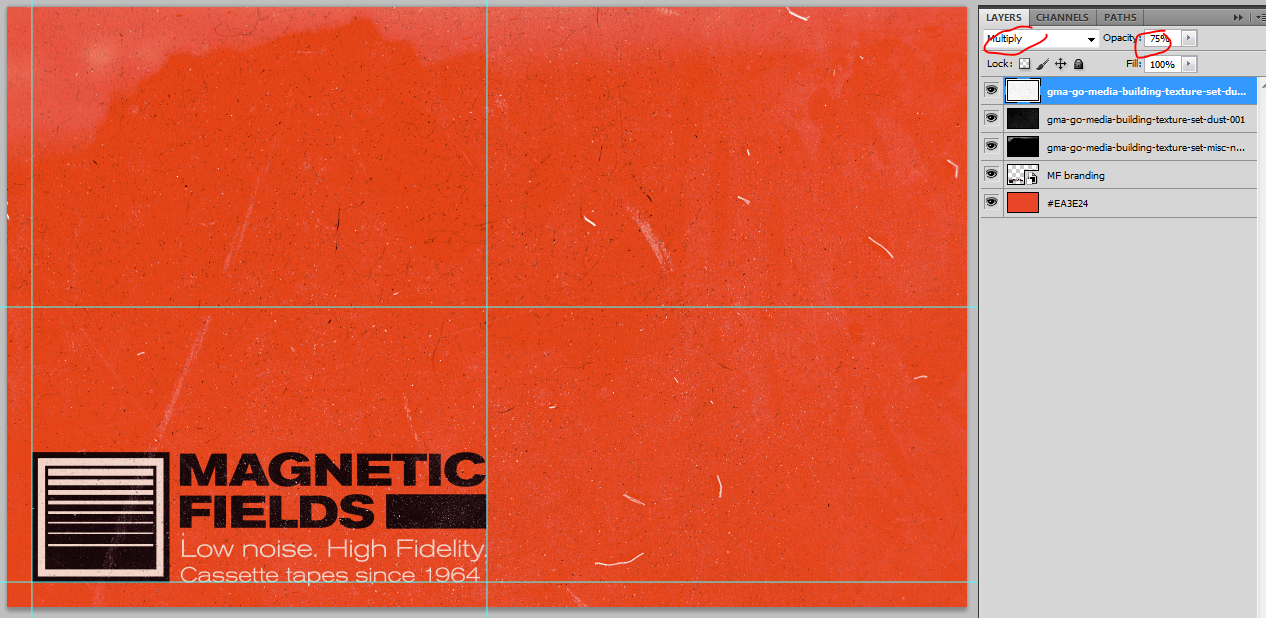
Now comes the time to choose which direction to go. Given how the next texture, gma-go-media-building-texture-set-dust-002.jpg, has reacted when I was designing the box (see above), I’m going to select my white dust speckles.
Time to place and edit the texture in the canvas. After rasterizing the layer, I decided to invert the texture, to get its effect to show in dark rather than light elements.
After some sharpening, it was time to get our level palette again. Here are my values:
 And this is what happened once I switched the blending mode to Multiply, and the opacity to 75%:
 So far, so good.
7. Last but not least, let’s add our finishing touch
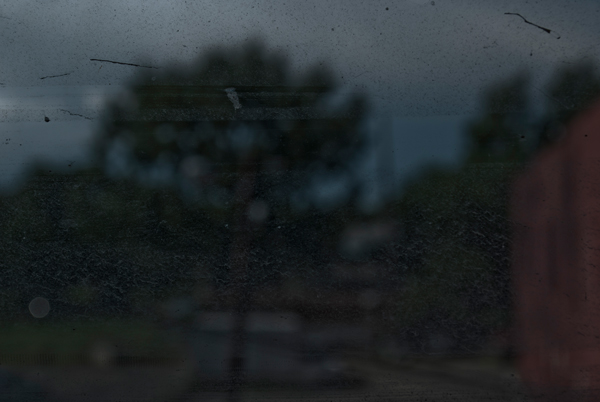
The last texture I have listed in the resources list above is gma-go-media-building-texture-set-grunge-048.jpg, a grunge texture featuring what could be a stained and moldy ceiling panel. This will be the last texture we’ll add. It shows a bit of grain and a stain.
I’ve place the texture at the center of the canvas, and increased its size at 125%. After placing, rasterizing, sharpening, and desaturating the texture, we’ll use the levels to bring out the details of that texture.
 Once that was done, I could have just put the blending mode on Multiply, and lower the opacity. Multiply is a blending mode that “multiplies” the color values of stacked pixels together. When you put a grayscale texture atop a design through this process, your colors will look lifeless and muddy. This is why I went with Soft light instead:

We still get the stain pattern, as well as the moldy dots, but they do not overpower the colors. If anything, it boosts the saturation a bit. We could call it a day here.
But that clean logo was bugging me. See a 100% detail below:
![]()
It’s too clean compared to the rest of the wallpaper. So I decided to age it a bit further.
For a start, let’s turn off the branding layer and copy-merged the content of our canvas. To do so, select everything visible (CTRL/CMD+A), and use CTRL/CMD+SHIFT+C when copying. This will copy everything that’s visible in your selection, rather than just the content of the layer that’s highlighted in your layer palette.
![]() After that, add a layer mask to the brand lock-up layer. ALT+CLICK this new layer mask, which will allow you to see and edit its content, and paste in front (CTRL/CMD+SHIFT+V) the information we copy-merged just earlier. Notice also that I’ve unlinked the layer mask and its layer, which will allow me to move/resize them independently from one another.
After that, add a layer mask to the brand lock-up layer. ALT+CLICK this new layer mask, which will allow you to see and edit its content, and paste in front (CTRL/CMD+SHIFT+V) the information we copy-merged just earlier. Notice also that I’ve unlinked the layer mask and its layer, which will allow me to move/resize them independently from one another.
![]()
Time to use our trusty levels once more to fine tune the effect. My values are below. The goal was to mimic what we did with our second dust texture: to just keep the most interesting elements of our texture, and to wash out the rest.
![]()
And here we have a grunged out logo!
![]()
This 100% crop shows the result more in details. This is already a bit more fitting. We could obviously aged the logo further, but that will be the object of another tutorial (but feel free to apply some advice from Simon Walker in the meantime if your brand lockup is a vector element).
![]() Some other things you could play with to refine the grunge effect (other than the levels step values) would be to move the content of that layer mask around, to select the spot you like the best. Or you could rotate of 180°. Or you could paste a completely different texture in… So many things to try, so little time. The advantage with this technique being that the grain and texture elements will match the grunge elements of your logo. Don’t hesitate to share your results in the Go Media Flickr pool and/or in the Go Media Pinterest gallery.
Some other things you could play with to refine the grunge effect (other than the levels step values) would be to move the content of that layer mask around, to select the spot you like the best. Or you could rotate of 180°. Or you could paste a completely different texture in… So many things to try, so little time. The advantage with this technique being that the grain and texture elements will match the grunge elements of your logo. Don’t hesitate to share your results in the Go Media Flickr pool and/or in the Go Media Pinterest gallery.
You can download both versions of the wallpaper straight from my Dropbox, in a convenient zip file.
Let’s recap
This is a free $37 texture collection, that includes:
- 122 textures
- Spanning 5 categories (fabric, dust, grunge, noise, wood grains)
- Over half a gigabyte of data = high resolution files
What are you waiting for? Get it now from the Arsenal!
Oh, and since next week is WMC Fest, I hope to see you all there!