Blog
Using Keyboard Shortcuts | Design Tip of the Week
Using Keyboard Shortcuts
Keyboard shortcuts are truly a wonderful thing. With quick pecks at the right keys (at the right time), designing and illustrating becomes faster, more efficient and enjoyable. Imagine if you had to keep laboriously clicking around to select a new tool or option. Ugh, how strenuously horrible. Well, okay, maybe I’m being a bit dramatic. Regardless, keyboard shortcuts are great, making one’s workflow a lot smoother.
This Design Tip of the Week is not going to focus on listing out all of keyboard shortcuts. (There are tons of resources on the internet for that.) Instead, I will focus more on process: how keyboard shortcuts can be used in combination with each other and how you can use them strategically. The following are a few that I personally use along with how they help me in my workflow. Let’s roll.
Zoom In and Out

I am very detail-oriented and like to spend time making things perfectly lined up and flawlessly spaced. It’s not uncommon to find me working at 6000% zoomed-in. But I need to also step back and see everything working together. Unfortunately, constantly zooming in and out can be really time consuming. Good thing there is the Z key and CMD + 0.
Hitting the Z key immediately equips the Zoom Tool, which can pinpoint and zoom in on areas that need to be looked at with relentless scrutiny. While being able to quickly hone in is useful, having the ability to zoom out just as fast is super crucial. This is where CMD + 0 (CTRL + 0) really comes in handy, zooming out instantly to a nice, encompassing view of the artboard (Illustrator) or canvas (Photoshop).
*In Illustrator, use CMD + OPT + 0 (CTRL + ALT + 0) to see ALL artboards in one view.
I know it seems kind of elementary, but using these two keyboard shortcuts, especially in combination with each other, greatly help with refining details (kerning, adjusting curves, erasing, aligning elements, etc.) AND stepping back to see how those refinements affect your design overall.
Selection & Direct Selection Tool
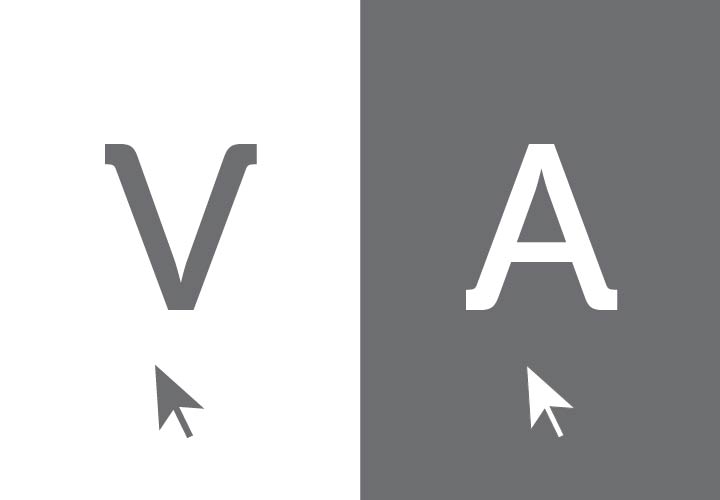
Using the V key (Selection Tool) alongside the A key (Direction Selection Tool) allows you to not only easily move, rotate and scale elements, but also distort and transform them*. When working on a complex illustration that has many anchor points formulating numerous shapes, lines and curves, toggling between the Selection and Direct Selection Tool definitely speeds things up.
*These two keyboard shortcuts refer more to working in Illustrator.
Fill and Stroke

Using the X key allows you to switch back and forth between Stroke and Fill in Illustrator, which is especially useful in making color choices and creation of shapes (solid vs. outlined). You can also use Shift+X to invert a shape’s Stroke and Fill color.
In Photoshop, the X key shifts between the foreground and background color. This becomes extremely useful for erasing (Brush Tool set to black) and restoring (Brush Tool set to white) parts of an image in a Clipping Mask.
Adding and Subtracting Anchor Points

Creating excellent vectors requires a great amount of attention to their anchor points. Whether it is plotting new points on a path or taking some out, using the + key and – key streamlines that process. I use these two keyboard shortcuts constantly when working intensively on linework.
And Finally…
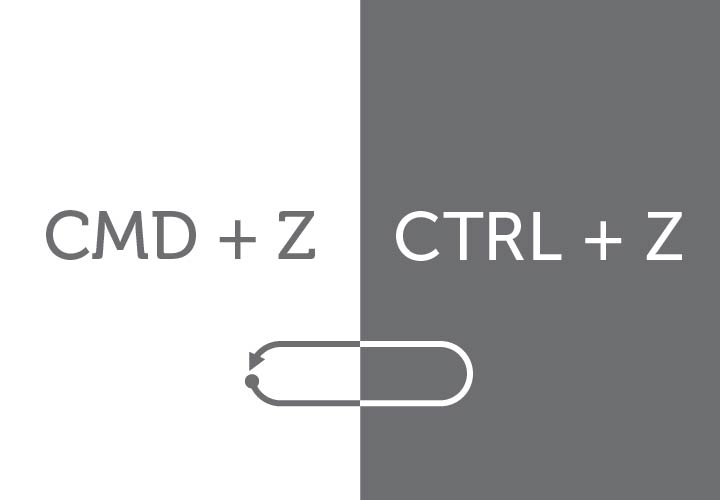

The two most common keyboard shortcuts.
We all make mistakes. Thankfully we can undo (CMD + Z) them in a blink of an eye, so we may move on to a better solution without losing time. Then there are those moments of brilliance. Don’t let lose them in the digital ether. Save (CMD+S) them.
To wrap this all up, the point is not to remember every single keyboard shortcut. Instead, think about your process. What actions are constantly being made? Is there a way to make that particular step easier? After all, a major part of design is not only the creation of a visual, but the thinking that goes into it. Save yourself time with a more efficient process, then use the time that was saved to focus on things like conceptualization that require incubation and development.
Work smarter, not harder.
Thanks for reading!
