Blog
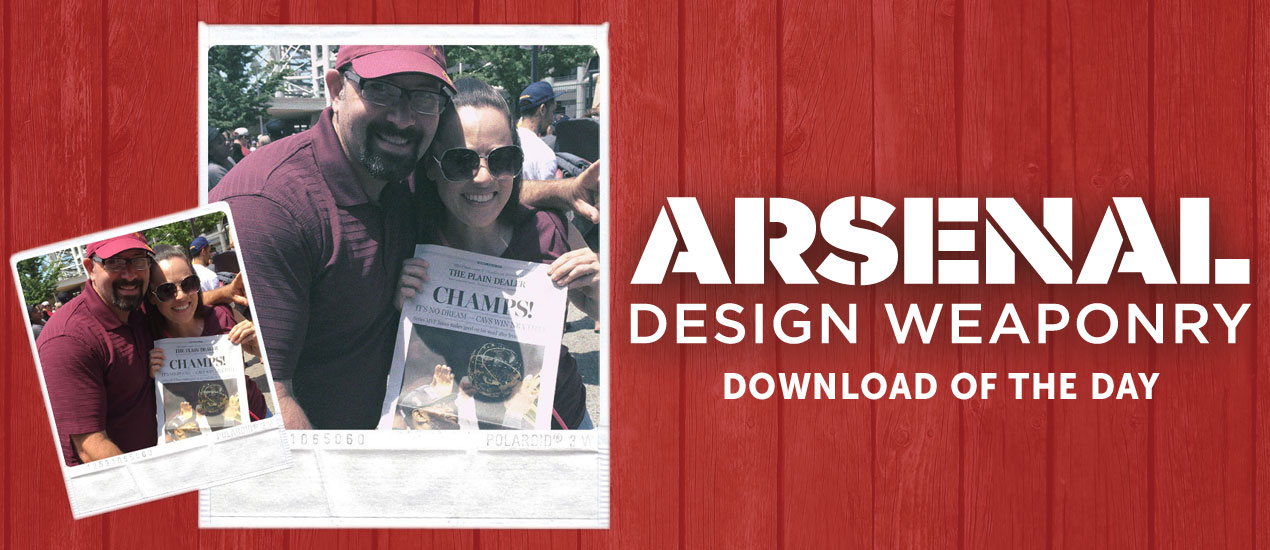
Download of the Day: Polaroid Photo Effect Template & How-To
Polaroid Photoshop Tutorial: Simplified!
Join us every Thursday, when your friends here at the Arsenal take over the Go Media blog to share insights, tips, freebies or other fun to brighten your work day.
Today we’re talking about how to get an authentic photoshop effect for your photos. To get this effect, you’ll need a photo, the Photoshop template we’ve created just for you, and a few moments to follow the steps you’ve provided for you. We promise it will be worth it!
Love our products? Access our huge product library ($11k in resources) and exclusive content for only $15/mth. Yes, seriously. Learn more now.
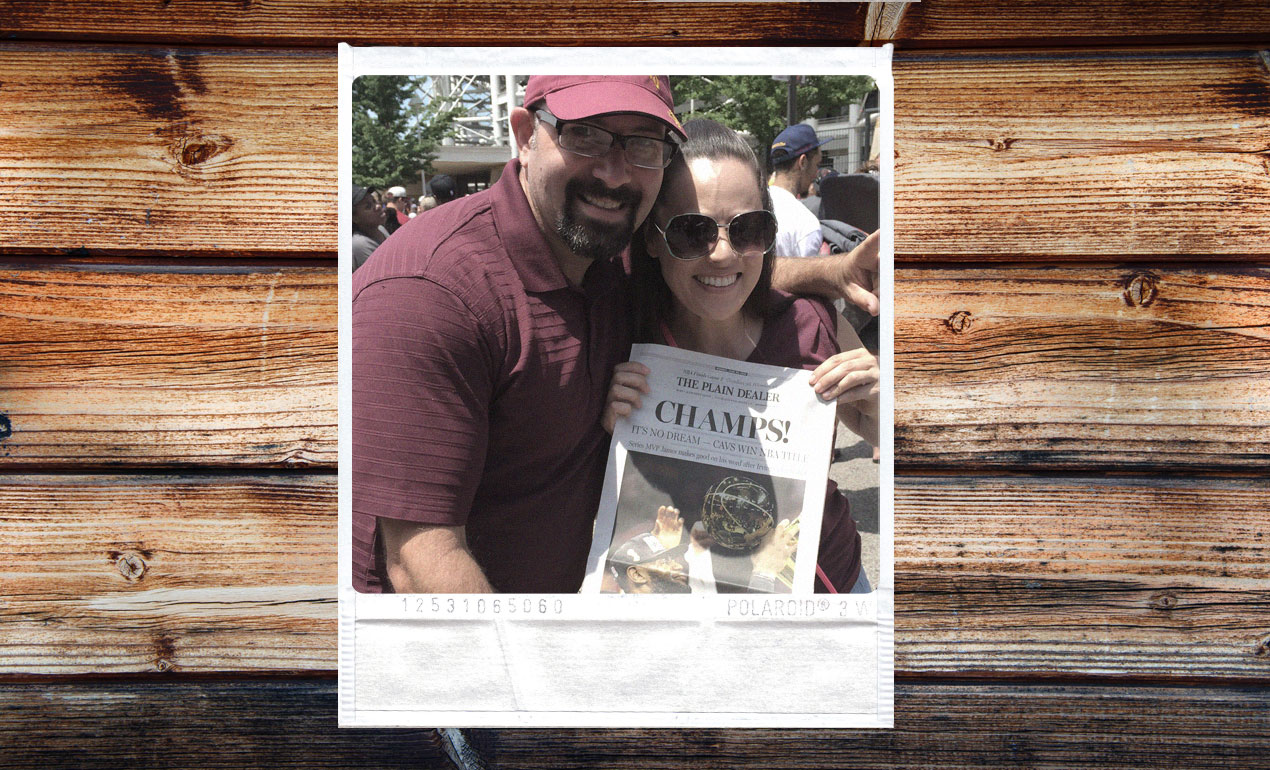
To get started, please download the Polaroid Effect Template. This template was created with resources we found on line including this awesome photo from akinna-stock on Deviant Art. Thanks Akinna!
The Download: Polaroid Photo Effect Template by Go Media

STEP ONE: Open your template in PS. Make sure the “Place your Art Here” layer is selected. File > Place your photo into this layer. It will place your art into the mask like so.

———————
STEP TWO: If you’d like to add some vintage effects to your photo, let’s proceed. Right click on your photo > Rasterize Lazer.
Here are some tools you can use to age your photo. Feel free to play around with these in order to get the look you’re after >
The first: Head to Image > Adjustments > Hue and Saturation (Shortcut Ctrl + U) – now, under present, try selecting Sepia or Old Style

My photo using the “Old Style” preset
———————
STEP TWO:
Try Filter > Texture > Grain – Experiment with adding grain here!
———————
STEP THREE:
Try to play with your curves. I suggest working with Red, Green, Blue, as well as your RGB setting separately. This will adjust your colors in order to give it the vintage effect you’re after.
———————
STEP FOUR:
Try to play with your curves. I suggest working with Red, Green, Blue, as well as your RGB setting separately. This will adjust your colors in order to give it the vintage effect you’re after.
———————
STEP FIVE:
You can further mute the colors in your image by going to Image > Adjustments > Brightness. I chose a contrast of -20 to achieve this affect.
———————
STEP SIX:
Want to make some last minute color changes, head to Layer > New Adjustment Layer > Color Balance. Clip your Color Balance layer to your photo by selecting both layers then putting your cursor between the layers and right clicking to “Create Clipping Mask.” Use the RGB selections to achieve our final vintage look.
You’re done!
Here is my before and after.
