Blog
Illustrator Poster Design Tutorial: Let’s make a horror movie poster with vector set 23
Illustrator Poster Design Tutorial
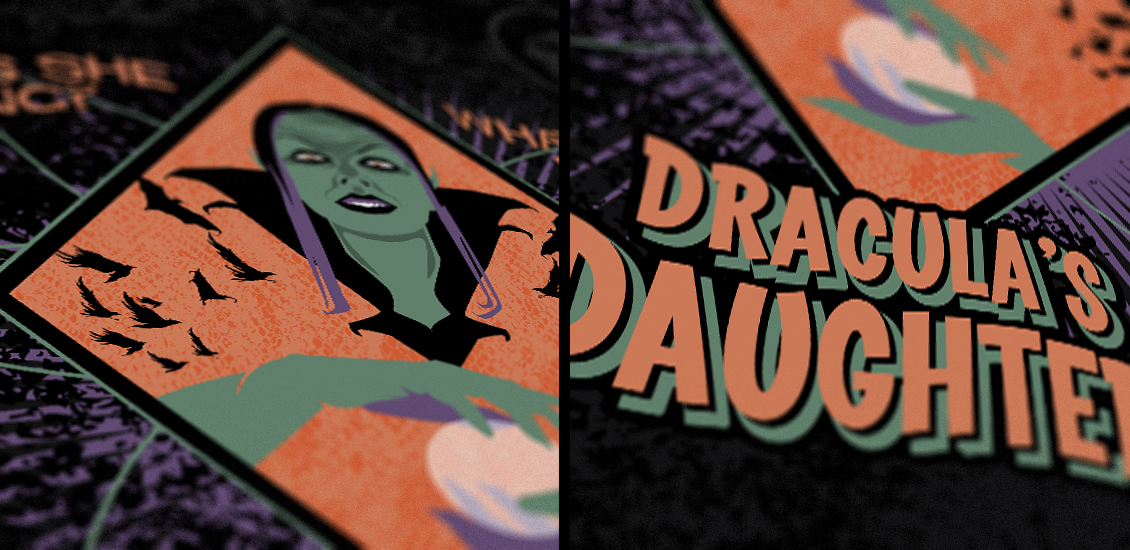
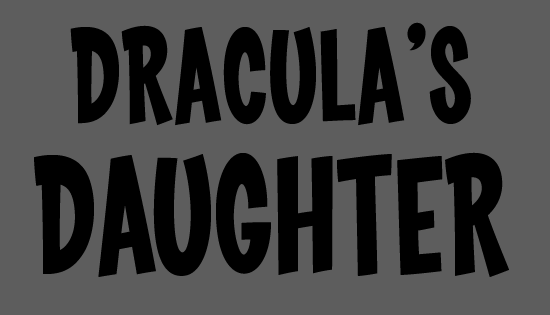
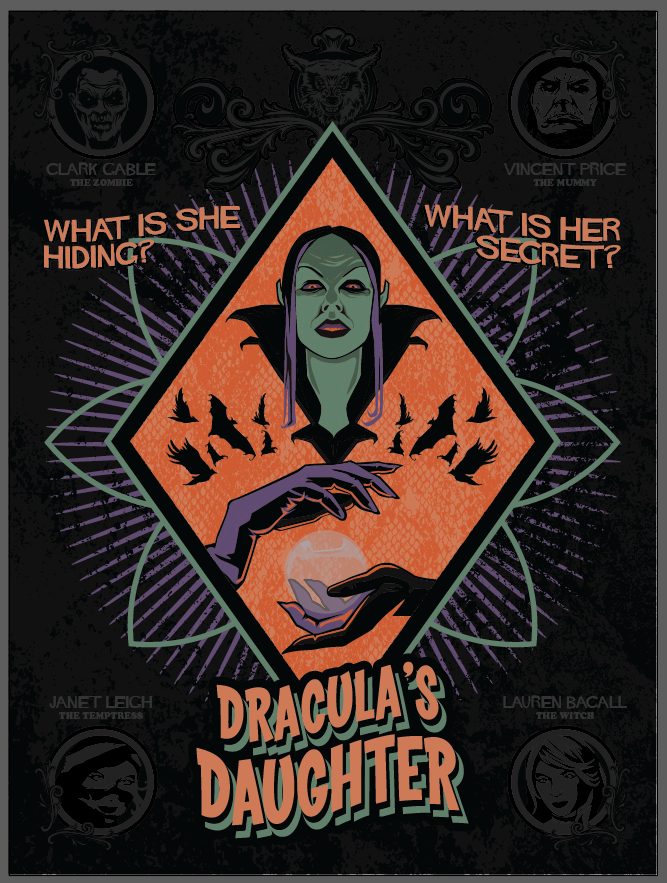
With the re-release of our latest, horror-themed, vector set, we felt it was fitting to have an Halloween tutorial. So today, we’re going to work on re-creating this poster for Dracula’s daughter, a fictitious movie from five or six decades ago. We will be using vectors from Go Media’s Arsenal to help us out with this poster (you can purchase below!).

The design above was a team effort between Steve Knerem, Jeff Finley, and myself. As you can see, not all the details are historically accurate (actor names, type choices), there are some alignment issues, and a typo, but it’s a good base to start from.
We’ll be using Illustrator as our main tool throughout this tutorial. This will allow us to easily limit the number of colors of our final piece. This is for two reasons: we want to potentially screen print the piece, and it forces us to design more efficiently.
We’ll see how to recolor the vector elements from set 23 to match our color palette, how to place them around, how to manipulate the type to create the title elements, and more! Let’s get started, shall we?
Step zero: the layout
The first step would be to take a piece of paper and a pen, and to comp some layout options. This is also where we looked at the content of set 23, and decided which pieces to use. Steve is the one who came up with the concepts for the poster’s layout. He also fixed the poster size at 18″ by 24″. Here are a couple of the sketches he made:


As you can see, the diamond element, along with the witch’s head have been there from the start. The earlier versions of the composition were a bit busier, with a lot of elements in the bottom half of the frame. We decided to simplify things.
Since the process between Steve, Jeff, and myself was very organic, I’ll spare you the headaches of the back and forth between us. From now on, this will be written as if we started from scratch. Also, since there were so many people involved and that some of the steps haven’t been documented, we might end up with an end result slightly different from the mockup at the top.
Step one: document setup
The first step is straight forward: we need to create a new document in Illustrator. I created an 18″x24″ document, at 300 dpi and in CMYK.

Useful goodie: here are the main colors we’ll be using.

Step two: background elements
Main background color
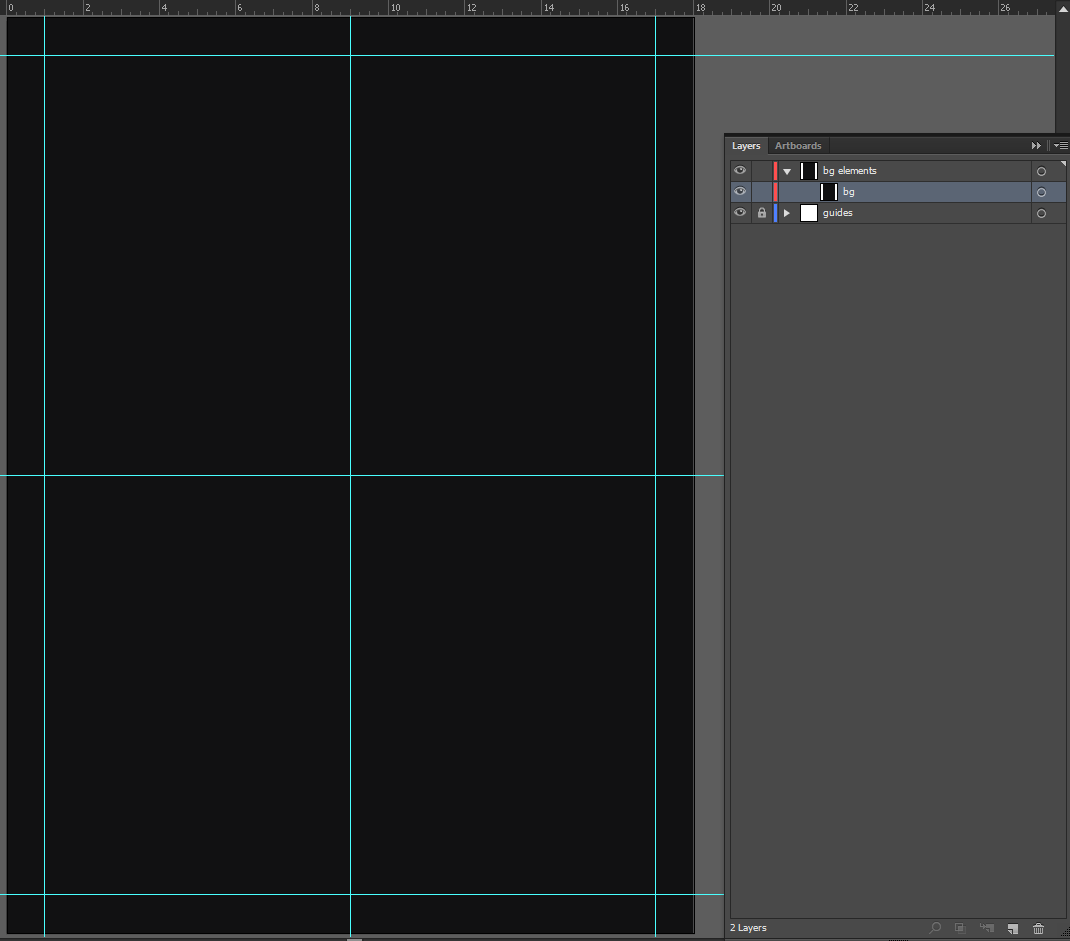
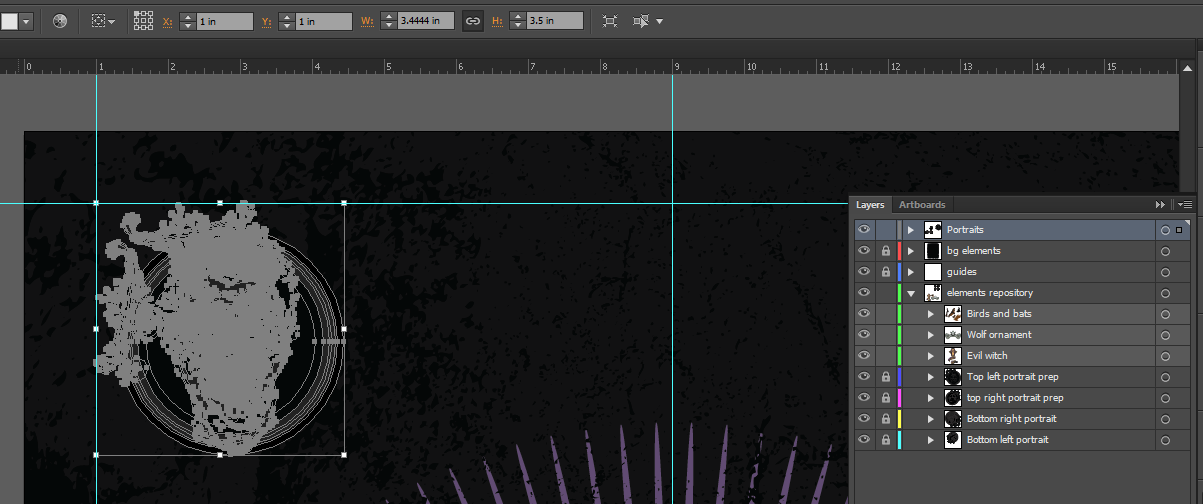
After placing a series of guides (to find the middle, and get a sense of the bleed I’d like to keep), I’ve created a new layer that I’ve named “bg elements.” I then used my rectangle tool (M) to create a centered 18″x24″ rectangle filled with a very dark gray (#121213).
Background texture
The texture part is pretty easy: Steve created a vector texture pack as part of set 23.

I just grabbed the grunge texture in the pack, placed it in above the dark gray rectangle, sized it to fill the whole artboard, and colored it in RGB black (#000000). This way, it contrasts softly against the dark gray of our background rectangle.

The finishing touch for the texture is to hide the parts of it that extend beyond our artboard (when sized at 18″ wide, the texture is almost 26.2″ tall). We’re going to use a clipping mask for this. Just create another 18″x24″ rectangle above the texture group, center it, and remove any fill or stroke color. I’ve also renamed it to texture clipping mask. Then, select both the texture and the rectangle, right click, and select the Make clipping mask option. And you’ll have a clean looking background!


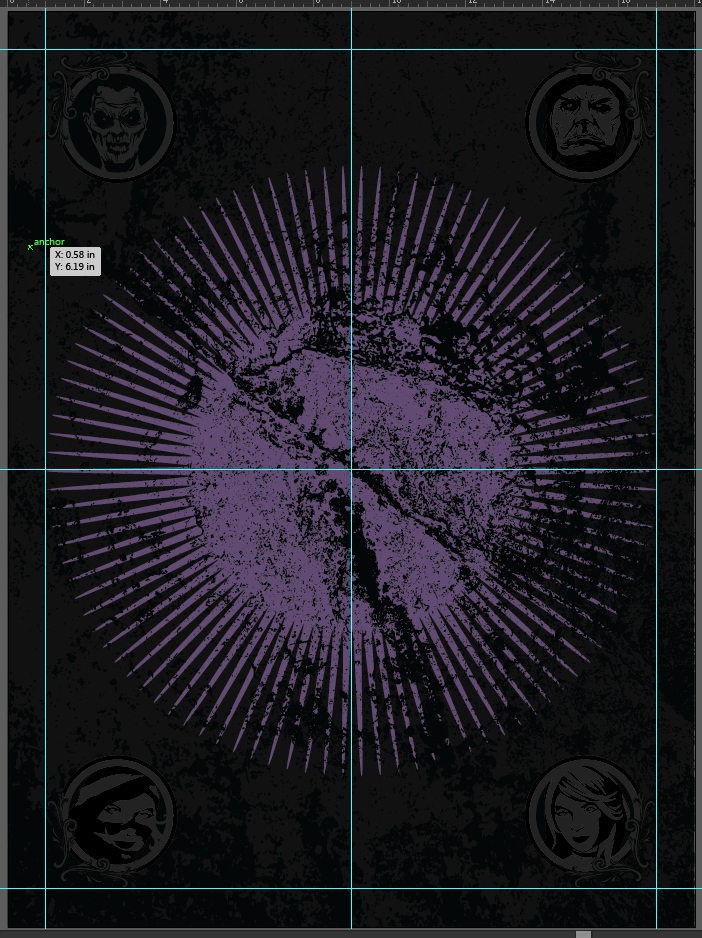
Background burst
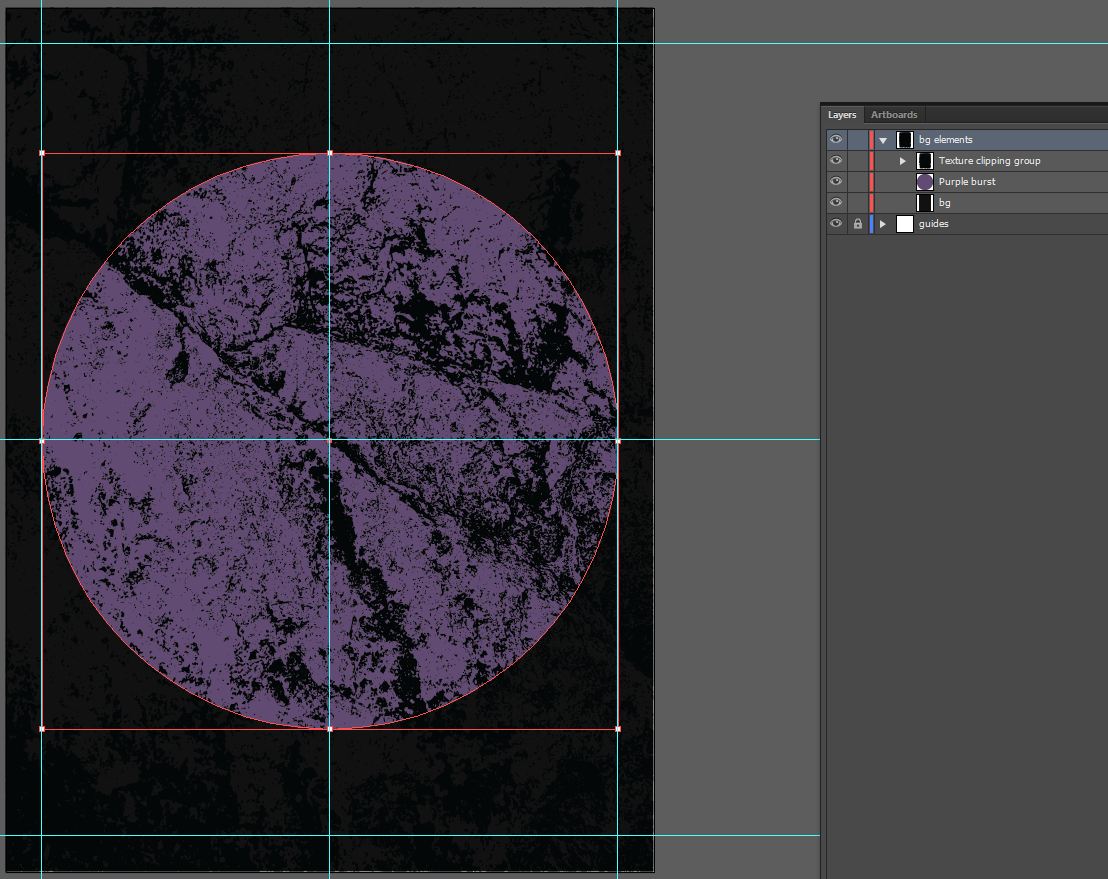
The purple burst is the focal element of the background. You’ll notice in our mockup above that the burst is grunged out by the texture. This means that we’ll have to place it between the bg and the Texture clipping group sub-layers.
In order to get a burst, we need to first create a circle. Mine is 16″ in diameter. It’s centered in the artboard, and filled in purple (#614a72).
Next, we’ll be using the Zig Zag filter to create the burst out of that circle. It’s in Effects > Distort and transform > Zig Zag. Make sure the Preview box is checked, and start tinkering with values until you get a satisfying burst. I’ve used an absolute value of 2.5″ for the size, and 50 ridges per segment. I also chose smooth points versus corners, as it gives me a softer, more worn look.
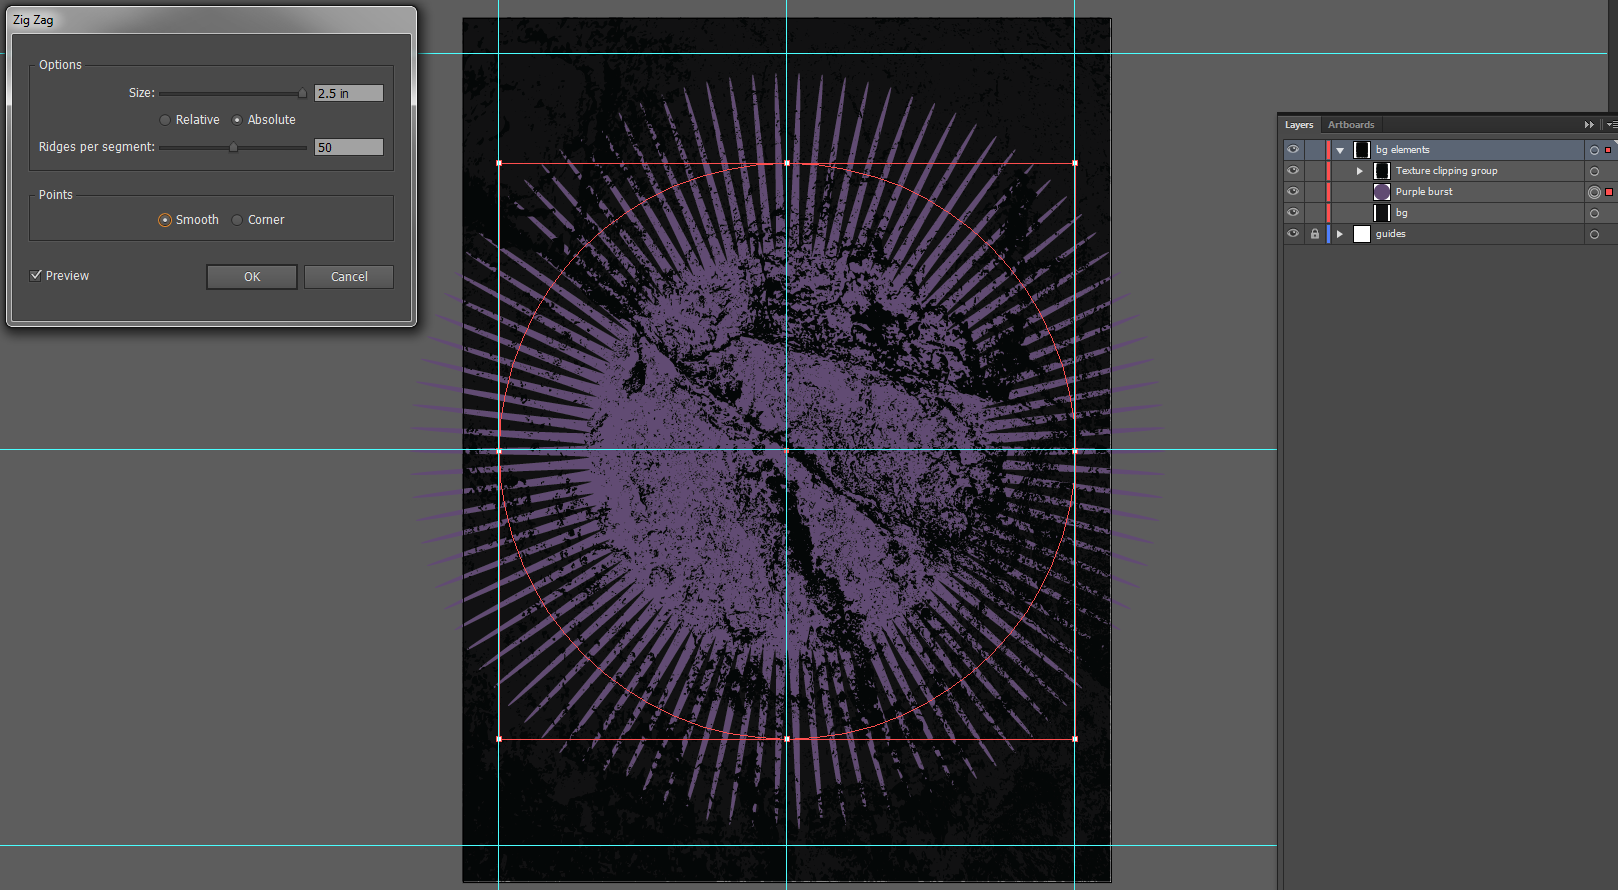
As you can see, the burst is way too wide right now. A little bit of resizing from the center, and we’re good to go (hold SHIFT + ALT while dragging one of the corners of the bounding box inwards). You could also make your burst around 12″ wide right away.

And our background is ready!

Step three: assembling our main elements
Copying from the vector packs
Now that we have our background, it’s time to grab the elements we’ll be needing for the rest of the poster. I have the following:
- The evil witch (Witches and wolves pack)
- The “sexy” witch (Witches and wolves pack)
- The wolf ornament (Witches and wolves pack)
- Three of our zombies (Zombies and mummies pack)
- Bats and birds (Animals, reptiles, and skeletons pack)
- The snake skin texture (Texture pack, not shown here)
You should note that you don’t have to use these elements for your poster design. It would be absolutely acceptable to grab some other vector elements, or to make your own, to follow along with this tutorial.

As you can see, there are some things we won’t need (the hands of the zombies, the scrolls and supporting elements of the “sexy” witch, etc). Let’s go ahead and delete these. Ungroup, use the direct selection tool if needed (A), select the parts we don’t need, and here’s the result:

Preparing the portraits and the wolf ornament
I’m going to walk you through preparing the first portrait. The process will be the same for the three other ones. Let’s prepare the top left one.
You could ask, why are we modifying these? The purpose behind this modification is to have the four surrounding portraits toned down in terms of colors. This will let the center piece have much more visual impact.
First, we need a black circle we can put in the background. The head of the zombie is 2″ tall, so I made my circle 2.5″ in diameter.

If we look at the finished product, the circle has a lighter (#232323) stroke. It also crops the portrait closer. The first thing I’ve done is to align the stroke of the circle to the inside, and to thicken it to 10 points. I’ve then resized the circle closer to the top of the head. So close in fact, that some of the hair goes over the edge of the circle.

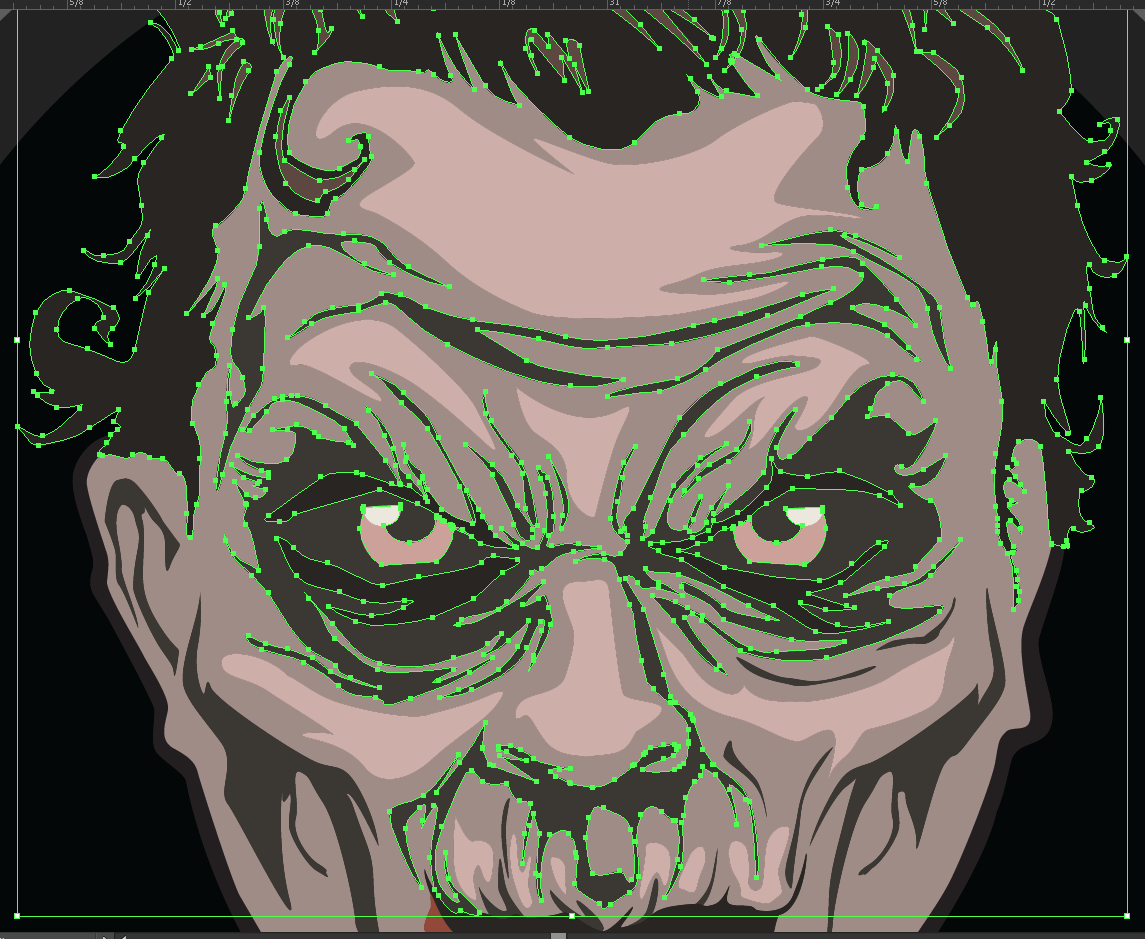
Next, and in order to simplify the recoloring process, I’ve actually used the Pathfinder to merge the head together. We could keep it un-merged, but it would make the process even longer, to figure out all the paths and to select the right ones.

After merging, ungroup the head, and start selecting the shapes to switch them either to black for the dark parts of the face (#000000), or to dark gray (#222222). It will take a few minutes, but it’s going to be worth it! As part of the recoloring process, I’ve also recreated the pupils in the eyes with two circles. This is because the original ones are half-circles, that get deformed during the merging process anyways. Once the coloring is done, it’s time to group the head back together.


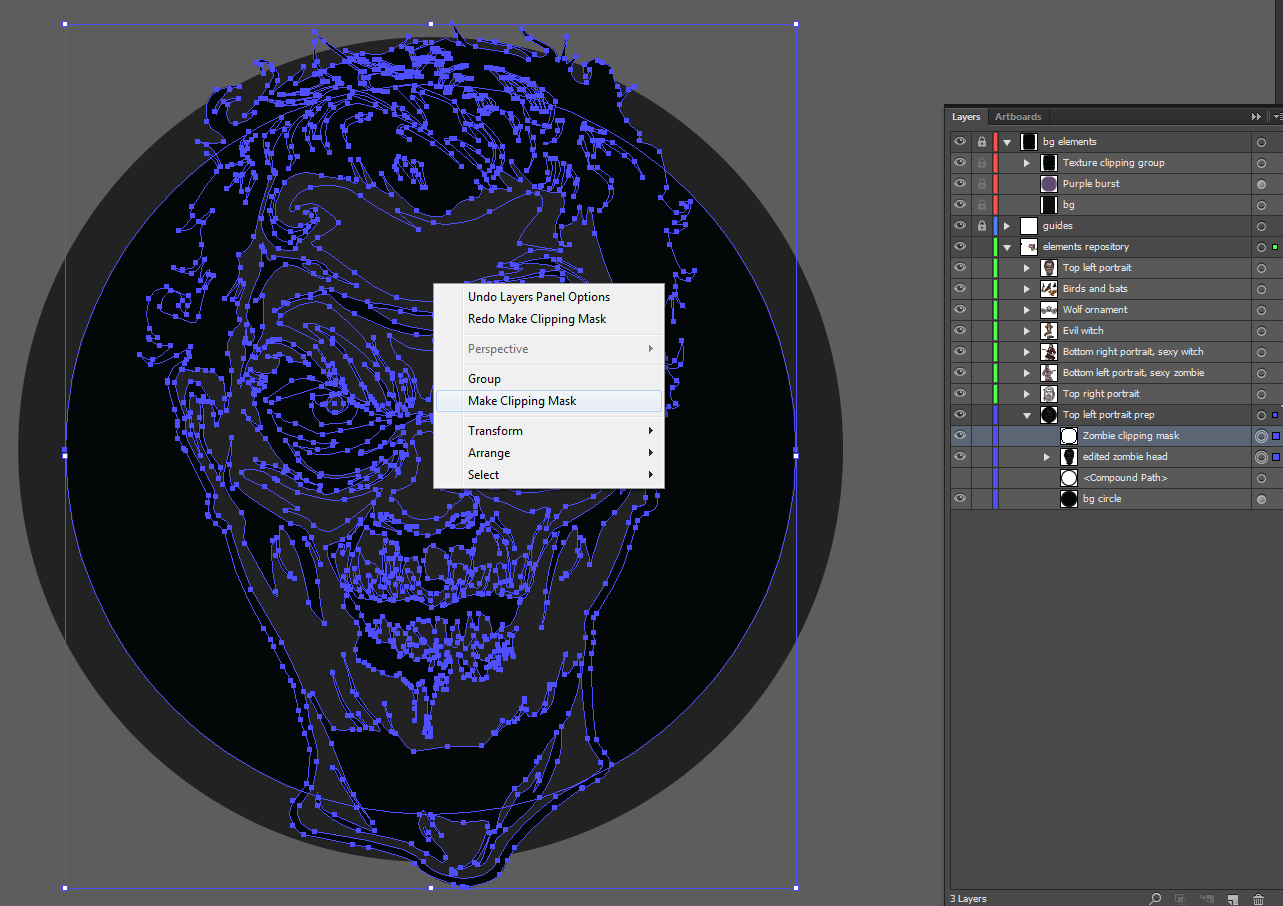
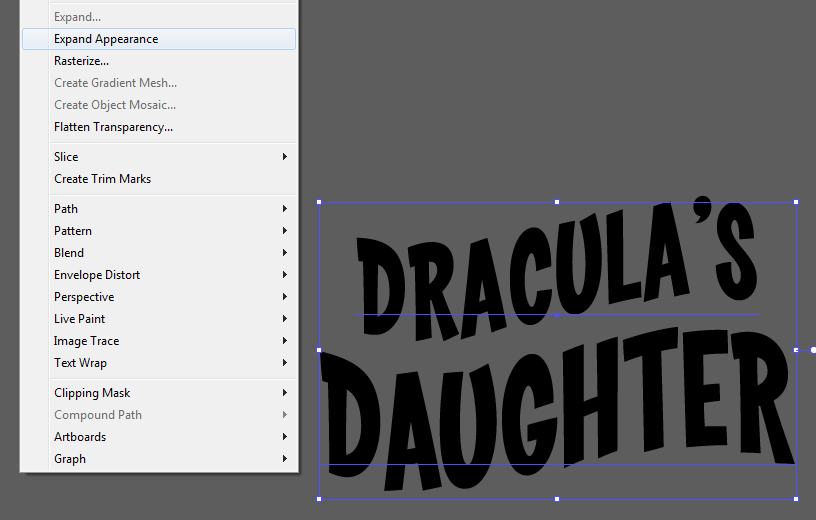
Time to clip the head within the frame we created. Unlock the background stroked circle, and make a copy of it. Then proceed to paste it in front (CTRL/CMD + F) of the original circle. Then go to Object > Expand appearance. Ungroup the result. This will allow us to select and use the inner circle as a clipping mask for the portrait. Once you’ve applied the clipping mask, the portrait is almost done!


We now need to use elements from the wolf ornament to pimp the portrait frame a little. Following a similar process to the zombie head itself, we’ll be ungrouping the ornament, eliminating the parts we don’t want, recolorizing it, and applying it to the top and side edges. After that, we’ll be applying a stroke to all of that, to help it standing from the grunge texture of the background. See the process in pictures in pictures below:

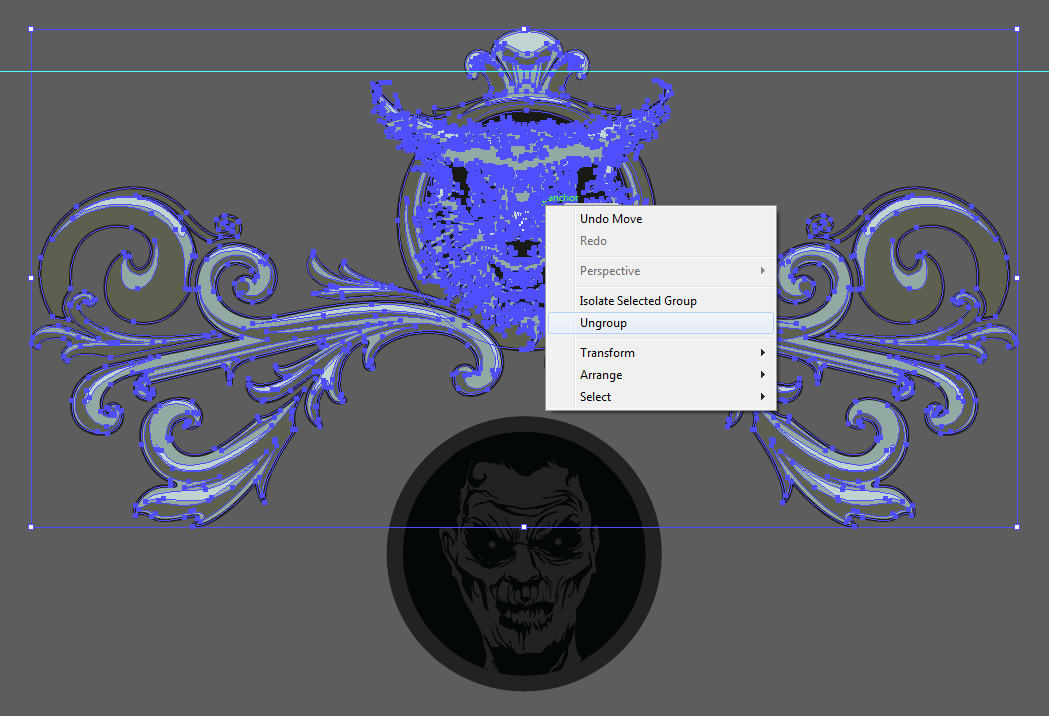


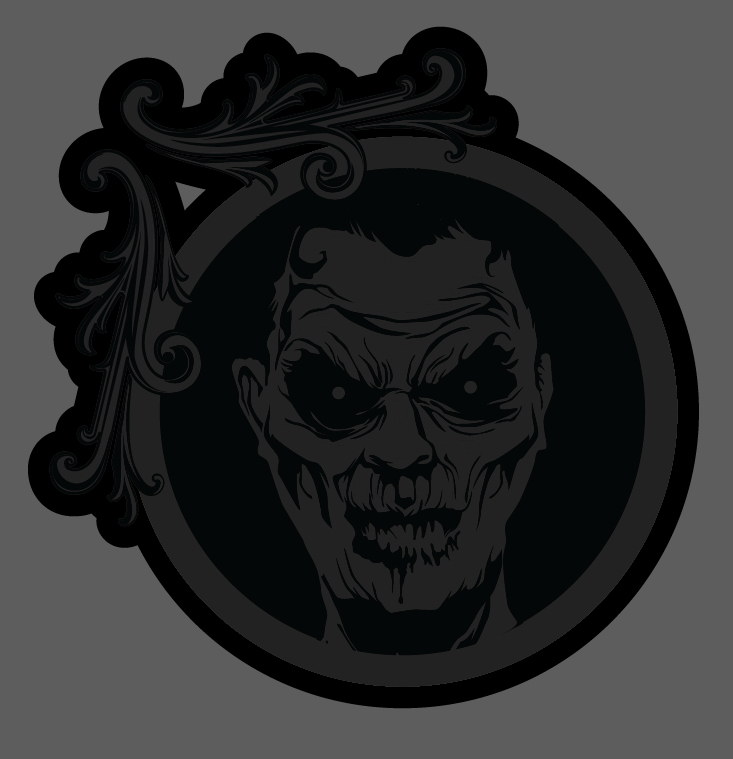

There’s one thing that didn’t work according to plan, and it was in the next to last step. When offsetting the path of the copy (Object > Path > Offset path), the black stroke around the ornate elements was just too much. So I used my direct selection tool to delete the extra elements around them, to make it visually lighter.
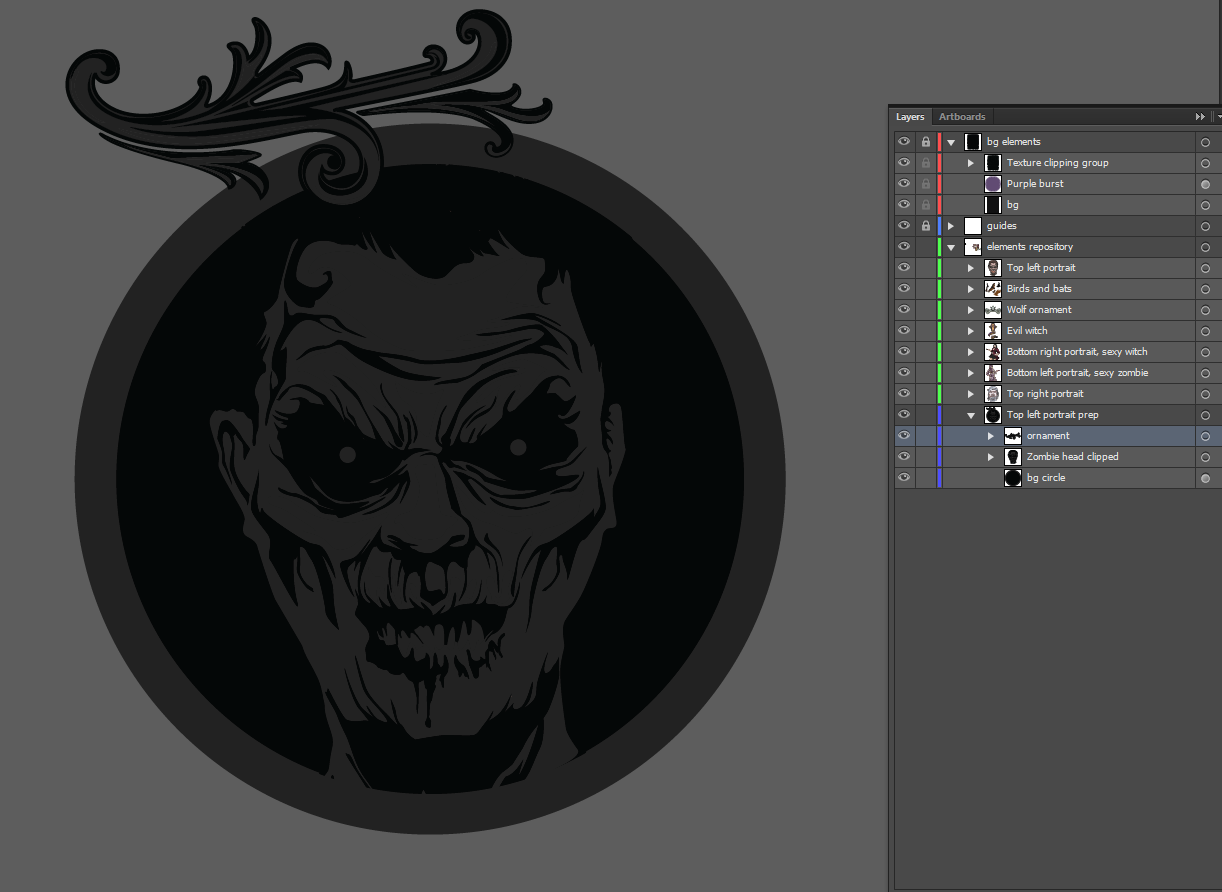
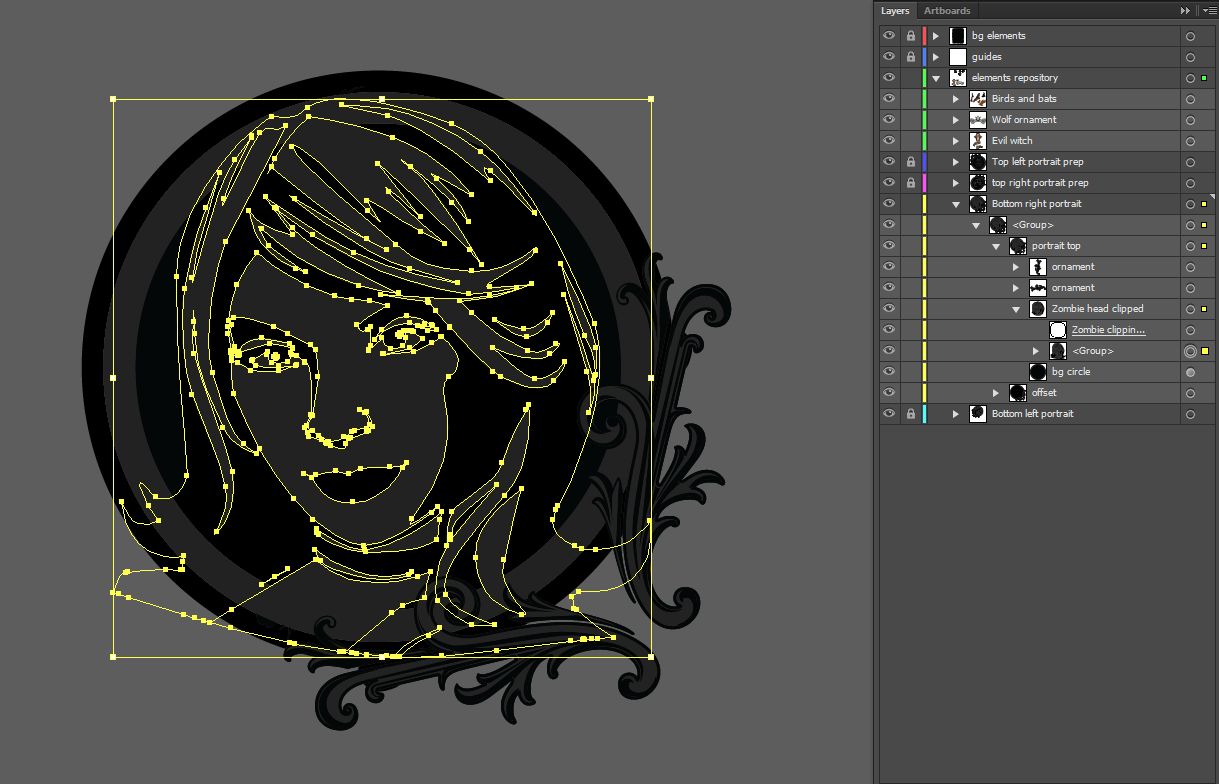
Following a similar process, you can prepare the three other portraits. Or, you could dig into your layers, figure out where the zombie head clipping group is, and just swap the head out for the other portraits, so you don’t have to recreate the circle and the other elements each time. This is done by simply dragging the layers in the appropriate order and within the right groups via the layer palette.

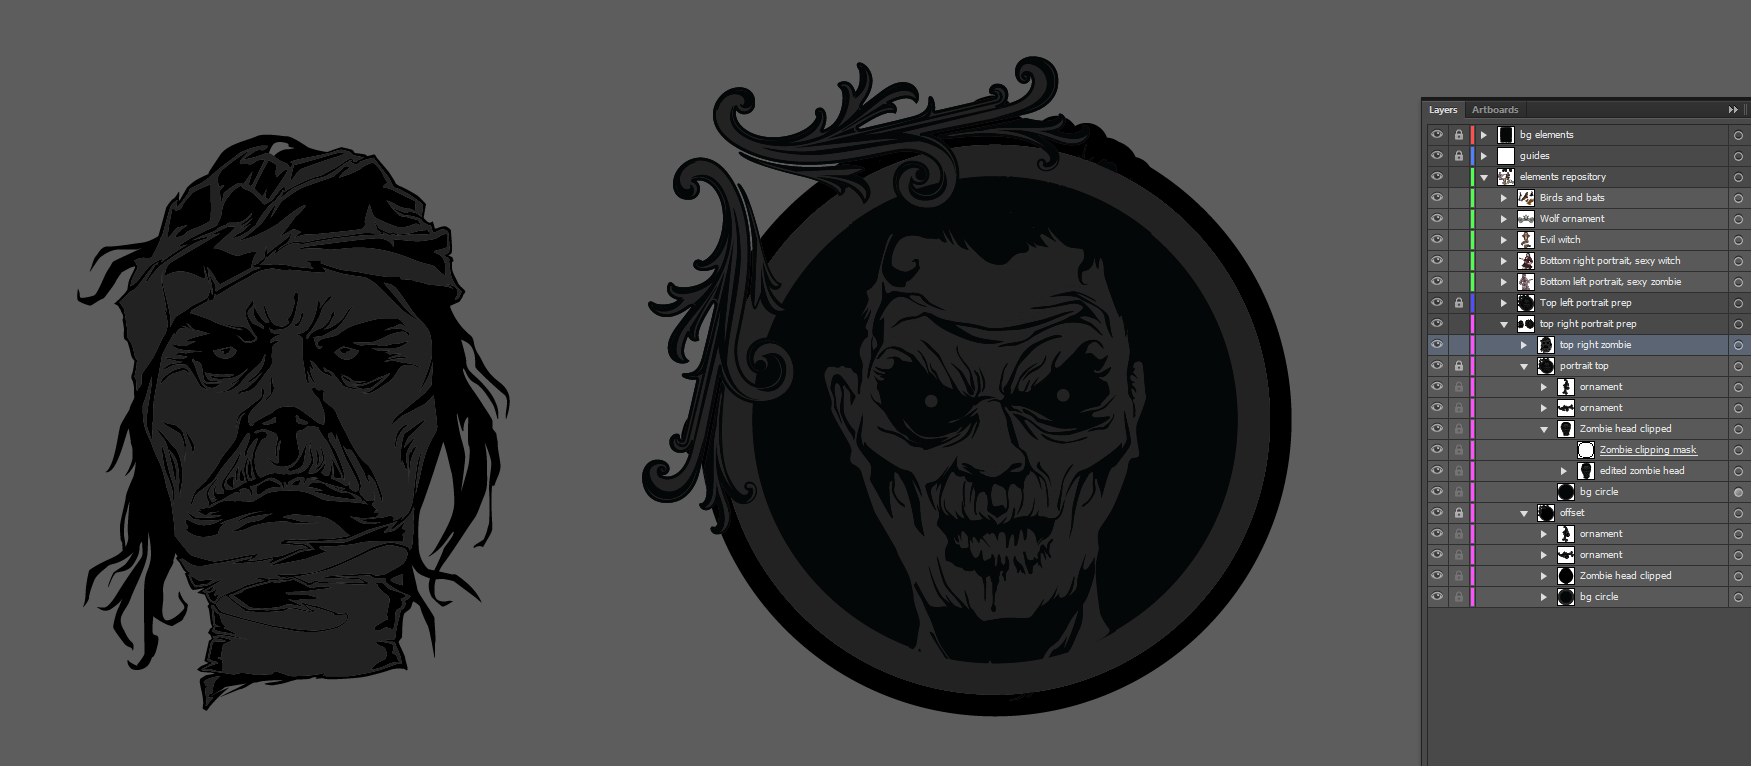


In order to avoid having to recreate the frame around the head, I simply flipped it using the Transform menu available when right-clicking (Transform > Reflect). Below are a few shots of going through the remaining two portraits, as well as the wolf ornament.


Phew, that took its sweet time. Time to get the center diamond shape prepared.
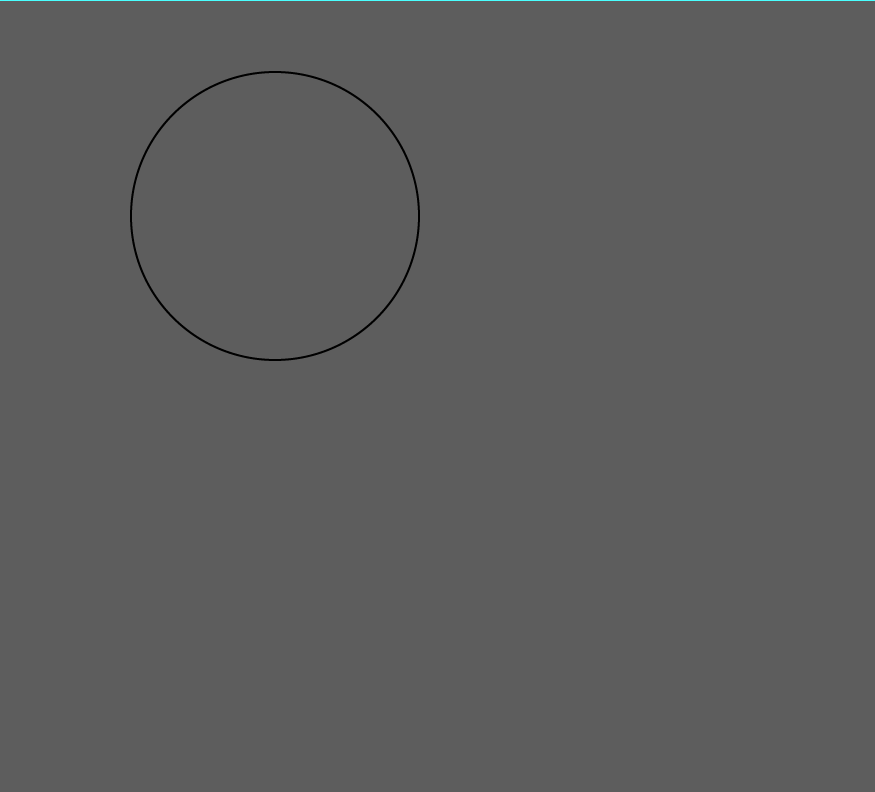
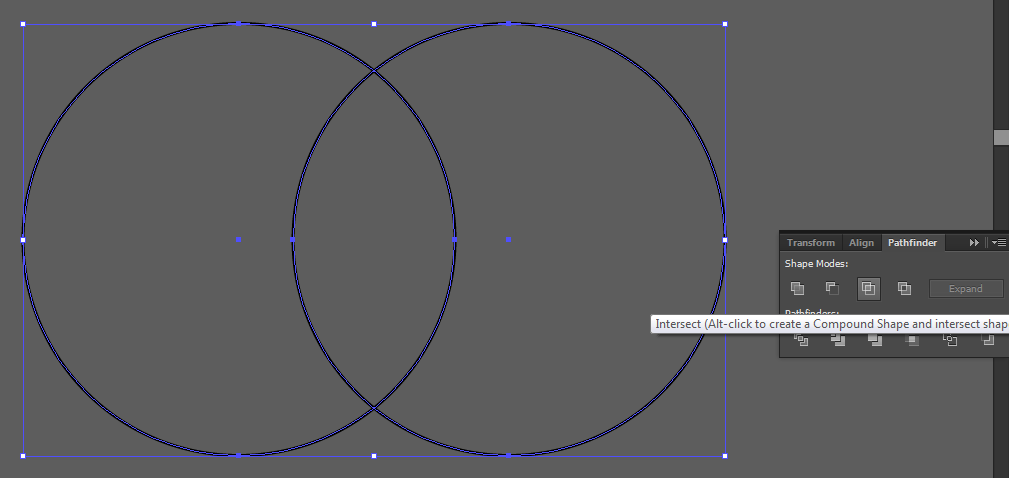
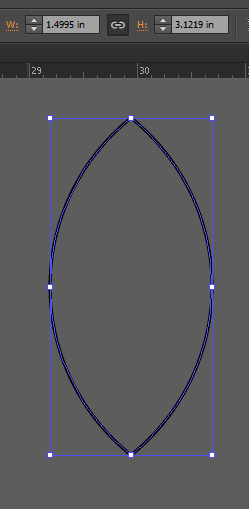
The diamond
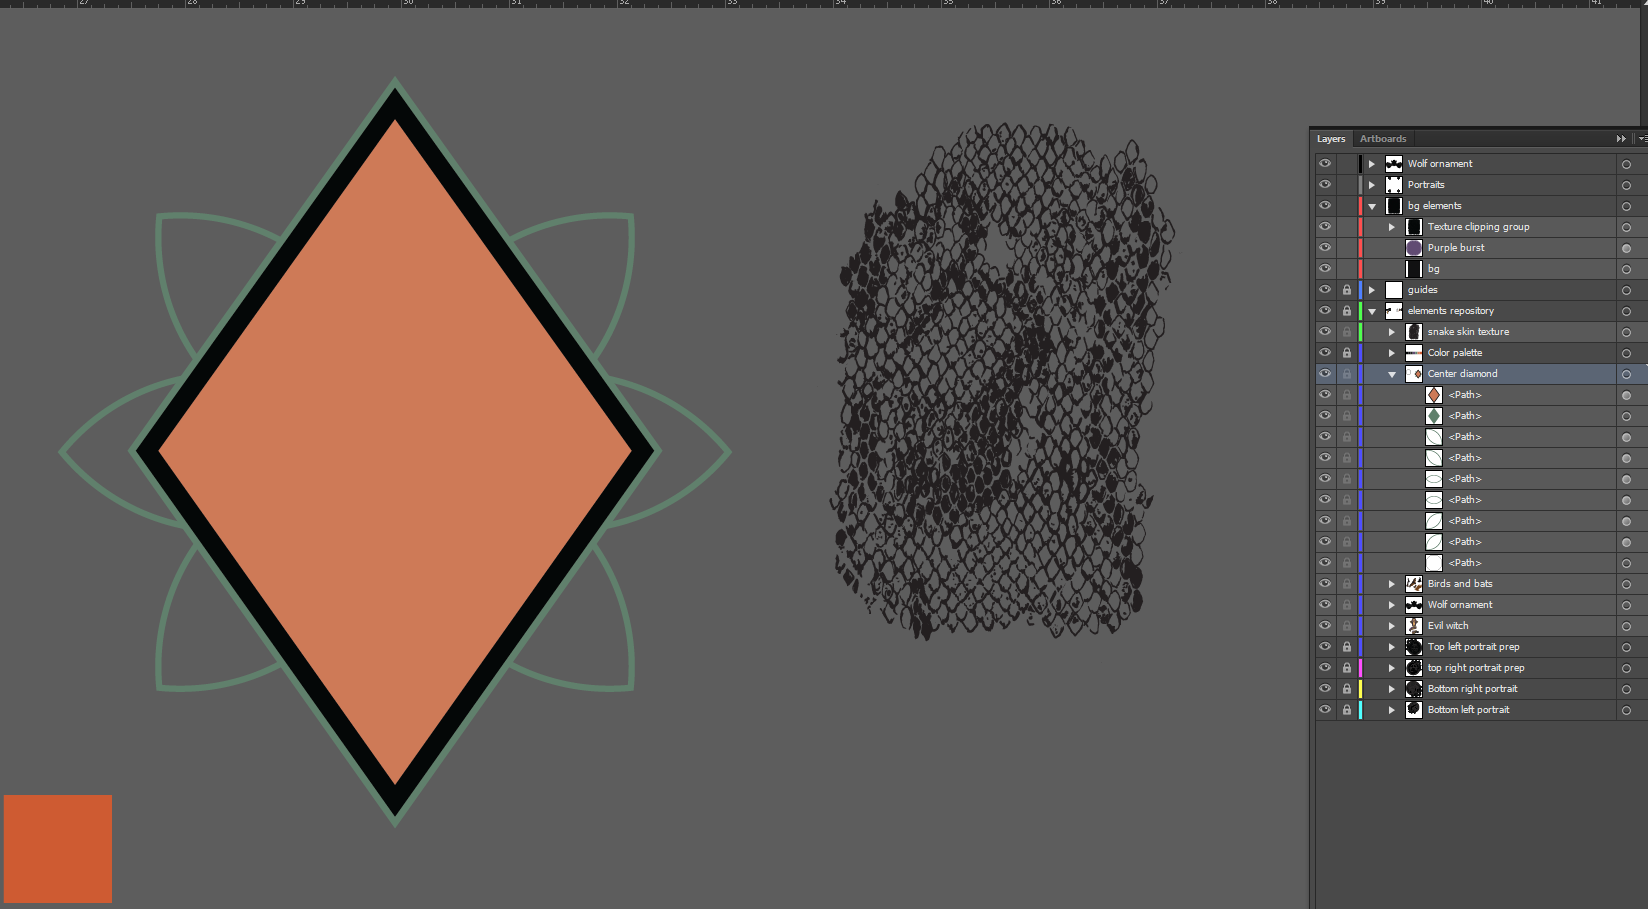
To create the “petals”, we’ll be using two overlapping circles and a bit of Pathfinder magic. We’ll then proceed to trace the diamond shape, using our smart guides (View > Smart guides) to align its top and bottom edges with the top and bottom of the top and bottom “petal”, and its side extremities to the center of the horizontal petal line, and to the edge of the diagonal petal. I promise this makes sense in the images below (you’ll be able to see my values for size, stroke thickness, etc., in them too).
After some trickery with strokes and expanded appearances, we can recreate the same type of effect as in the original piece. It has a green outer stroke (#60806b), which also seems to merge with the petals, an inner black stroke, and an orange center (#cb7856).


Adding texture to the diamond
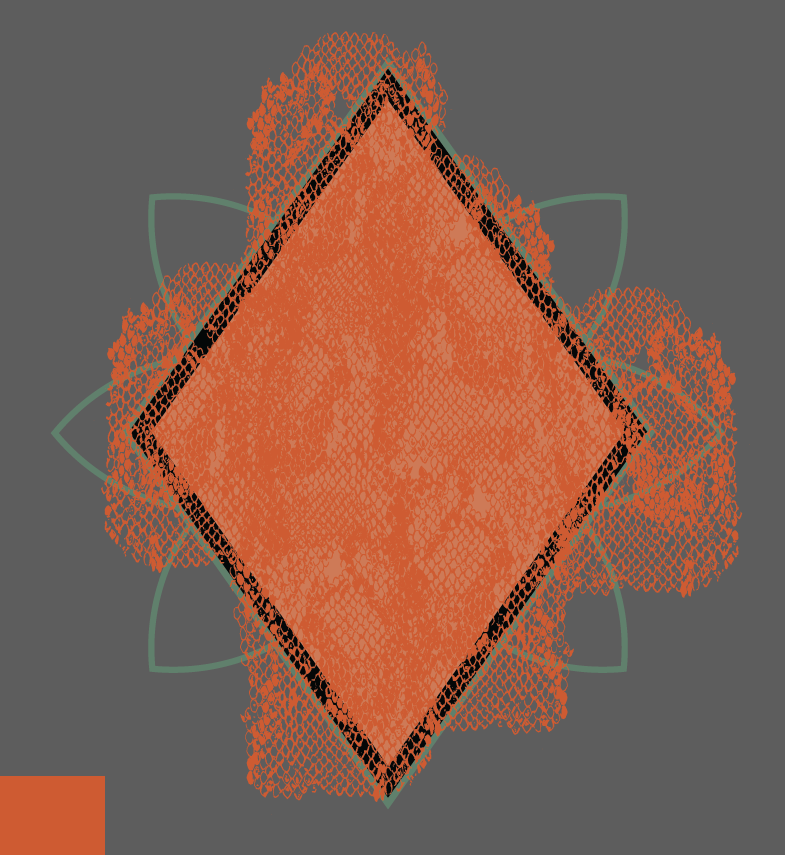
The orange part of the diamond features the hand-drawn snake skin texture that’s available in the vector texture pack. We’ll simply add this texture at the top of the diamond itself, and use a copy of the diamond path as a clipping mask. In terms of scaling the texture, it’s your call. Remember that the diamond shape will be our big, central element in the poster. So if we just size the texture to cover the diamond, it’ll be very big once blown up to its appropriate final size. I’d suggest making a collage of a couple of duplicates of the texture for a better effect. You should also consider making a couple of duplicates, then reverse the source texture to finish the texturing. This will make it look less uniform.
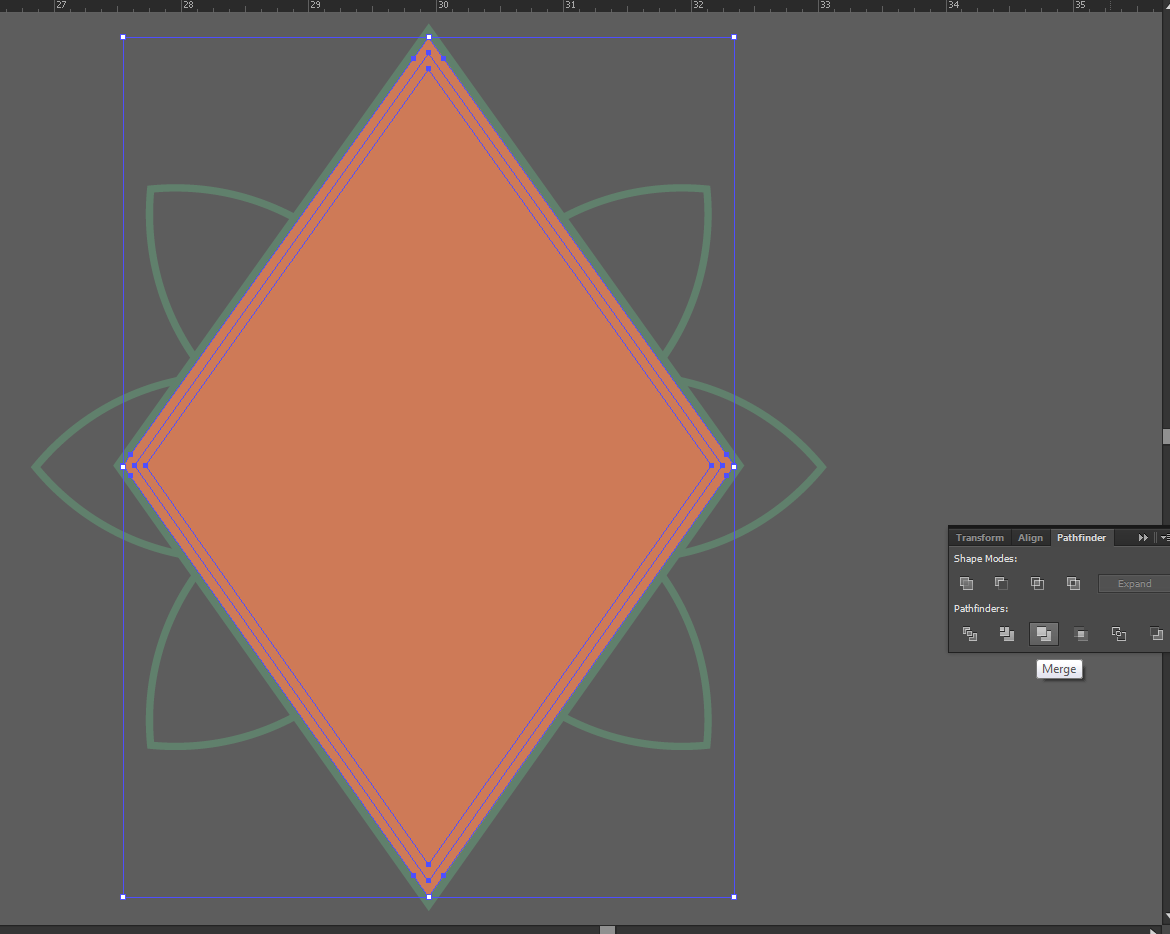
Because the diamond has a stroke aligned on the inside, we’ll need to expand the copy, merge it to subtract the black outline from the orange diamond, ungroup the result, and delete the black outline before being able to use it as a clipping mask. Look at the image sequence below for the step by step actions I’ve taken.


Colorizing and including the witch in the diamond
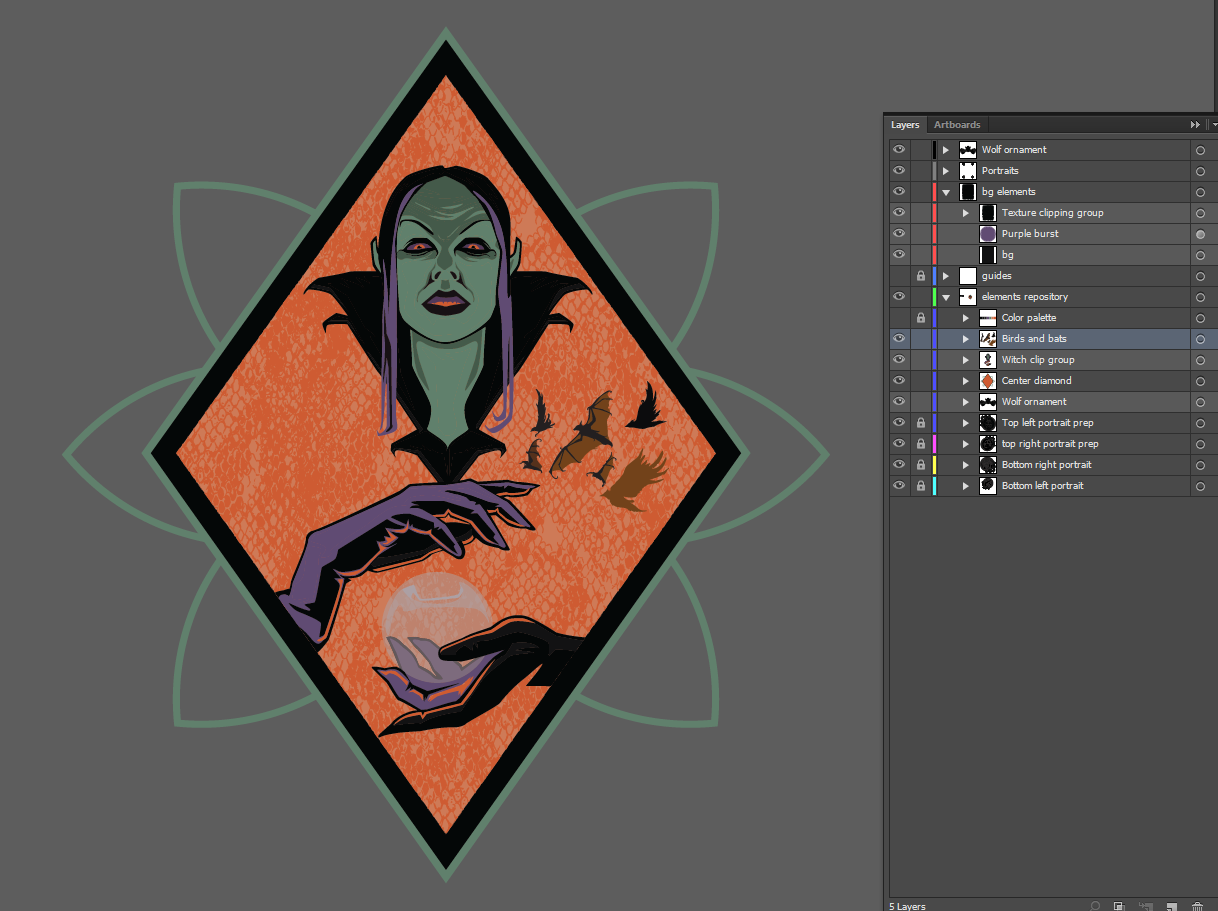
The process to colorize the witch is very similar to the one used for the portraits: merging, ungrouping, selecting the shapes, changing the colors, etc. My goal is to keep the color palette to a minimum overall, so I’ve only introduced one more color, a dark green for the skin’s shadows (#44594a). I’m reusing the snake skin’s bright orange for her pupils and teeth. The lighter parts of her collar are that dark gray used for the portraits. I’ve also left the crystal ball as is, as I want to keep its transparency effects intact.


After making sure that my witch is placed above the diamond’s layer, I just placed it on top, and decided to size it to obtain a similar crop to our original piece. The hands will be cropped by the lower edges of the diamond, and the head of the witch will come pretty close to the top edges. The cool thing is that you can move the hands apart if needed to fill the frame better, which I’ve done. After placing the witch, I just made a quick copy of the snake skin texture clipping mask to clip the witch, and it’s good for the final touches: the bats and birds. These were simply placed, duplicated and mirrored, and centered. I then colored them black for a higher contrast against that orange background.
After that assembling, I just created a copy of the diamond, witch, birds, and bats, and placed it in its own layer atop of everything else in the poster frame.


Phew, we’re done with the bulk of this tutorial here. Now, onto the type!
Step four: type elements
There’s not too much type on this poster. Each actor portrait features the name and role. There’s a two part sub-header above the diamond. Finally, the main title is at the bottom of the diamond. The typefaces that have been used are Hitchcock, Cooper Black Std, and Coop from House Industries.
The actor name and role are very straight forward. Two different sizes of text in a lighter gray (18 and 24 points, in #323232), and done.


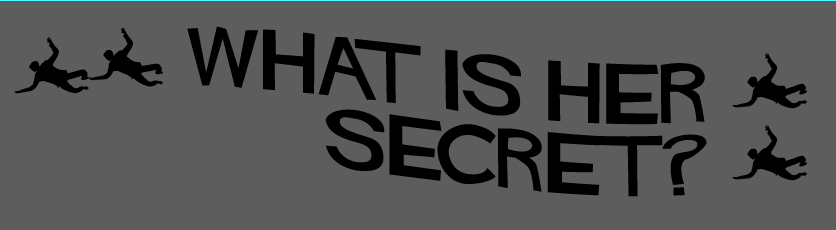
The sub-headers (“What is she hiding?” and “What is her secret?”) are also quite easy. They’re written using the Hitchcock typeface. The trick with these is to use the Flag mode in the Warp filter (Effect > Warp > Flag). We’re also going to use filler characters (I’m using the underscore, but whatever works, as they’re going to be deleted) to fine tune the curve we’re giving the text.
There’s also a “shadow” effect with it. I’ve obtained it by simply duplicating my text group, and offsetting the lower group by eight arrow taps down, and eight arrow taps to the right.
The process is identical for the second sub-header, except that it’s aligned to the right, and that the text offsetting is also reversed to the left. See the image sequence below for the various values I’ve used.


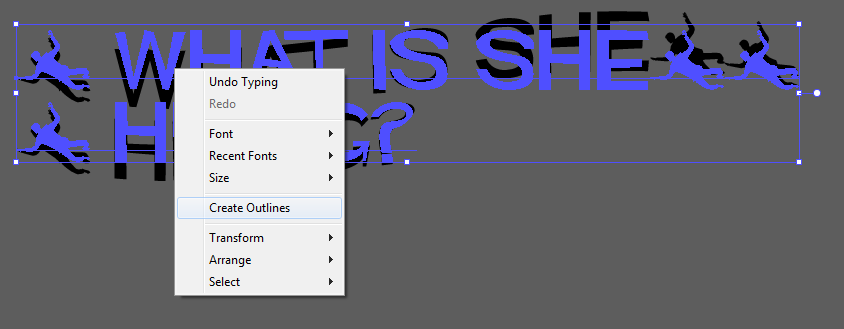


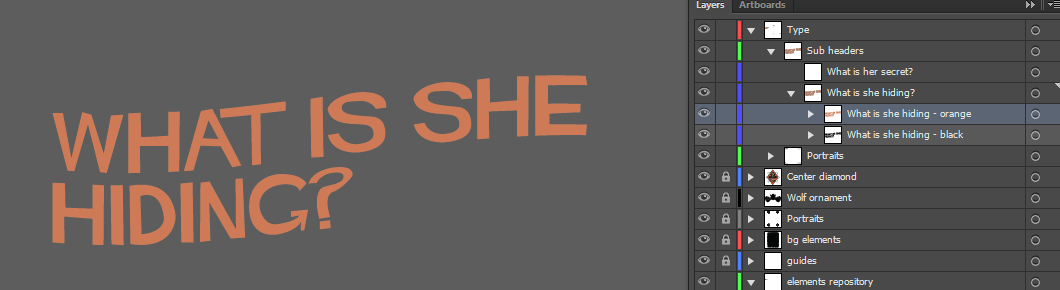


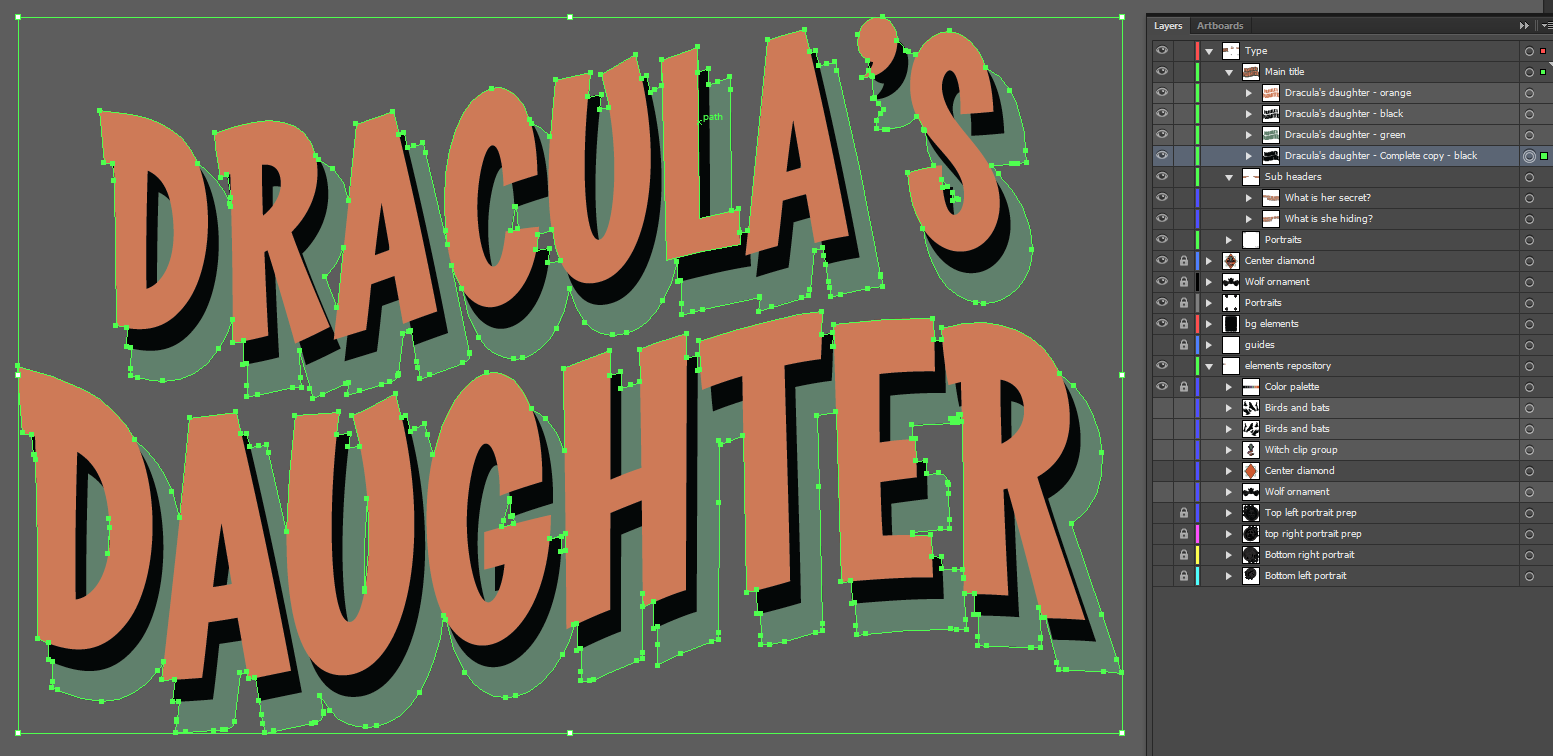
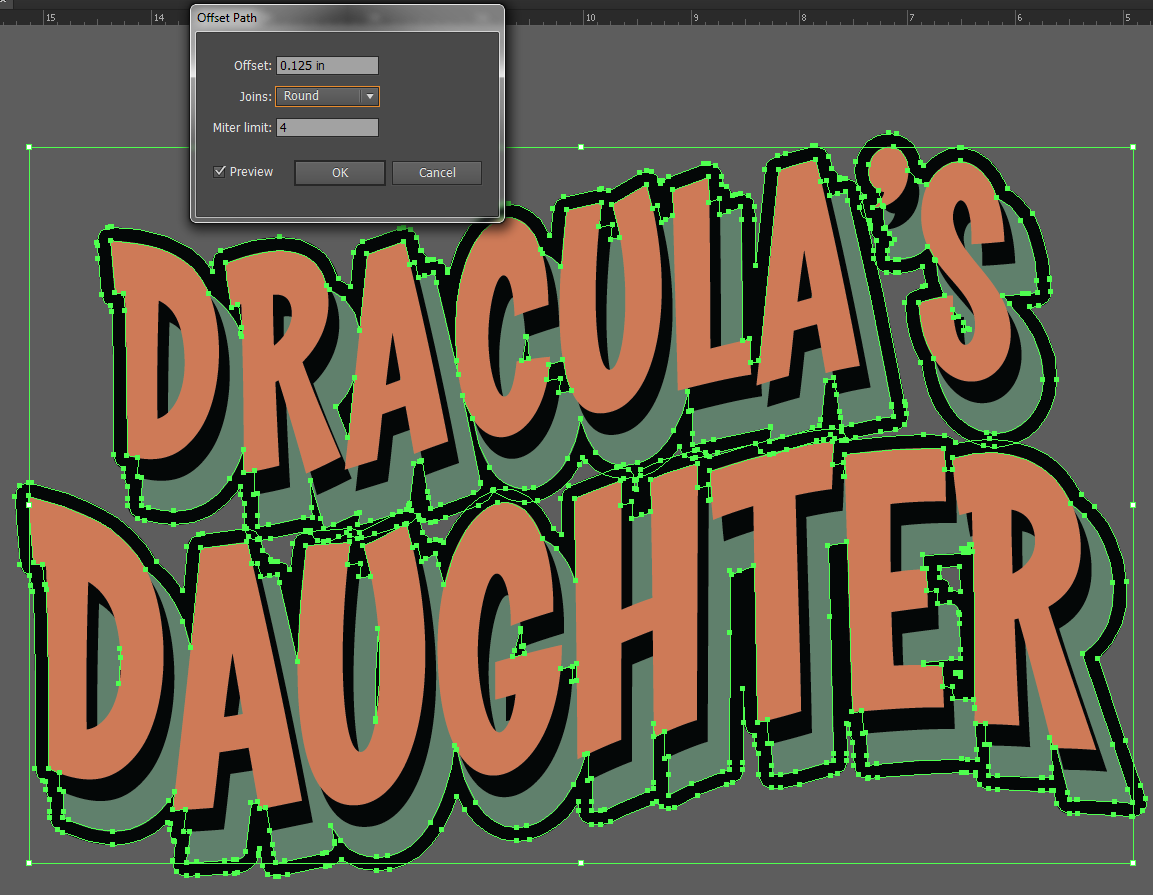
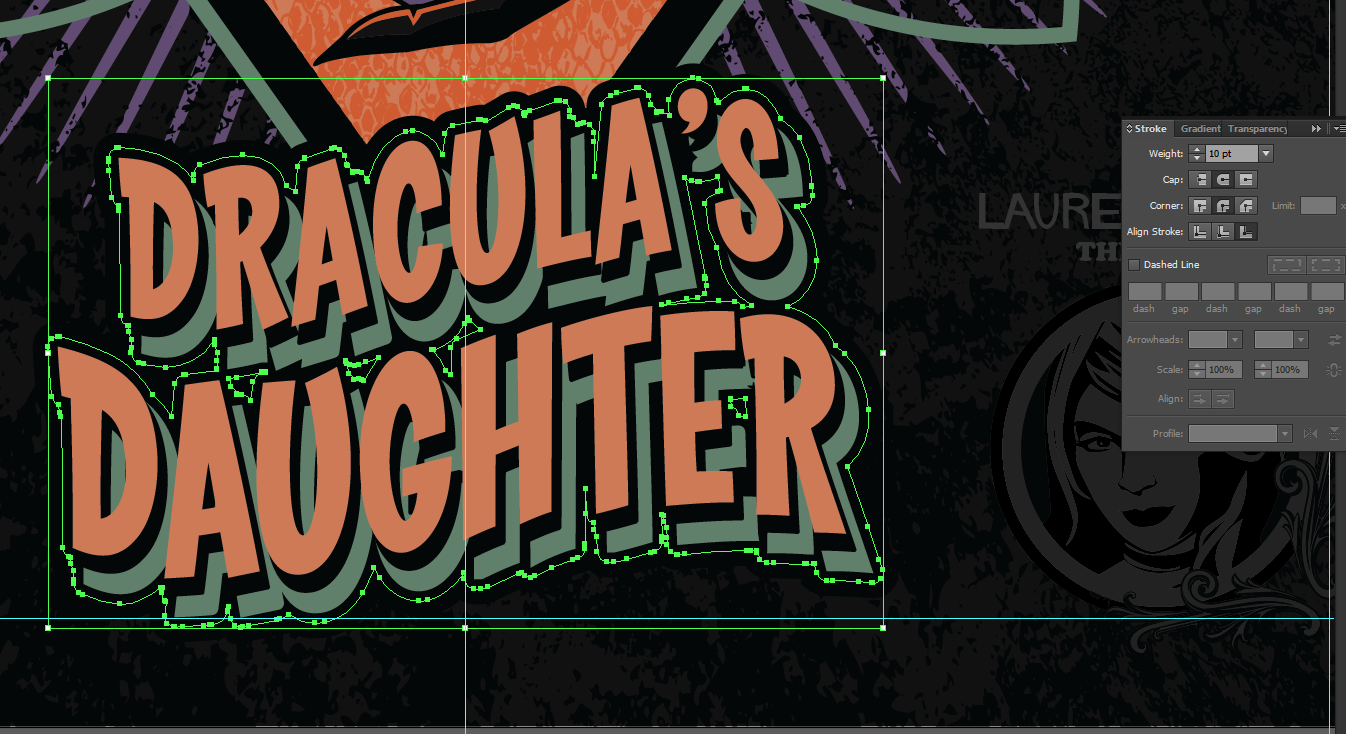
The big piece is the main title. It features complex layering, and a full shape outline.
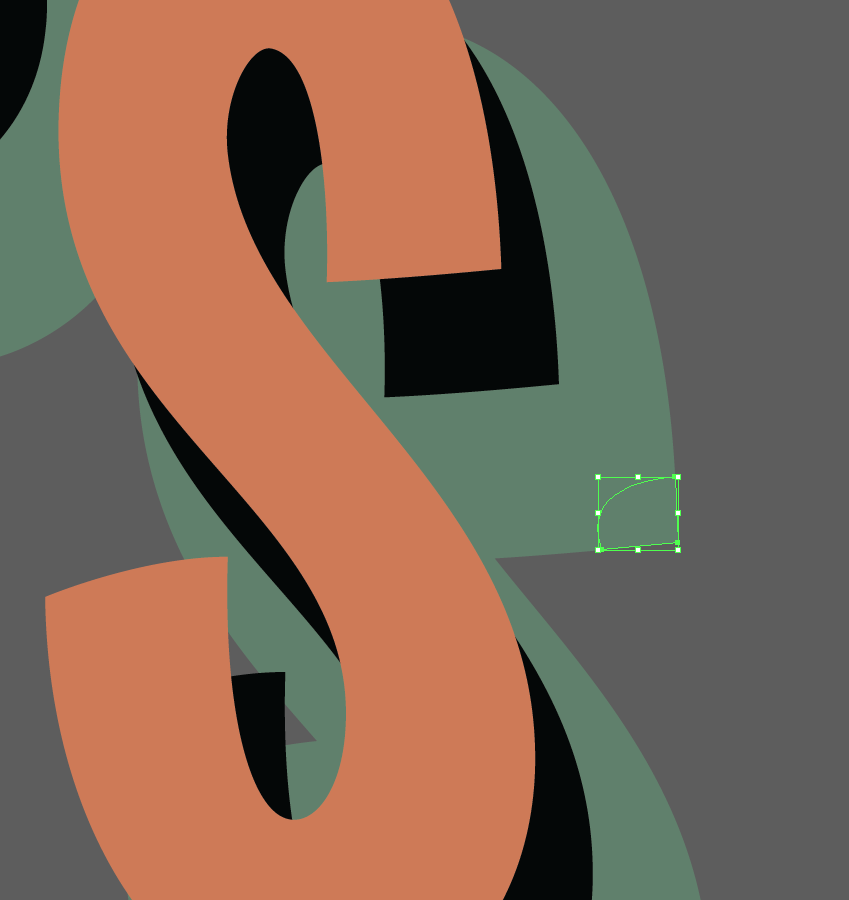
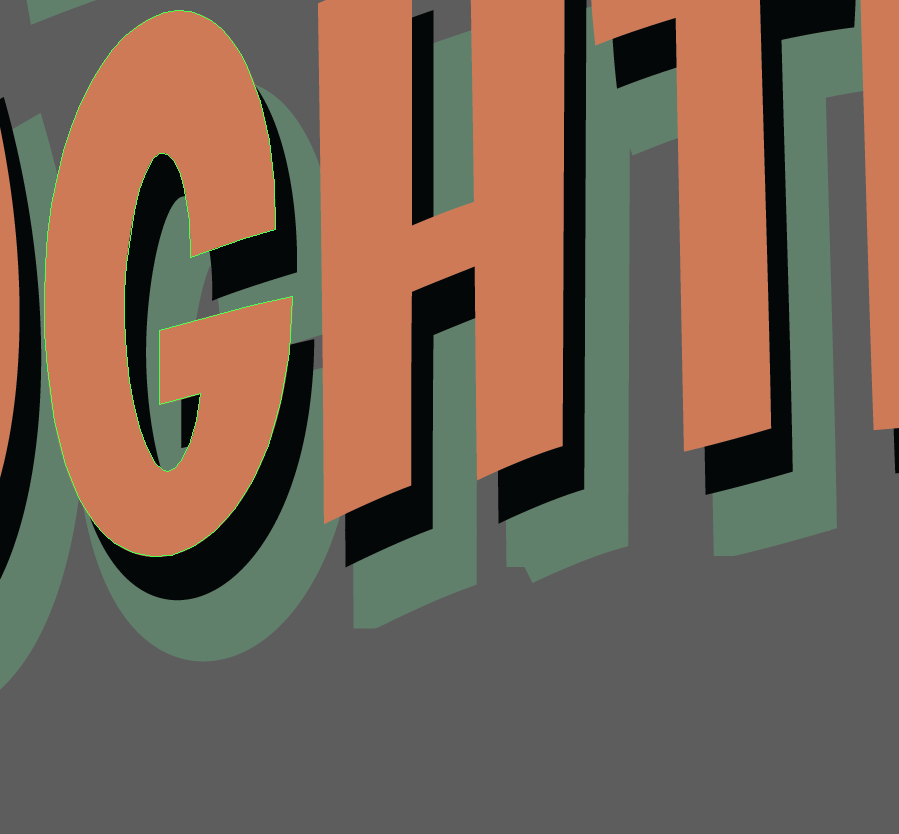
There are three layers: orange, black, and green. The key to the effect is to offset the black layer less than the green one to get the uniform look. In order to obtain the full shape outline, we’re going to merge a copy of all the layers, place it in the back, and either add a stroke to it or use the offset path function. I personally prefer offset path, so that’s what I’ll show you. It’s all written in Coop Bold, and we’re using the Flag filter again (but at 15% this time). The top line is sized at 200 points, the bottom at 250 points. The line height is at 225 points.
Along the way, I also realized that beefing up some of the shapes by adding a stroke to give them more weight and smooth the overall visual balance helped. The black layer of text, the green layer of text, as well as the full shape outline all went through that treatment. In some cases, some of the letter shapes needed to be fixed once they were expanded.


And now that that’s done, we can say it’s over!
Bonus! Step five: fake folds
To finish things off, we can add a fake folds vector element on top of everything. A long time ago, I scanned in that folded/scratched paper texture. After placing it in Ai, I live-traced it and got the following vector element:

You just have to place that element in a new layer above your poster, drop its opacity to 50%, and you’ve got yourself fake folds!

And because we’re in a good mood, you can even download these fake folds for your own use, in both personal and commercial projects. And while you’re at it, you should sign up on our email list to hear about all the rest of the good stuff we release on the Arsenal.
And finally, don’t forget to mock your final art up, and to show it off in the Go Media Flickr pool.

Well, that’s it for this tutorial. Don’t forget to check out vector set 23 on the Arsenal, and until next time, cheers!